DISCLOSURE: This post may contain affiliate links, meaning when you click the links and make a purchase, we receive a commission.
It is a common question among the new website owners that ‘where is my ‘.htaccess’ file’?
And, some of us also complaint saying that ‘I can’t find the ‘.htaccess’ file’.
Truth be told, this is a very familiar situation for us too. The ‘.htaccess’ file is very important for a website. Sometimes, we need to edit it or sometimes we need to delete (in special cases) it to create a new one.
But the problem arises when we can’t find or locate the ‘.htaccess’ file. And, there are a lot of confusions about the ‘.htaccess’ file. So, to help you to get rid of the worries, we have created this short but to-the-point article. In this article, we will talk about the ins and outs of the ‘.htaccess’ file.
As well as, we will add screenshots to each step to make things easier for you. Although this article is specially geared towards the SiteGround web host users, you can follow this even if you own other web hosts. As the basic principles would be somewhat similar for all of the web hosts.
How to Access Hidden .htaccess File on SiteGround
So, if you are having problems to find the ‘.htaccess’ file, then follow this article to the last word. We assure you that it will be worthy of your time. So, let’s start with the definition of ‘.htaccess’ file.
What is the ‘.htaccess’ file?
To simply put, ‘.htaccess’ is a server configuration file. Using this file, you can instruct the server to handle certain things in a certain way on your website. You can use the ‘.htaccess’ file to secure your site by password protecting any part of your website. You can also use it to redirect your users from an URL to another. In a nutshell, you can control the how your website behave using the ‘.htaccess’ file.
Overall, it is easy to understand that the ‘.htaccess’ file can be very useful for a website.
Note: If you already have a ‘.hatccess’ file on your server but can’t find it then you can skip the next section
How to generate a ‘.htaccess’ file for WordPress users?
To get the benefit of the ‘.htaccess’ file you need to create one at first. For WordPress users, it is very easy to generate the ‘.htaccess’ file. Most probably, if you are using your website for a period of time then it is already created.
However, if it’s not then let’s see how to generate that.
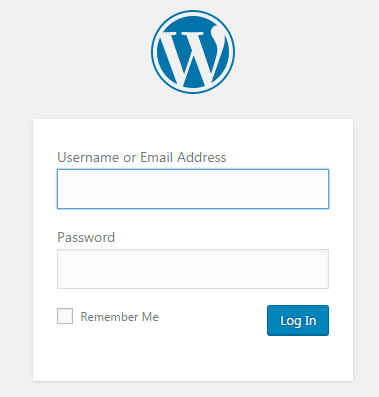
- Log in to your WordPress dashboard using your username and password
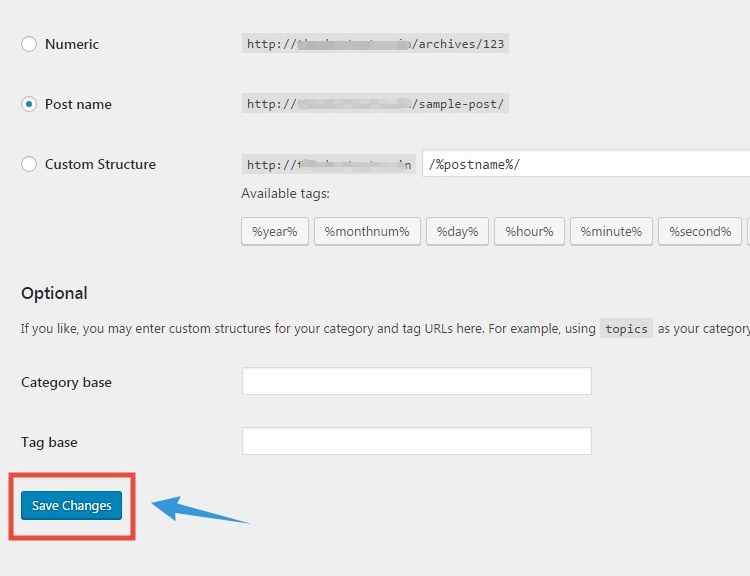
- Now, hover your mouse over the ‘Settings’ option from the left sidebar. That will bring out another sub-menu. From that, click on the ‘Permalinks’ button

- Next, the permalink settings page will open. You don’t need to select any of the options here. But, you need to click on the ‘Save Changes’ button from the bottom of the page. That’s it, the ‘.htaccess’ file will be created on your server
As you know how to create a ‘.htaccess’ file. Next, we will see where to search for it.
Where to find the ‘.htaccess’ file?
The ‘.htaccess’ file will be found on your server. To be precise, it will be created on the root directory of your web server. For most of the website, the root directory is the ‘public_html’ folder. Now, if you don’t know where the ‘public_html’ folder of yours is, don’t worry at all. In the following section, you are going to know it all.
How to access the ‘.htaccess. file on the SiteGround cPanel?
As you already know that the ‘.htaccess’ file can be found on the root directory of your web host account. Now, we will show you how to get access to that folder from the cPanel of your web host account. So, let’s move on.
Steps to follow:
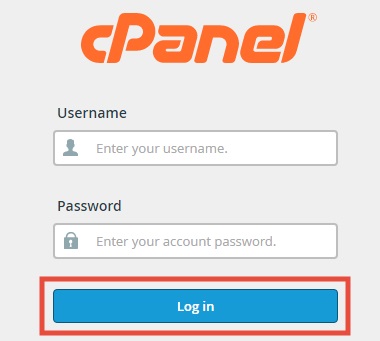
- Log in to the cPanel dashboard of your SiteGround web host account
- Now, click on the ‘File Manager’ button from under the ‘Files’ section

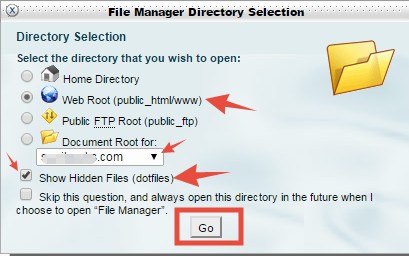
- Instantly, a new popup box will appear on the screen. First of all, add a check mark on the ‘Show Hidden Files (dotfiles)’ button. It is the most important step. Because all of the ‘dotfiles‘(like the ‘.htaccess’ file) stay hidden on the server. So, you need to enable the ‘Show Hidden Files’ option. Then make sure the ‘Web Root (public_html/www)’ option is selected too. Lastly, click on the ‘Go’ button to proceed
- Immediately, a new tab will be opened on your browser. The page will show all of the files which are inside the ‘public_html’ folder. It is the root directory of your website
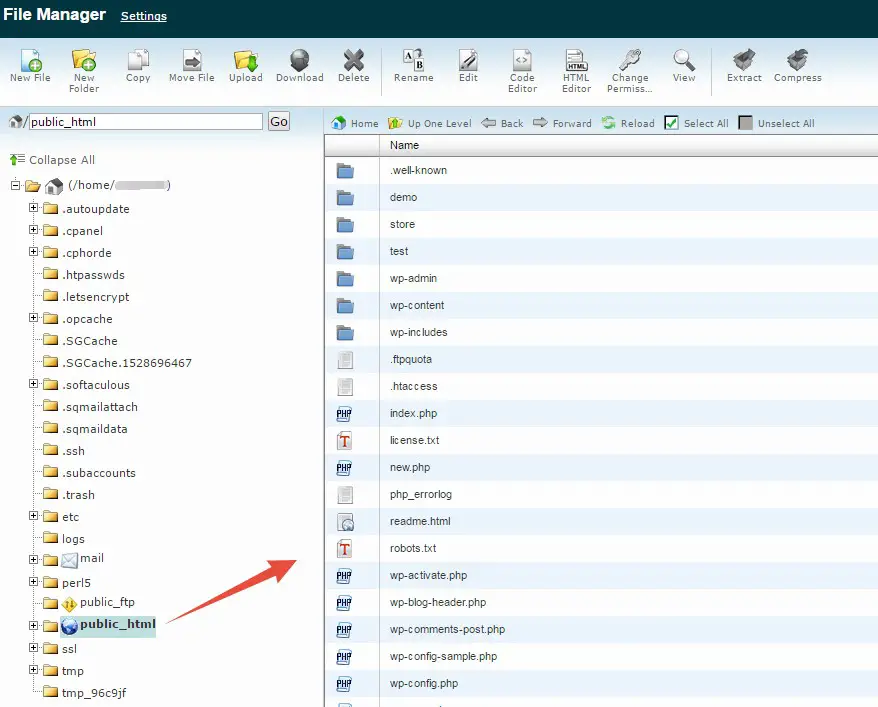
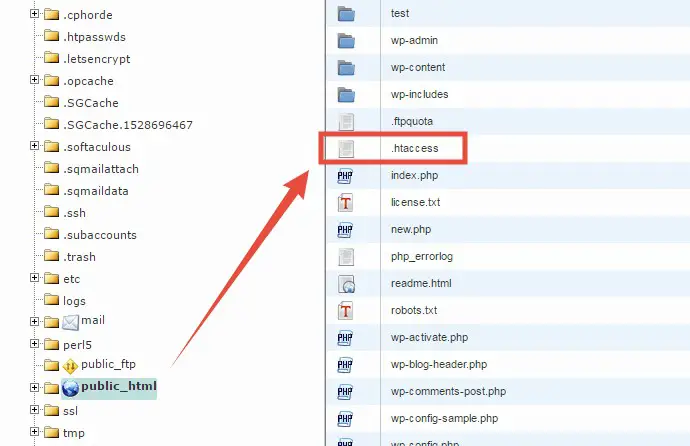
- If you take a look at the files, you will find the ‘.htaccess’ file on there
- If you want to modify the file you can right-click on it. That way, a number of different options will appear like ‘Download, View, Edit, Code Edit, Move, Copy, Delete etc.’
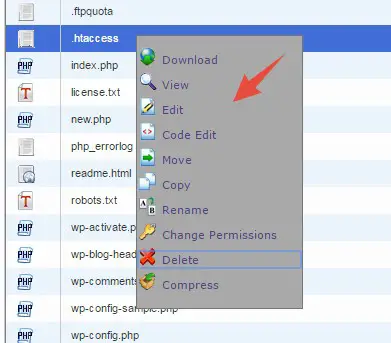
- Or else, you can also click on the file and then you can select the options from the top menu bar. All of the options are self-explanatory. So, we won’t discuss them further

Note: If you want to edit the ‘.htaccess’ file then you should use the ‘Code Edit’ option. It will be very easy to edit as the ‘Code Editor’ provides line numbers. So, you can keep track of everything
How to access the ‘.htaccess’ file via FTP?
If you don’t want mess with the cPanel of your web host. Then you can use any FTP software to access the ‘.htaccess’ fie. Prior to that, you need to know how to use FTP client software. If you know then it’s great. But if you don’t know then follow our detailed guide on ‘What is and how to use FTP clients’.
We will assume that you know how to use FTP clients. And, we will demonstrate how to access the ‘.htaccess’ file using ‘FileZilla’ one of the most popular FTP client software. So, let’s get going.
Steps to follow:
- Download and install the FileZilla on your computer
- Launch the FTP client on your PC
- Then connect to your FTP server using either the ‘Quickconnect’ or the ‘Manual’ connection method (learn from our FTP guide)
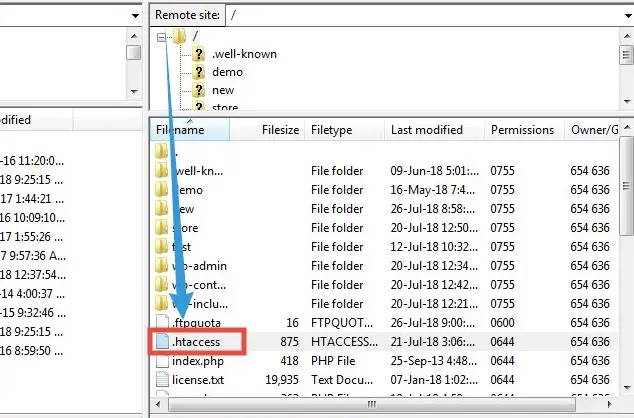
- After the connection is established, you will find the files of the ‘public_html’ folder of your web host under the ‘Remote site’ section on the right-hand side of the screen. Look carefully and you will find the ‘.htaccess’ file there
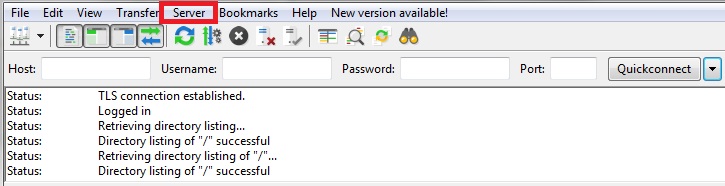
- Optional: Sometimes, FTP client software can’t show the hidden files by default. To tackle that, click on the ‘Server’ button from the top menu bar
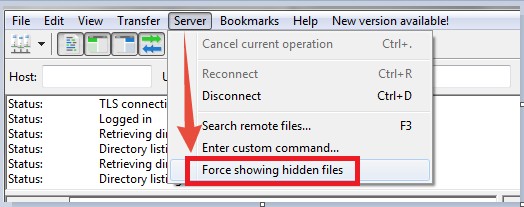
- It will bring out a secondary menu. From that, click on the ‘Force showing hidden files’ option. Now, you will be able to find the ‘.htaccess’ file
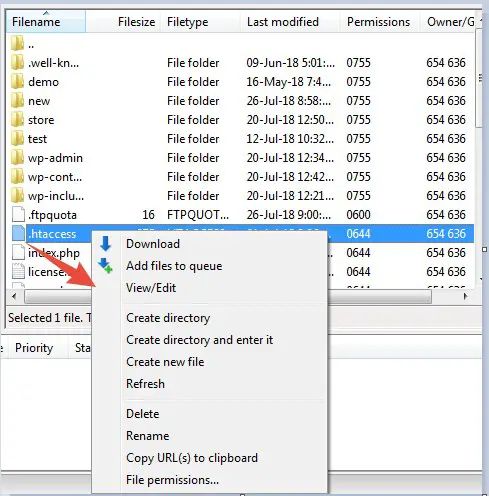
- You can right–click o on the ‘.htaccess’ file to get access to some options to customize the file from within the FTP client software
That is all about how to get access to the hidden ‘.htaccess’ file on your web host account.
The last words:
If you have followed this article carefully, then by this time, you already know all about the ‘.htaccess’ file. So, you should be able to find and make all the needed customization to your ‘.htaccess’ file. If you have found this article helpful, don’t forget to share it with others.