DISCLOSURE: This post may contain affiliate links, meaning when you click the links and make a purchase, we receive a commission.
So, you have set up an email account on your web hosting account. Now, if you want to check for emails then you need to go to your webmail each and every time. We know, how tedious it can be!
What if you could easily receive all of the emails on your Gmail account? On top of that, if you could send/reply to email directly from your Gmail account, wouldn’t that be great?
Believe it or not, there’s a very easy way to do this. And, in this article, we are going to show you how.
If you want to use Gmail with your SiteGround email accounts then you can follow this article. Before anything else, you need to do one thing. First, you need to setup email accounts on your SiteGround web host. So, if you have already done that. Then, we can proceed.
Are you ready?
How to Link SiteGround Email to Gmail
Steps to follow:
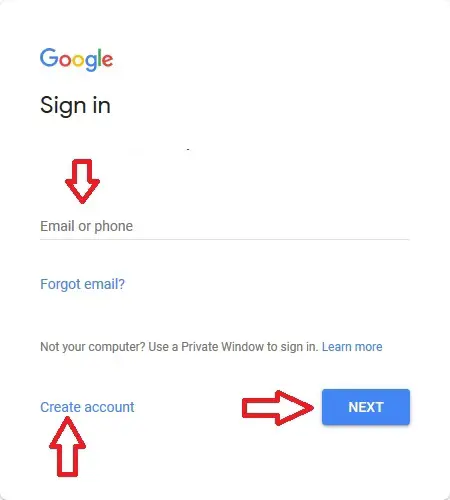
- Go to https://mail.google.com and sign in to your Gmail account. If you don’t have any Gmail account then create a new one
- Now, look at the top right corner of the screen, you will see a ‘Gear’ icon. Click on that button
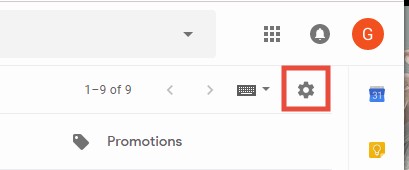
- In doing so, a new list of options will come out. Click on the ‘Settings’ button from the list

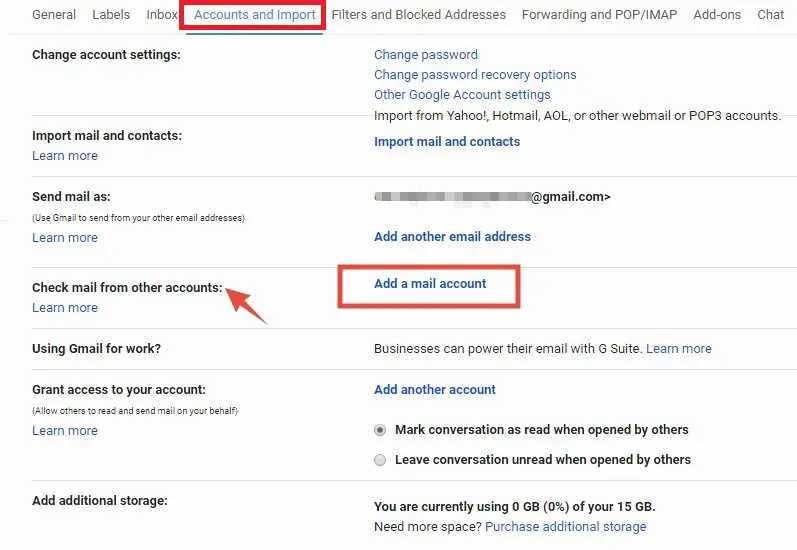
- On the next page, you will find a plethora of settings. You need to click on the ‘Accounts and Import’ button from the top menu which will open the settings related to your Gmail account

- Again, you will see a number of settings to configure in this section. However, you will need to click on the ‘Add a mail account’ link which will be next to the ‘check mail from other accounts’ option
- When you click on that link a new popup will appear like the image below. Do not close this popup
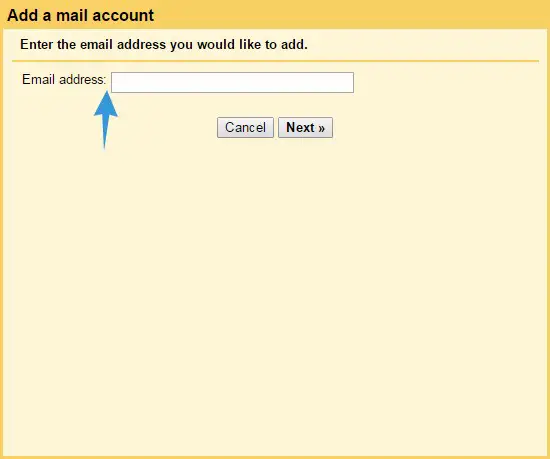
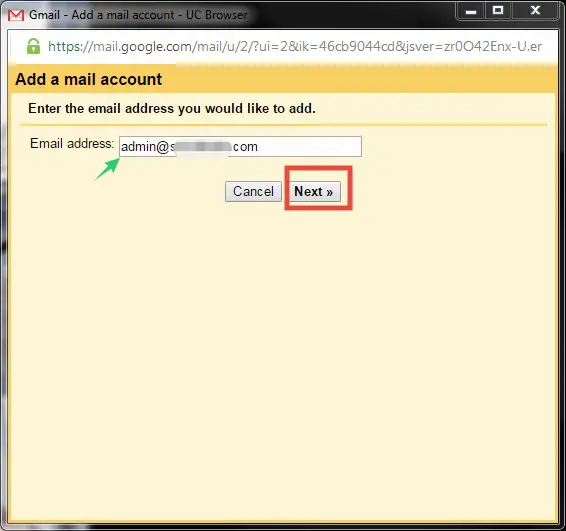
- You have to enter the ‘Email Address’ which you set up on your SiteGround web host earlier
- So, go to the ‘Email accounts’ page from your SiteGround cPanel dashboard. If you don’t know how then follow this article
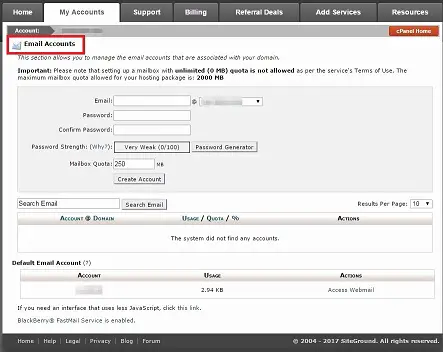
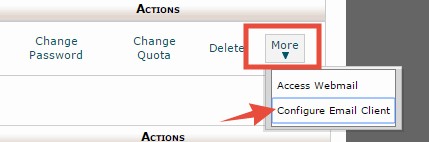
- After entering into the ‘Email Accounts’ page, click on the ‘More’ button next to the ‘Email account’ you want to use in this case

- That will bring a drop down menu click on the ‘Configure Email Client’ button from the drop-down menu
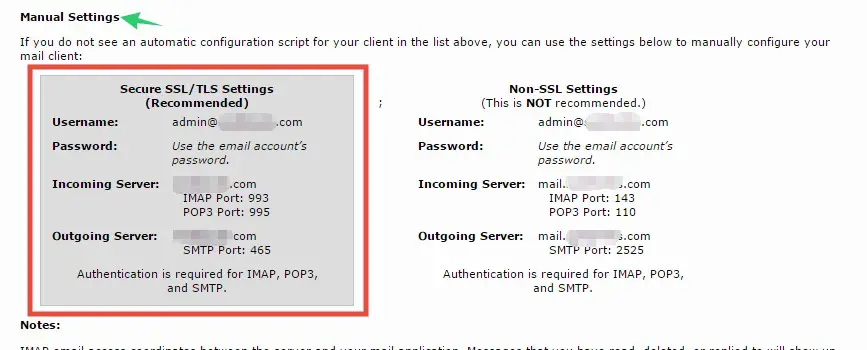
- It will take you to a page where you will find all of the information about your SiteGround website email account
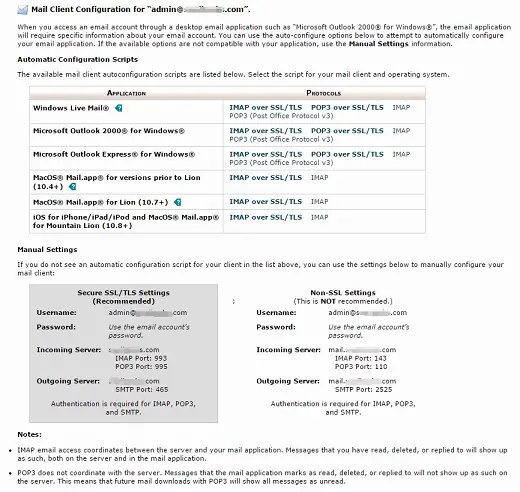
- On that page, scroll down to the ‘Manual Settings’ section, you will see some information about configuring your mail client. You will need the information from the ‘Secure SSL/TLS Settings’ section
- Now, return to the pop-up window and enter the email address and click on the ‘Next’ button to proceed
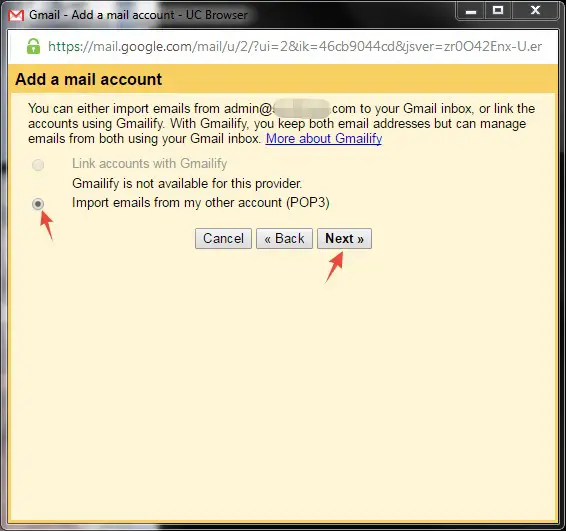
- Then click on the ‘Next’ button on the following page too as there will be only one option available
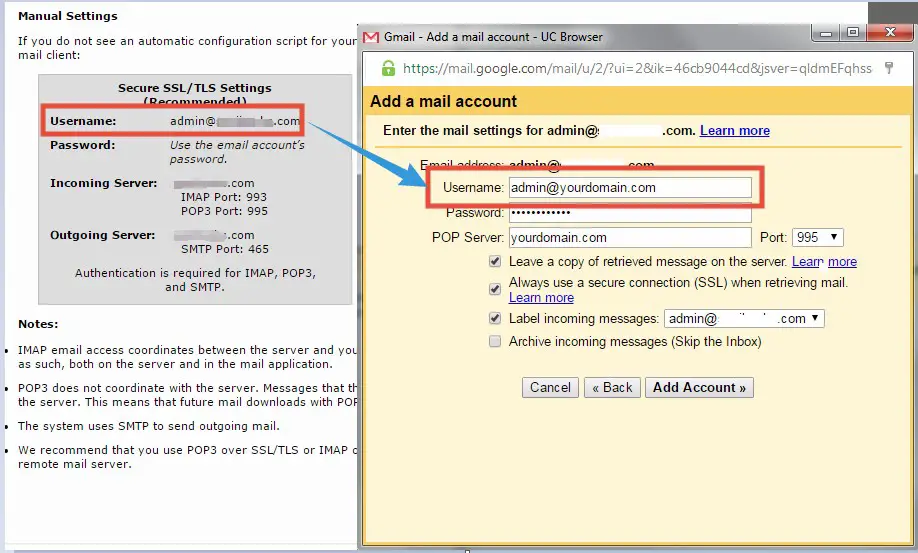
- On the next page, you have to enter some information regarding your email address. We will talk about all of them one by one. So don’t worry
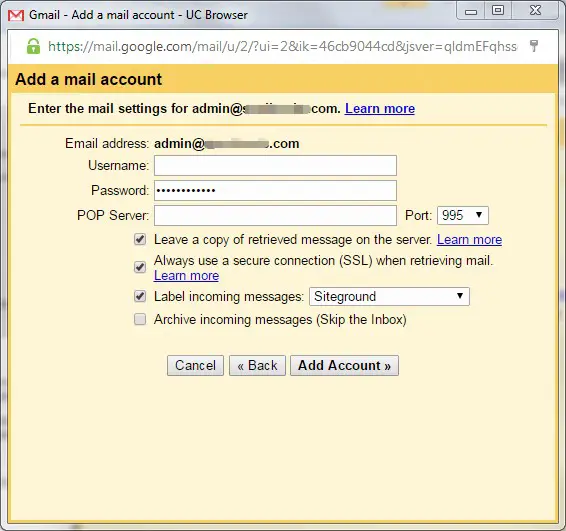
- The first box is the ‘Username’. This is the username which you will find on the ‘Manual Settings’ section of the ‘Configure Email Client’ page. So, copy the username from there and paste it on the popup window. To better understand you can see the image below
- You have to use the password of your website’s email account’s password on the ‘Password’ section
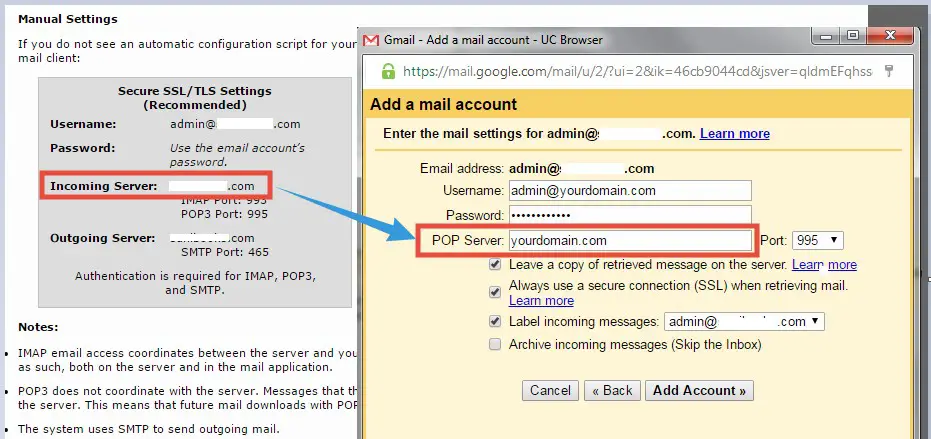
- The ‘Pop server’ will be the ‘Incoming Server’. So, copy the name from there to the popup window
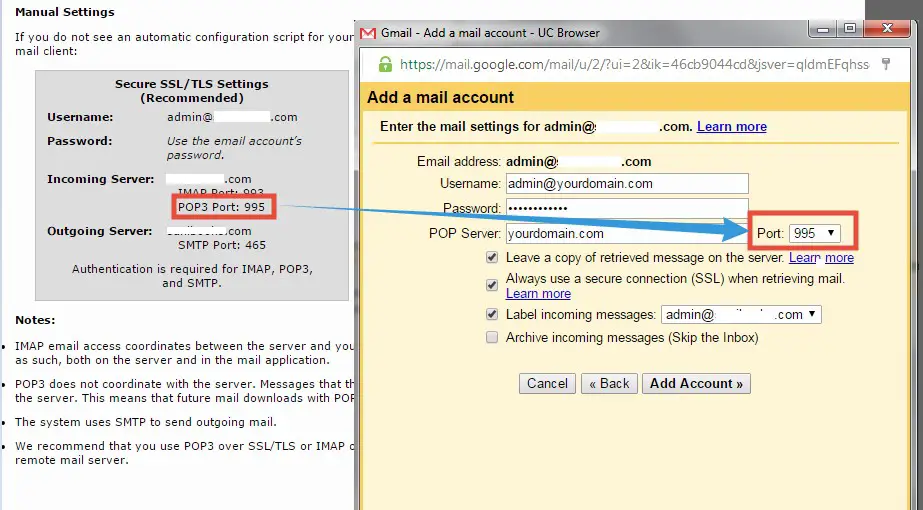
- The ‘Port’ will be the ‘POP3 Port’. So, select the exact one from the drop-down list
- Then check–mark on the first 3 options. We don’t recommend to enable the fourth option. So don’t check-mark that one
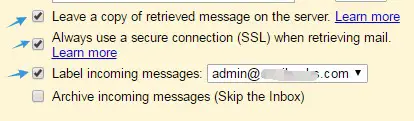
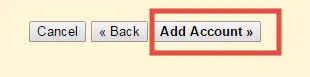
- Now, click on the ‘Add Account’ button to continue
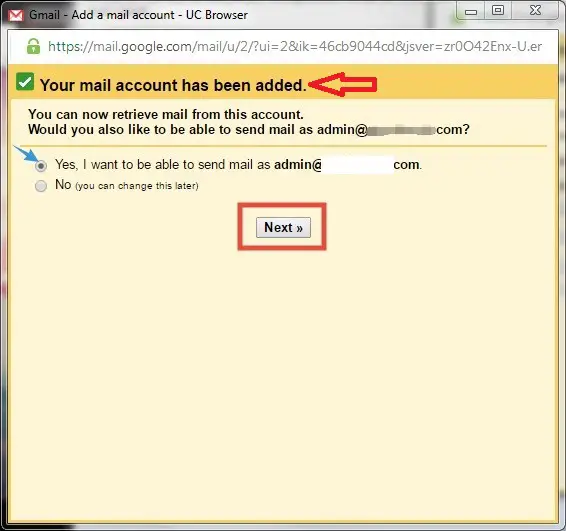
- On the next page, you will come to know that the account has been added. And, Google will ask you if you want to send email using the same email address too. So, check-mark the option ‘Yes, I want to…’ and then click on the ‘Next’ button
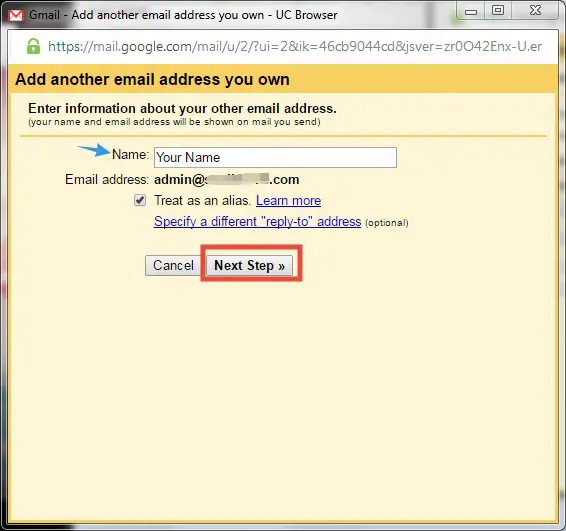
- Then, type your name or your website’s name on the ‘Name’ box. No need to change anything other than the ‘Name’ option. So, click on the ‘Next Step’ button to proceed
- The next page will also be needing some information. As always, we will explain each of the options steps by steps
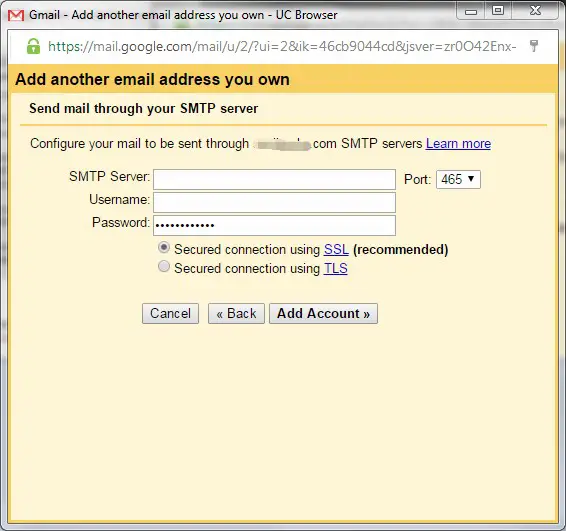
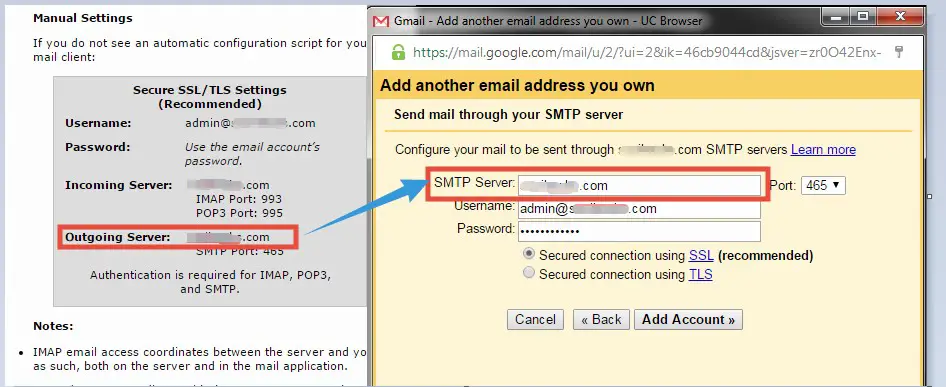
- The ‘SMTP Server’ will be the ‘Outgoing Server’. So, copy and paste the name of the server in the pop up window. Usually, it will be your domain name
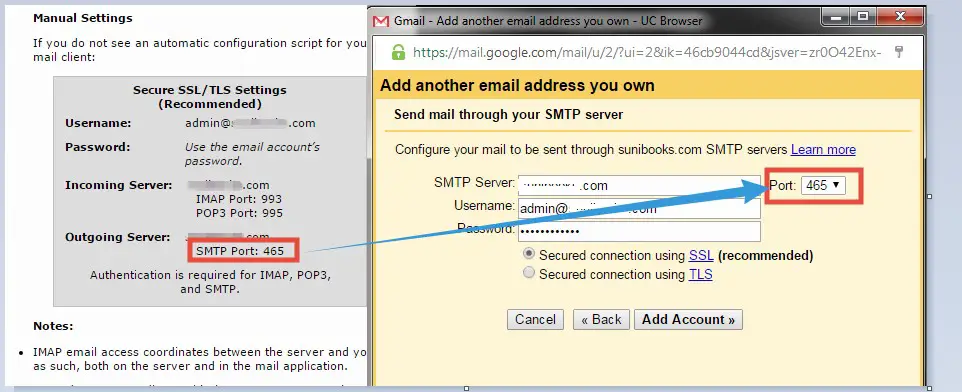
- Here, the ‘Port’ will be similar to the ‘SMTP Port’. So, select the exact one from the drop-down menu on the pop-up window
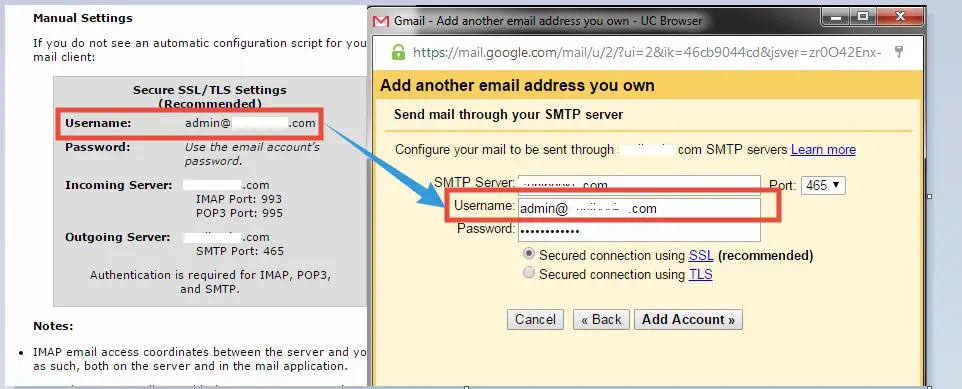
- The ‘Username’ will be similar to the ‘Username’ from the ‘Configure Email Client’ page. So, copy and paste it on its respective place
- The ‘Password’ will be your email account’s password. And, the ‘SSL’ option will be selected automatically. Keep it that way

- Now, click on the ‘Add Account’ button if everything is OK
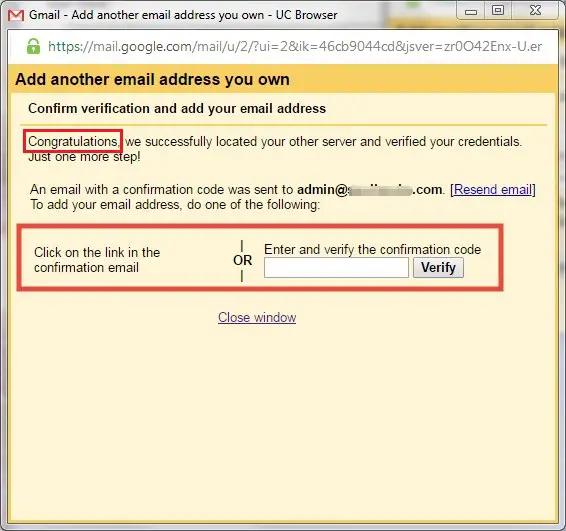
- On the next page, you will see a ‘Congratulations’ message. Then you have to verify your newly added email address on the Gmail client. There are two ways to verify. An email with a confirmation code and a link will be sent to your email account. You can verify by either of the two options. You will find the confirmation mail on both of your Gmail and webmail account
- So, sign in to your Gmail account. You will see a new email from the ‘Gmail Team’ is in your inbox. If you don’t find it, then refresh the page a few times

- Open the mail and you will find both the verification code and the confirmation link
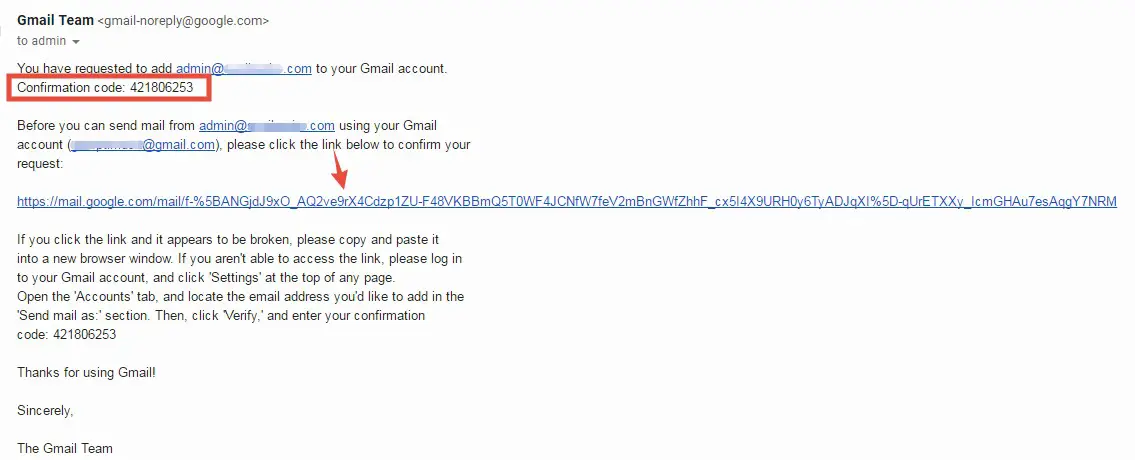
- So, you can click on the ‘Confirmation Link’ if you want to
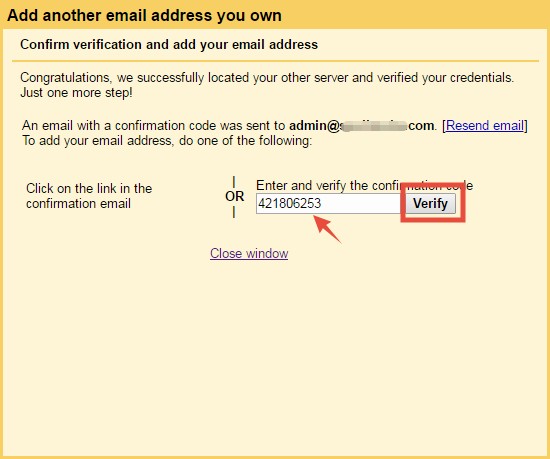
- Or you can copy the confirmation code and paste it onto its respective place on the popup window. Then click on ‘Verify’ button to proceed
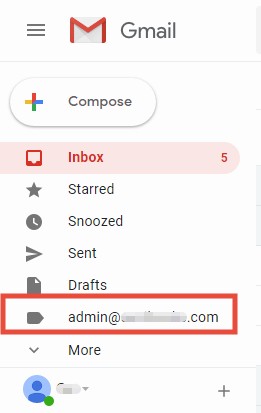
- Now, the popup window will close automatically. You will find a new label under your ‘Gmail’ account which is the email account you have just added
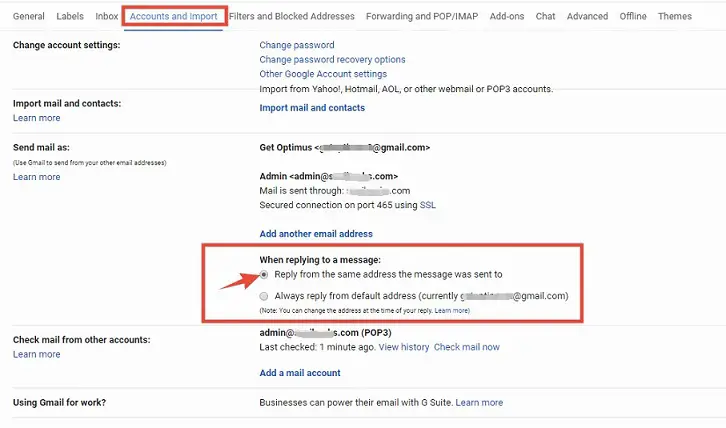
- You can change another option if you want to. Go to the ‘Settings’ menu of your Gmail account by clicking on the ‘Gear’ icon from the top- right corner of the screen and then clicking on the ‘Settings’ button
- Navigate to the ‘Accounts and Import’ option. Scroll down and select the option ‘Reply from the same address the message was sent to’ from under the option ‘When replying to a message’. It is optional, as you will be able to choose the (sender) email address before sending emails every time. But, we recommend it
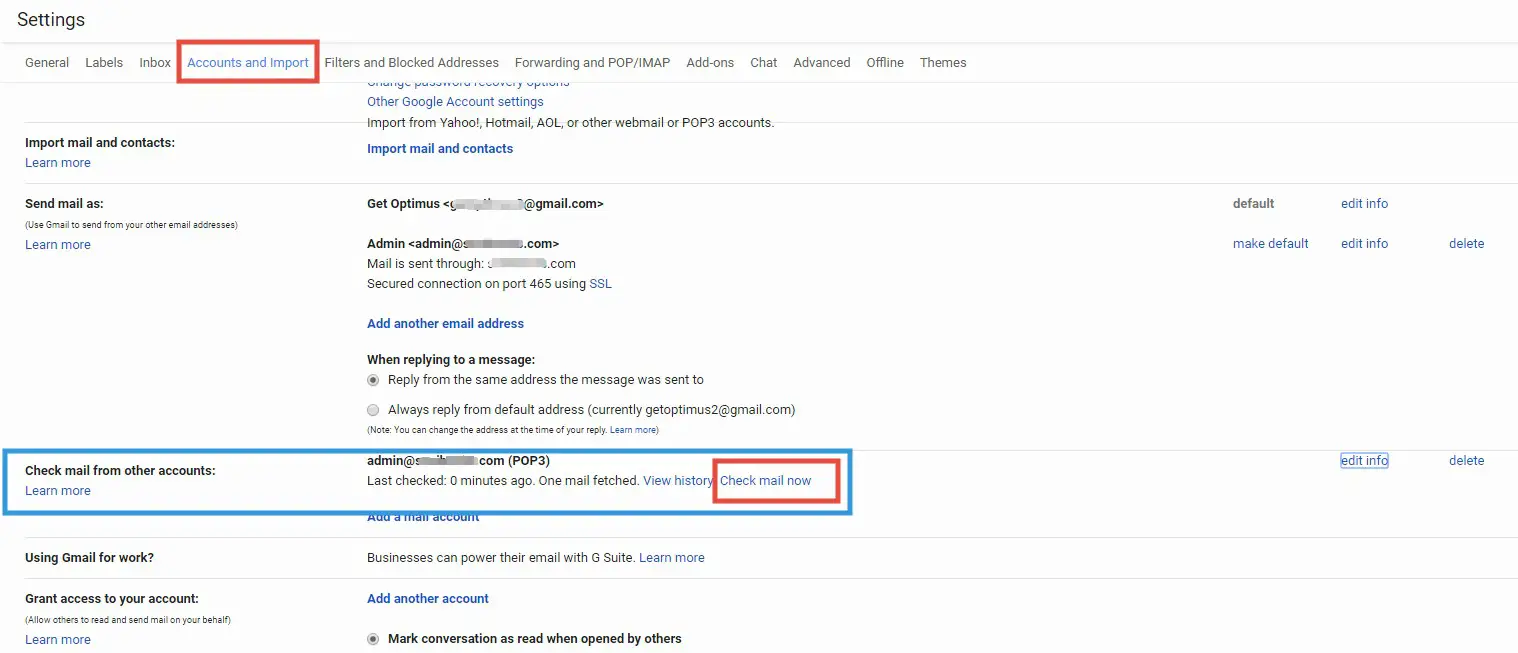
- Sometimes, the emails might not be synced in real time. If that’s the case for you. You can navigate to ‘Settings>> Accounts and Import’’ of your Gmail account. And, click on the ‘Check mail now’ option which will be under the ‘Check mail from other accounts’ option. This will manually fetch new emails
If you have followed the tutorial carefully. Then from now on, you can easily use Gmail with your SiteGround email account. That’s it. It is on your hand now.