
DISCLOSURE: This post may contain affiliate links, meaning when you click the links and make a purchase, we receive a commission.
There are plenty of ways available if you want to increase the loading speed of your website. And, enabling Gzip compression is one of them. If you enable this function on your website, the contents of your site will be compressed by the server. This will significantly decrease the size of the contents which will also decrease the loading time. However, all of the visitors will see the decompressed version of the contents on their browsers.
So, it is literally one of the best ways to improve the performance of your website(s). Now, if you want to know how to enable ‘Gzip compression’ on your site. You should read the rest of this article. As in this post, we will show you how to enable Gzip compression on a Siteground web host based website. If you don’t have a SiteGround web host account, that’s not a problem at all. Still, you can follow the methods below as these will be applicable for any web hosts.
To make it easier, we will describe the methods in a step by step manner. On top of that, we will add screenshots to each step.
So, let’s get started.
How to enable Gzip compression on SiteGround
How to check if Gzip compression is enabled on your website?
If you are going to enable the Gzip compression on your website. It is better to know if it’s enabled already or not at first. There are a lot of ways to check the status of Gzip compression. However, we will show you one surefire way to check it. Lets’ go.
Note: If you use the Siteground ‘Staging’ tool to enable the Gzip compression. Then you won’t be able to check it for the staging site. It is disabled by default. But after you push the website live you will be able to check
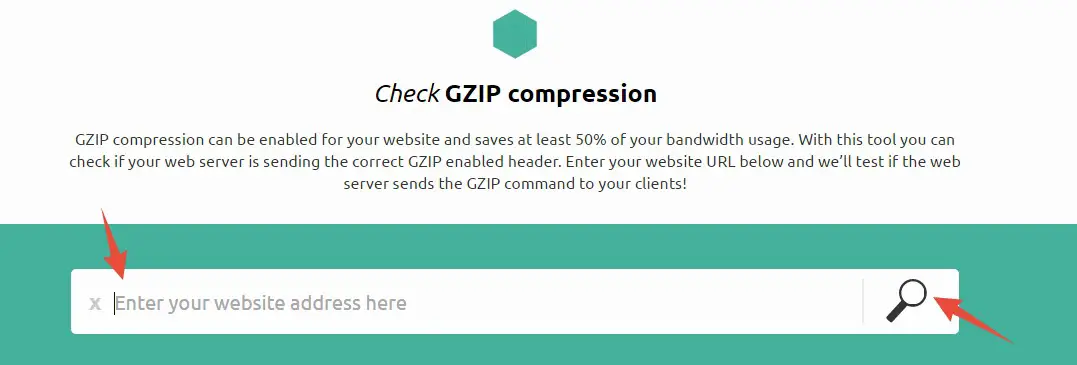
- Go to the Gzip compression checker website
- Now, you will see a big blank box where you need to enter your website address and click on the ‘Search’ icon next to it
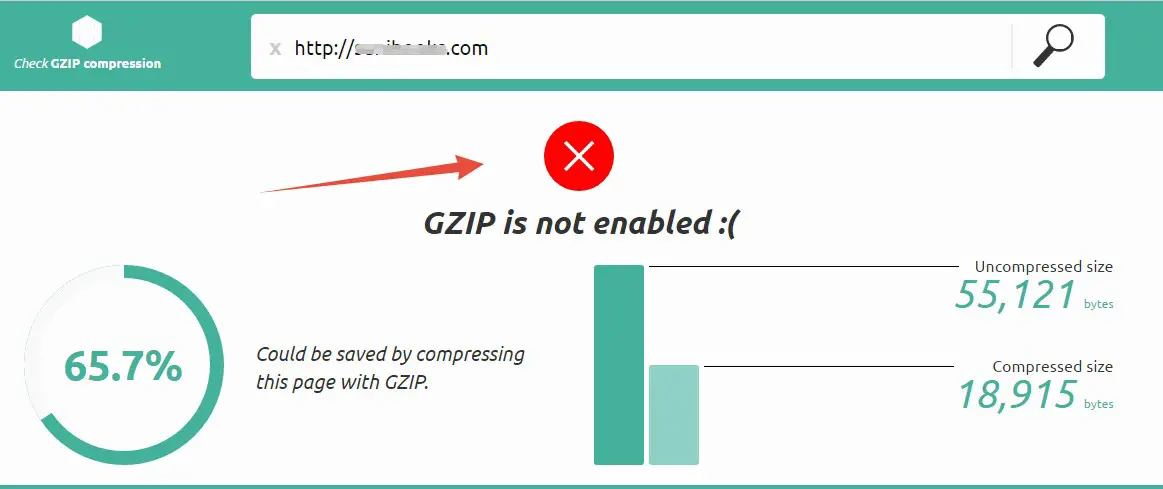
- On the next page, you will see a notification saying ‘GZIP is not enabled’. It will also show you how much you could save by enabling the ‘GZIP compression’ on your website
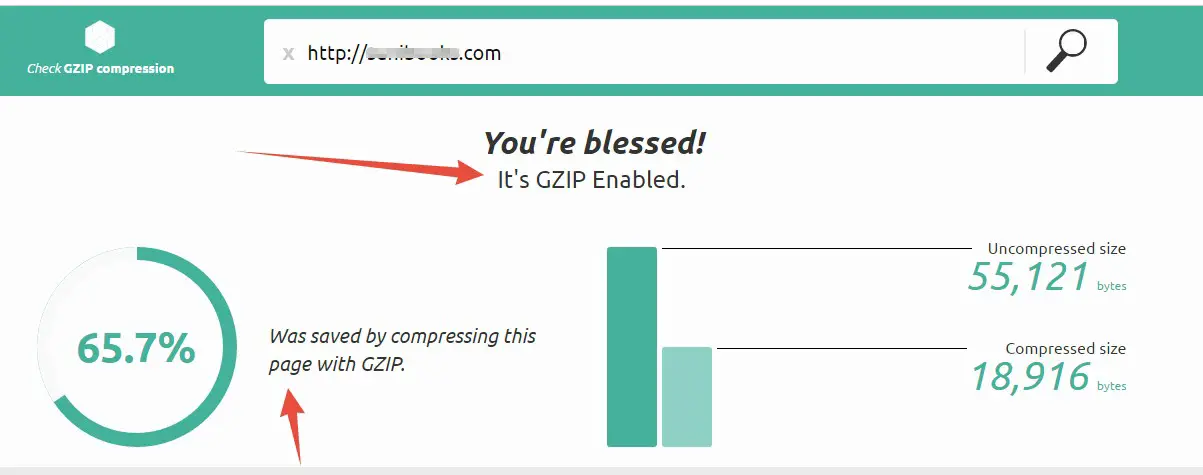
- However, if you see a notification saying ‘You’re blessed! It’s GZIP Enabled’. Then you don’t even need to read the rest of the article as it is already enabled
Well, if GZIP is not enabled on your site. Don’t worry at all. We will show you how to enable it using various methods below. At first, we will show you how to enable it on any WordPress based websites. So, let’s go.
Method 1. Automatic Method:
For WordPress sites:
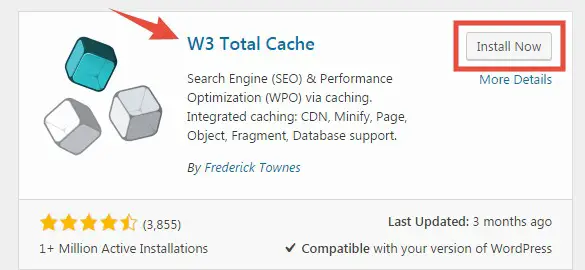
If you want to enable Gzip without any hassle on your WordPress website then you can use a number of plugins. In this section, we will talk about two plugins which can be used to enable the Gzip compression. The plugins are W3 Total Cache and WP Super Cache. These two plugins are used as cache plugin. Almost every WordPress site owner uses one of these plugins.
First of all, you need to install and activate one of these plugins on your website. Remember, you don’t need to install both of these plugins, just one will do. After activating the plugins we can proceed to the process of enabling Gzip compression.
If you don’t know how to install and activate plugins then you can follow our in-depth guide on how to install ‘W3 Total Cache’ plugin. After reading that, you will be able to successfully install and activate these plugins.
So, we will not talk about the installation procedure of any plugin in this article. We will assume that you have already installed your preferred plugin. Now, let’s learn how to enable the Gzip compression using those plugins.
How to use the ‘W3 Total Cache’ Plugin to enable Gzip compression?
- You should install this (‘W3 Total Cache’) plugin
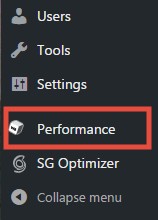
- After activating the plugin, you will find a new option on the left sidebar of your WordPress dashboard named as ‘Performance’. It is related to the ‘W3 Total Cache’ plugin
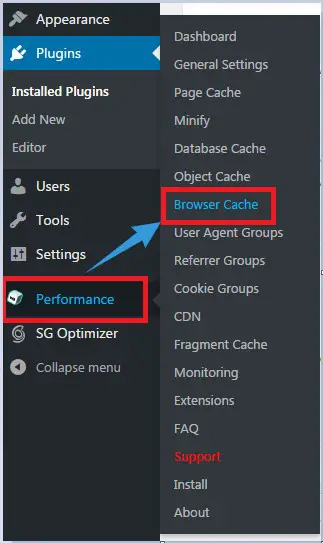
- Now, hover your mouse pointer over the ‘Performance’ button. It will bring out a sub-menu. Then click on the ‘Browser Cache’ option from that sub-menu
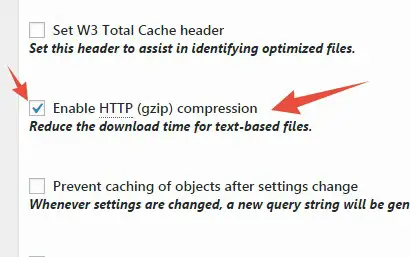
- On the next page, you will find a lot of settings to customize. In this case, we will only need to activate the ‘Enable HTTP (Gzip) compression’ option. Usually, this option will be enabled by default. However, if it is not, then add a check mark next to the option to enable it
As you have learned how to enable Gzip compression using the ‘W3 Total Cache’ plugin. Now, we will show you how to do the same using another similar plugin.
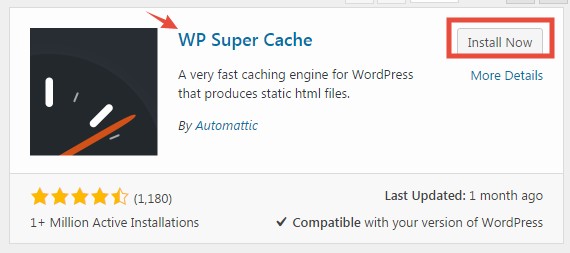
How to use ‘WP Super Cache’ plugin to enable Gzip compression?
- This is the plugin (‘WP Super Cache’) you need to install
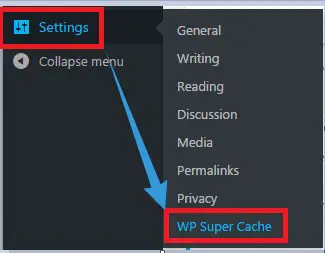
- After activating this particular plugin, navigate to the left sidebar of your WordPress dashboard. Now, hover your mouse pointer over the ‘Settings’ option to bring out a sub-menu. Now, click on the ‘WP Super Cache’ option from that sub-menu
- In doing so, the settings of the ‘WP Super Cache’ plugin will appear on the screen. Click on the ‘Advanced’ option from that page
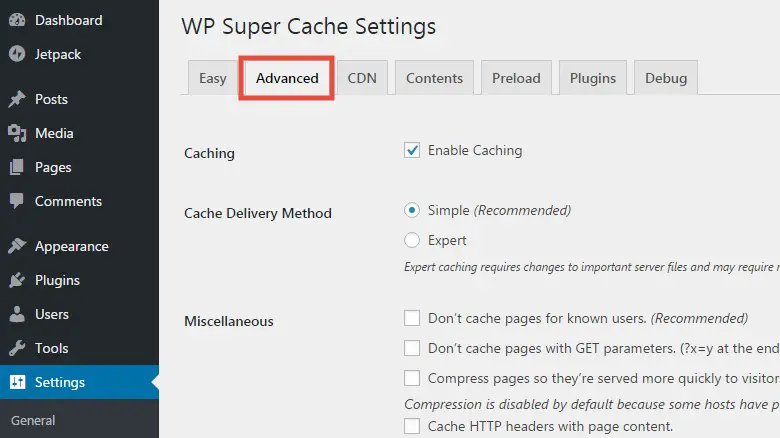
- At this point, add a check-mark next to the ‘Compress pages so they’re served more quickly to visitors’ option from under the ‘Miscellaneous’ section

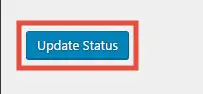
- Now, on that same page, scroll down and click on the ‘Update Status’ button to save the changes
That’s it. You have activated the Gzip compression using the ‘WP Super Cache’ plugin on your WordPress site. Wasn’t that easy?
Yet, in some cases, some web hosting providers don’t allow any third-party plugins to interfere with the internal functions. So, using a plugin might not be the suitable option for some of you. In this case, you need to follow the manual method which we will describe in the later part of this article.
At this moment, we will show you how to enable Gzip compression on a Joomla website. So, if you are Joomla user then follow along.
How to enable Gzip compression on a Joomla website?
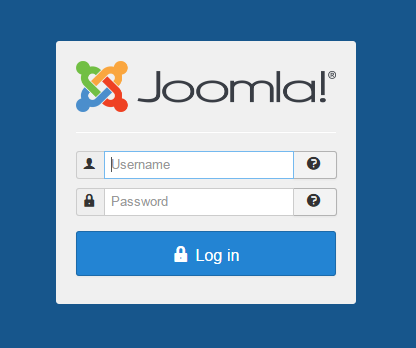
- Log in to the dashboard of your Joomla website
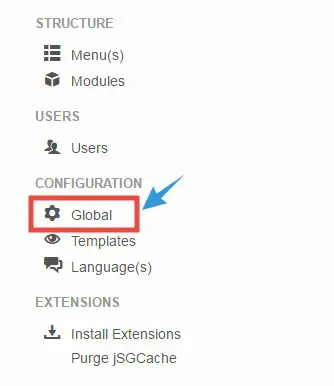
- After that, navigate to the left sidebar and click on the ‘Global’ button from there
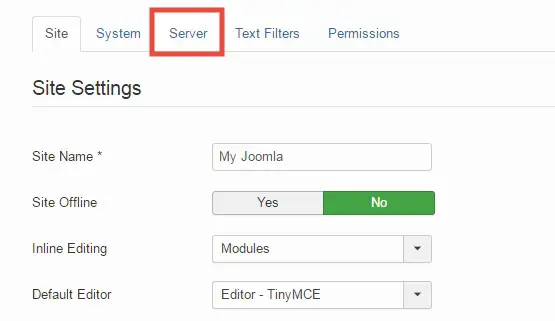
- Now, from the right-hand side of the screen, click on the ‘Server’ button to select the options related to server
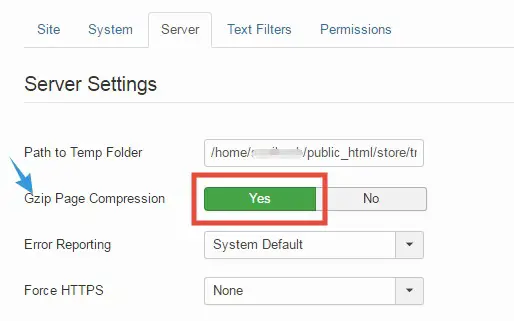
- You will find the ‘Gzip Page compression’ option under the ‘Server Settings’ section. Usually, the option will be enabled by default. However, if that’s not the case, click on the ‘Yes’ button to enable it
So, you have just come to know how to enable Gzip compression on a Joomla website. Now, it is possible that you might use other CMSes. So, in that case, you need to manually enable the Gzip compression. Let’s know how to do that.
Method 2. Manual Method:
How to manually enable Gzip compression on any website?
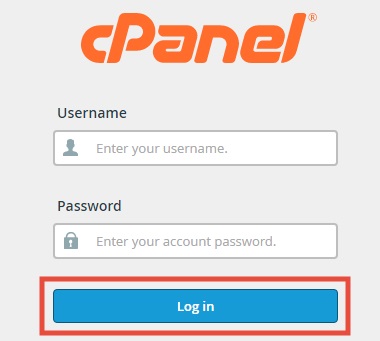
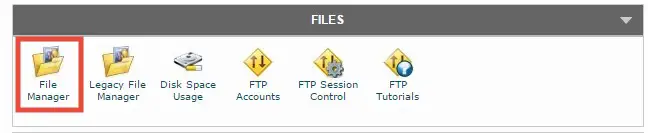
- Log in to your cPanel dashboard of your SiteGround web host
- Now, navigate to the ‘File Manager’ button which will be under the ‘Files’ section. Click on that button to proceed to the next step
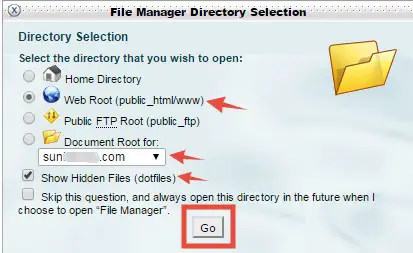
- After that, a popup window will appear. First, make sure that the ‘Web Root (public_html/www) is selected. Then select the preferred domain name from the drop-down menu. If you have only one domain name connected to your hosting account then you don’t need to do that as it will be automatically selected. But, if you have multiple domain names connected to the hosting account then you need to select your desired one. And, also add a check-mark to the option ‘Show Hidden Files’ (you must enable it). Lastly, click the ‘Go’ button to continue
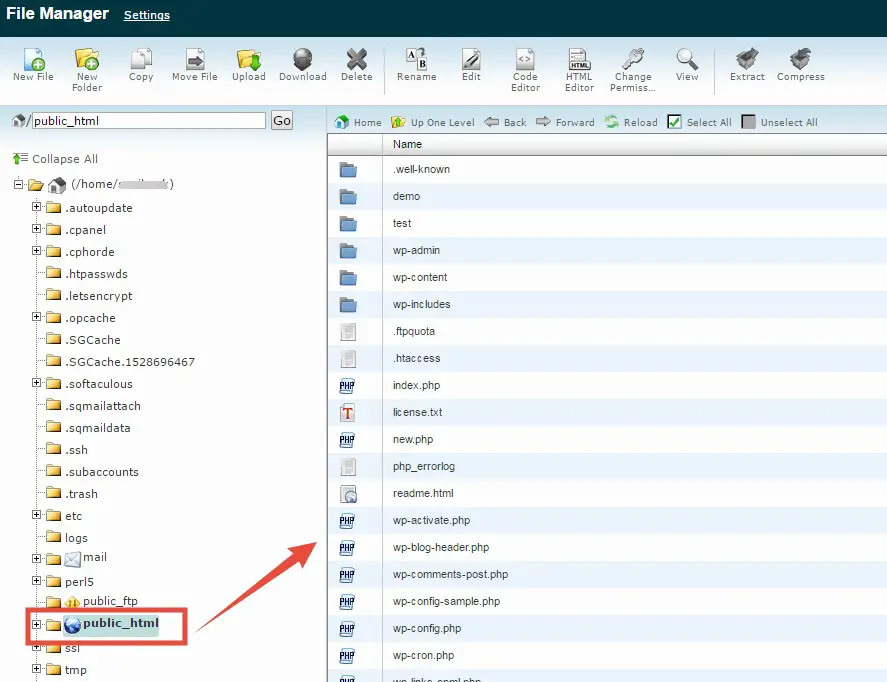
- On the next page, you will see all of the folders on the left side of the screen. On the right-hand side, you will see all of the files inside of those folders. In this instance, you will see the files of the ‘public_html’ folder
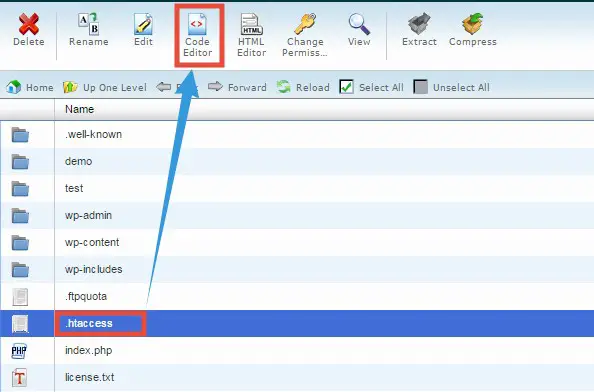
- Now, you will have to edit the ‘.htaccess’ file from this page. So, click on the ‘.htaccess’ file to select it and then click on the ‘Code Editor’ button from the top menu bar
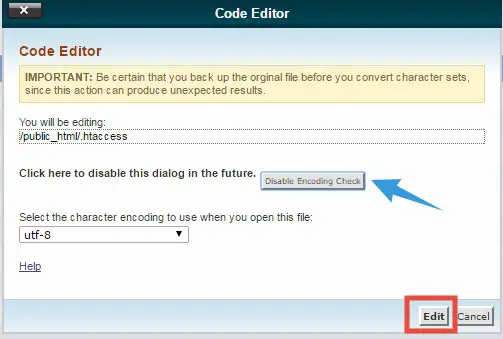
- Now, a new popup box will appear on the screen. If you don’t want to see this popup window in future, you can click on the ‘Disable Encoding Check’ button. And then click on the ‘Edit’ button to close the popup box
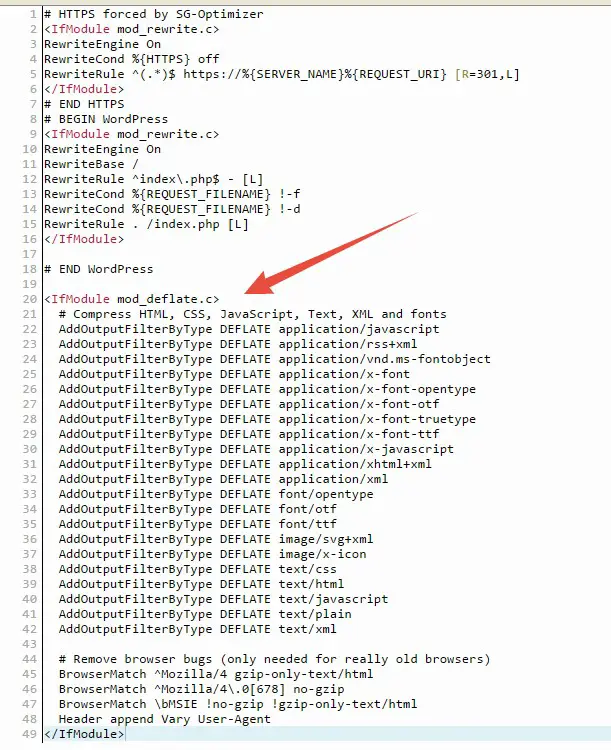
- A new page will be opened on your browser. It will somewhat look like the image below (if you are a WordPress CMS user). You have to paste a script here next

- So, copy the script from below and paste it on the last line on the code editor (below the current codes). Here is the script:
<IfModule mod_deflate.c>
# Compress HTML, CSS, JavaScript, Text, XML and fonts
AddOutputFilterByType DEFLATE application/javascript

AddOutputFilterByType DEFLATE application/rss+xml

AddOutputFilterByType DEFLATE application/vnd.ms-fontobject

AddOutputFilterByType DEFLATE application/x-font

AddOutputFilterByType DEFLATE application/x-font-opentype

AddOutputFilterByType DEFLATE application/x-font-otf

AddOutputFilterByType DEFLATE application/x-font-truetype

AddOutputFilterByType DEFLATE application/x-font-ttf

AddOutputFilterByType DEFLATE application/x-javascript

AddOutputFilterByType DEFLATE application/xhtml+xml

AddOutputFilterByType DEFLATE application/xml

AddOutputFilterByType DEFLATE font/opentype

AddOutputFilterByType DEFLATE font/otf

AddOutputFilterByType DEFLATE font/ttf

AddOutputFilterByType DEFLATE image/svg+xml

AddOutputFilterByType DEFLATE image/x-icon

AddOutputFilterByType DEFLATE text/css

AddOutputFilterByType DEFLATE text/html

AddOutputFilterByType DEFLATE text/javascript

AddOutputFilterByType DEFLATE text/plain

AddOutputFilterByType DEFLATE text/xml
# Remove browser bugs (only needed for really old browsers)

BrowserMatch ^Mozilla/4 Gzip-only-text/html

BrowserMatch ^Mozilla/4\.0[678] no-Gzip

BrowserMatch \bMSIE !no-Gzip !Gzip-only-text/html

Header append Vary User-Agent

</IfModule>
- The code editor would look like this image below
- There are some cases where the code we have provided above might not work. If it happens in your case then copy and paste the code from below instead of the code above (but first try the code above). Here is the script:
<IfModule mod_deflate.c>
AddOutputFilterByType DEFLATE text/plain

AddOutputFilterByType DEFLATE text/html

AddOutputFilterByType DEFLATE text/xml

AddOutputFilterByType DEFLATE text/css

AddOutputFilterByType DEFLATE application/xml

AddOutputFilterByType DEFLATE application/xhtml+xml

AddOutputFilterByType DEFLATE application/rss+xml

AddOutputFilterByType DEFLATE application/javascript

AddOutputFilterByType DEFLATE application/x-javascript

</IfModule>
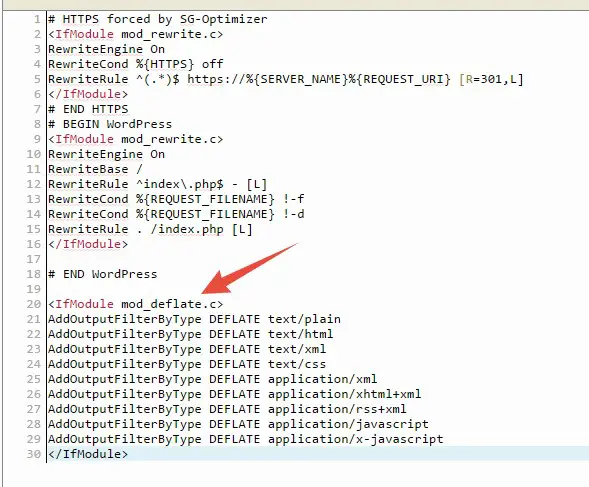
Note: If the first code works then you should not use the second one. Simply put, you need to use any one of these codes. We prefer the first code but you can use the second one too alternatively
- After you have pasted the code, now click on the ‘Save’ button from the top right corner of the screen to save the changes
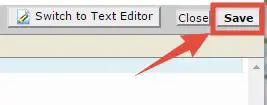
- The ‘.htaccess’ file will be saved immediately. You will see a ‘Success’ notification on the bottom-right corner of the screen

By this time, you have learned how to enable the Gzip compression feature manually. It’s your turn to check if it’s enabled or not. So, let’s check on this website as we have mentioned at the start of this article.
- After checking, you will see that Gzip compression is enabled on your site
To Recap:
First, we have talked how to check if Gzip compression is enabled or not. Next, we have shown you how to enable it using a number of methods. So, if you have followed this article carefully, then you will be able to enable it on any website from now on. For that reason, you should start to use this awesome feature and speed up your websites. It might look simple yet it is pretty effective.