DISCLOSURE: This post may contain affiliate links, meaning when you click the links and make a purchase, we receive a commission.
Have you ever heard of Wikipedia?
We know it’s a dumb question to ask. It’s pretty obvious that every internet users know about Wikipedia.
But the real question is… Did you know that ‘Wikipedia’ use ‘MediaWiki’ as their CMS (Content Management System)? Not only Wikipedia but also other famous Wiki-based sites like Wikileaks, WikiHow etc. use ‘MediaWiki’ as their CMS.
So, if you are thinking about opening a new wiki-based website. You should take a look at this powerful software.
If you want to use ‘MediaWiki’ on your site. First, you need to install the software. Now, if you have a SiteGround web host account. Then you can follow this article. Because we are going to share the process of installing ‘MediaWiki’ on a SiteGround web host. Along with this, we will add screenshots to each step to make it easier for everyone.
So, let’s cut to the chase.
Read also: Top MediaWiki Hosting
Feel free to Subscribe to Our YouTube Channel if you like this video!
How to install ‘MediaWiki’ on a SiteGround account using ‘Softaculous’
In this article, we will reveal the method of installing ‘MediaWiki’ using the popular ‘Softaculous’ auto installer. So, without further ado. Let’ see how.
Steps to follow:
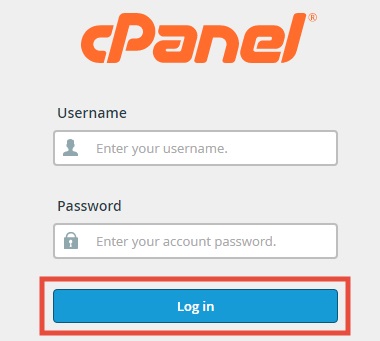
- First and foremost, log in to the cPanel account of your SiteGround web host
- You need to click on the ‘Softaculous’ button from under the ‘AutoInstallers’ section
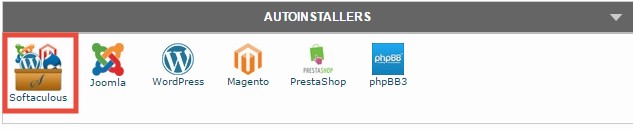
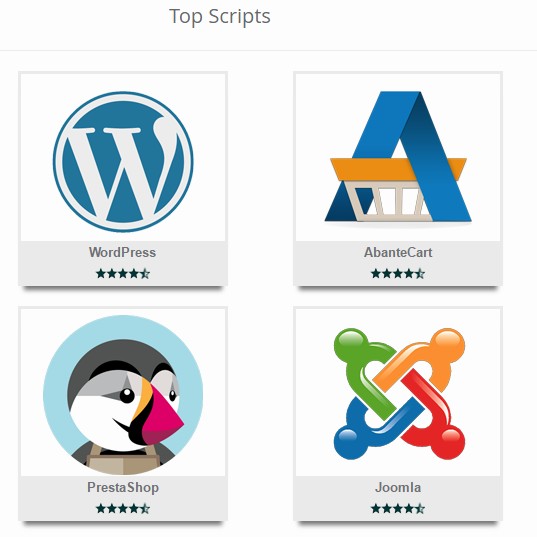
- After this, you will be taken to the Softaculous ‘Top Scripts’ page
As you are going to install ‘MediaWiki’, you will need to find that particular script from the list. However, you will not find the ‘MediaWiki’ icon normally. You have to dig a little deeper to find that.
So, we will show you 3 ways to find that button. You can use any of the methods. So, let’ see what the secret ways are.
#1:
- The first way is to navigate to the left-sidebar. You will find the option named ‘Wikis’ on the left-sidebar. Click on the ’Wikis’ button
- Then a list of all of the wiki-based CMS will appear on the right-hand side of the page
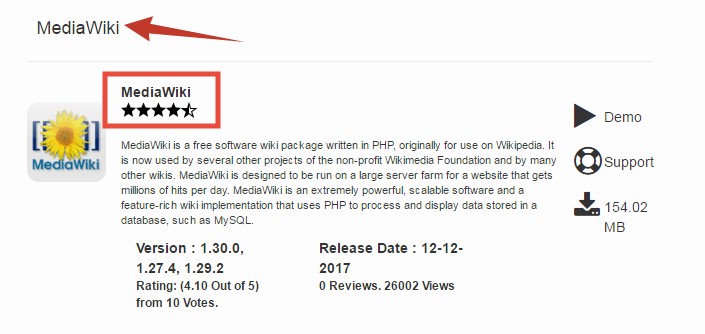
- Scroll down and you will find the ‘MediaWiki’ button on the bottom. Click on the button
#2:
- Or, you can click on the arrow next to the ‘Wikis’ option from the left-sidebar. Now, you will notice that a new sub-category will be available. You will find the ‘MediaWiki’ button there. Just click on the button to proceed
#3:
- The last way is to navigate to the ‘Search’ box on the top-right corner of the page
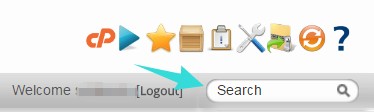
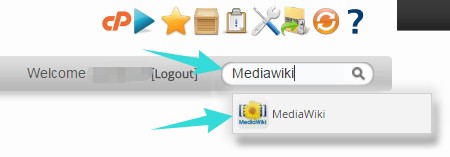
- You have to type the word ‘MediaWiki’ (not case-sensitive) on the search box. Then you will see that under the search box, some suggestions will start to appear. You will find the ‘MediaWiki’ button on the auto-suggestion box. Then click on the ‘MediaWiki’ button to proceed to the next page
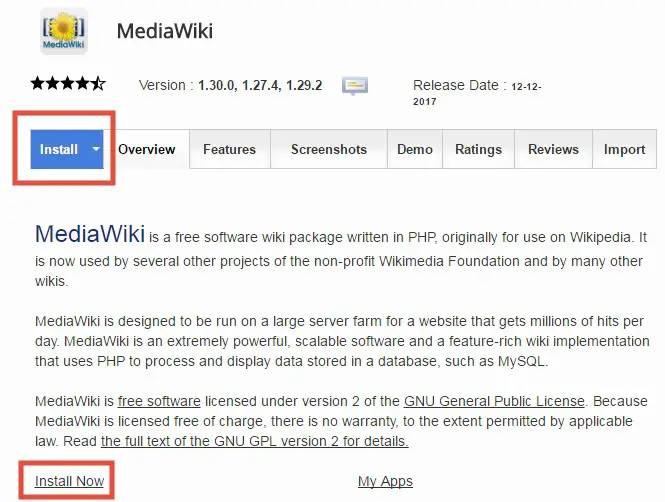
After you click the ‘MediaWiki’ button on the previous page. It will take you to the MediaWiki ‘Overview’ page.
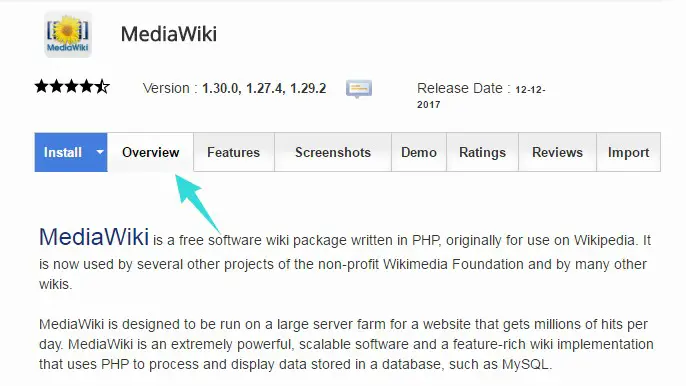
On this page, you will be able to see a short overview of ‘MediaWiki’ CMS. But, the most important thing is that you can start to install the CMS from this page. So, let’s see how to do that.
Initializing the Installation process:
- Click on the blue ‘Install’ button from the top or you can also click on the ‘Install Now’ button from the bottom of the page
Now, automatically the ‘Custom Install’ method will open. Confused? Actually, there are two methods to proceed to the installation page such as ‘Quick Install’ and ‘Custom Install’. Between these, the ‘Custom Install’ comes with more option than the quick one. So, it is the best option. So, we are going to share this process in this article.
However, if you want to use the quick one. You can easily go to the ‘Quick install’ page by following either of the two methods below.
- Click on the ‘Quick Install’ button from the top corner of the page
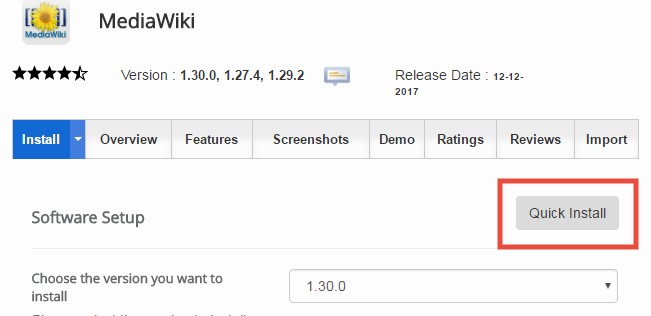
- Or you can click on the arrow next to the blue ‘Install’ button. It will make a drop-down menu appear. Click on the ‘Quick Install’ from the drop-down menu
As we said we will describe only the ‘Custom Install’ method here. No need to worry. Because the ‘Custom Install’ actually has all of the options from the ‘Quick Install’. To make the installation process easier. We will share the next part section by section. So, let’s go.
Software Setup:
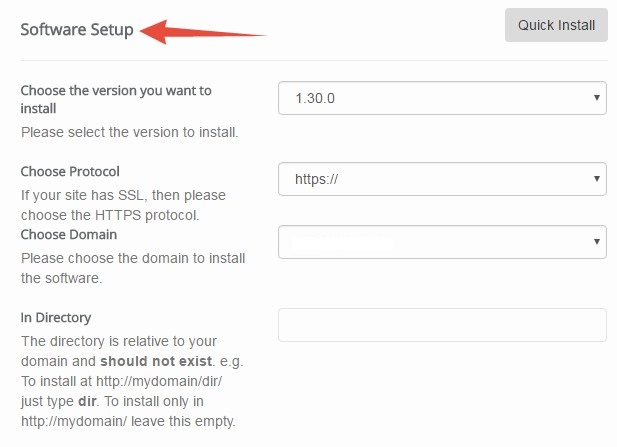
- Choose Version: Always, install the latest version of the software from the dropdown list

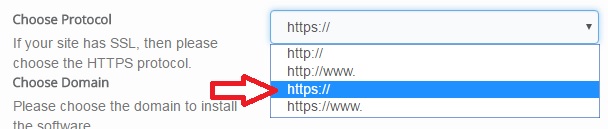
- Choose Protocol: If your website has SSL protection, then choose the ‘https://’ option. Otherwise go with the ‘http://’ option. You don’t need to use any of the other two options
- Choose Domain: You can ignore this option if you only have one domain connected to your hosting account. But, if you have more than one domain connected then select your desired one from the drop-down list
- In Directory: You can skip this option. Normally for a wiki-based website. You don’t need to use a sub-directory for your website
Site Config:
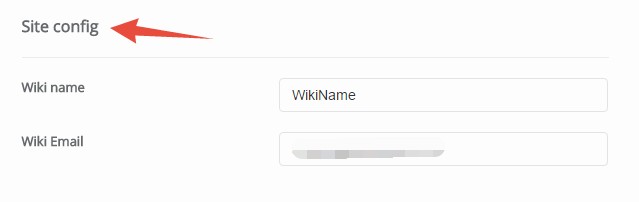
- Wiki name: It is self-explanatory. Write your web site’s name on the box
- Wiki Email: This is an important option. So, provide a valid email address; preferably your personal email address. Because all of the important information about your website will be sent to this email address including the login credentials. Additionally, you will need to access this email address when you have to reset your password
Admin Account:
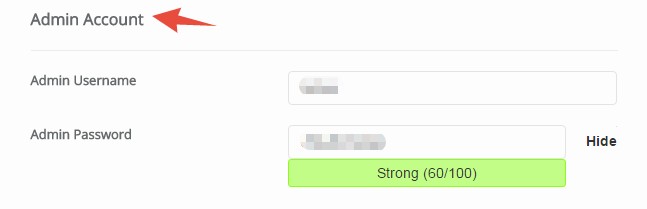
Remark: You have to save or note down the username and password from this section
- Admin Username: Normally, you will find the box filled with an auto-generated username already. So, if you want to keep that as your username you can. Again, if you want to change it, you can do that too. Just remember, don’t use any popular names like admin, user etc. As these are very easy to guess. And, hackers can guess them easily. So, your website would be very easy to hack
- Admin Password: Again, there will also be another auto-generated password. It’s your choice if you want to keep it or not
Choose Language:
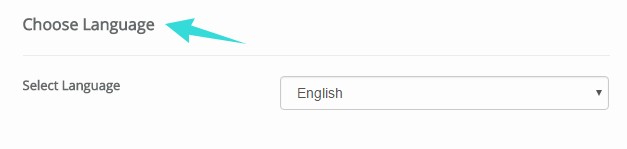
- Select Language: You can select your site’s language from the down-down list. In our case, we have selected ‘English’
Uploads:
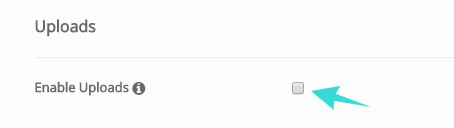
- Enable Uploads: If you want to enable the option. Just, checkmark the option to enable it. Otherwise, you will be able to enable this option later as well
Advanced Options:
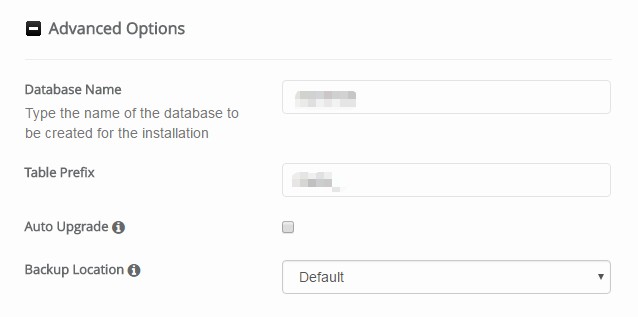
- In this section, you can enable the ‘Auto Upgrade’ option by check-marking on the little box next to the option. It will be very helpful later. Because if there’re any new version of ‘MediaWiki’ arrives later. Your site will be automatically updated to the latest version always

- Other than that, you don’t need to change anything from this section. Additionally, you can save the information like ‘Database Name’, and ‘Table Prefix’
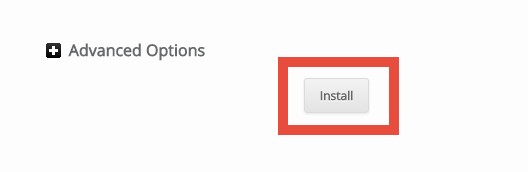
Completing the installation:
- When you are content with all of the information you provided earlier. You can click on the ‘Install’ button from the bottom of the page. That’ll trigger the installation process
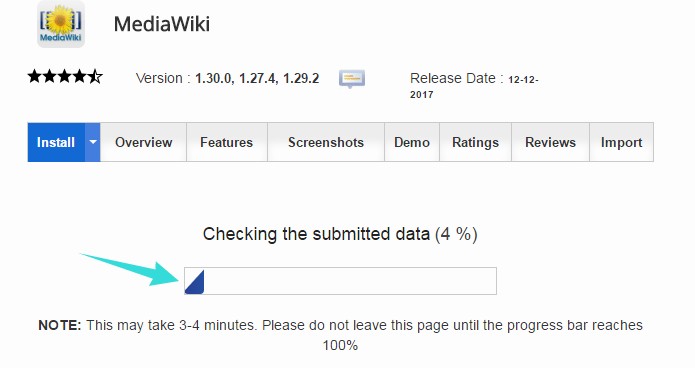
- On the next page, you will see the progress bar of the installation. Usually, the installation completes within a minute. So, wait for the installation to complete. So, do not close the page during this time period
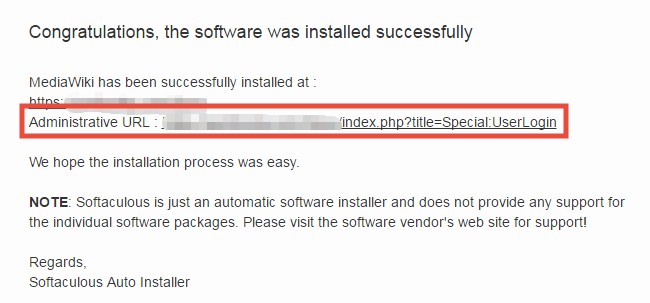
- After the completion, you will see a ‘Congratulations’ message on the next page
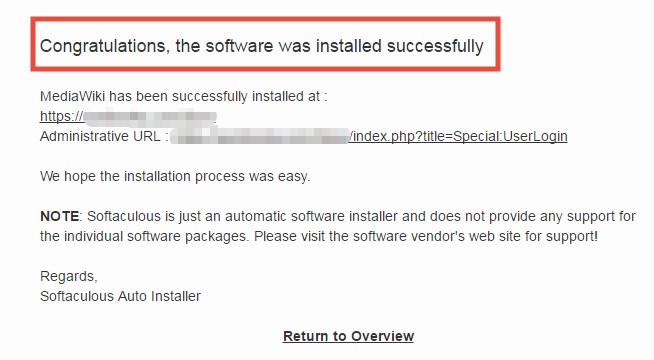
- The message will also contain the URL of your ‘MediaWiki’ website’s administrative page. Remember to bookmark/save the page for later use
If you are still here with us. Then congratulations to you as you have just learned the process of installing ‘MediaWiki’ on a SiteGround account. Now, it’s time to use the new site.
How to login to your new ‘MediaWiki’ site?
- Click on the ‘Administrative URL’ which you got after the completion of the installation. It will take you to the login page of your ‘MediaWiki’ admin panel
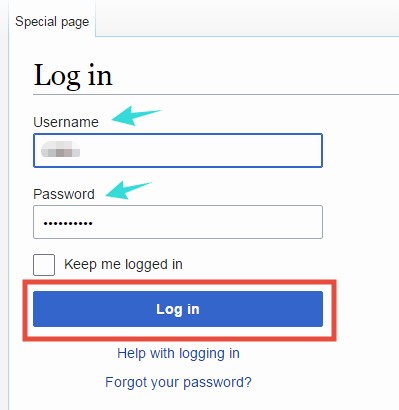
- Now, type your username and password on the respective boxes. And, click on the ‘Log in’ button to enter on your site
Yes. It’s that easy.
Last Words:
As always, we have tried to make the guide as detailed as possible. Along with that, we have tried to make this guide beginner-friendly. So, we hope it will help you if you want to install ‘MediaWiki’ on your SiteGround account anytime. Now, it’s on your hand to make your new website.