DISCLOSURE: This post may contain affiliate links, meaning when you click the links and make a purchase, we receive a commission.
‘MyBB’ was released in 2002. At that time, it was known as ‘MyBulletinBoard’. Later the name was changed to ‘MyBBoard’. Now, it is popular all over the world as just ‘MyBB’.
If you are still bewildered about what we are talking about. Bear with us a bit.
We are actually talking about one of the most popular bulletin board software available right now. This software can be used to create discussion, forum, and community etc. type of websites. If you want to create a new forum or discussion board type website, you can use ‘MyBB’.
It is possible that you don’t know where to start. Fear not!
If you have a SiteGround web hosting account. This is the article for you. Because we are going to reveal the method of installing ‘MyBB’ on a SiteGround web host today. Plus, we will attach screenshots with each step to make it easier for everybody.
So, want to see how it works right now? Keep reading and you’ll find out.
Read: Top MyBB Hosting
Feel free to Subscribe to Our YouTube Channel if you like this video!
How to install ‘MyBB’ on a SiteGround hosting account using ‘Softaculous’
It is already known that the easiest way to install any software on a SiteGround web host is to use the ‘Softaculous’ auto installer. So, without any exception, we will also use the same method in this article. Let’s begin.
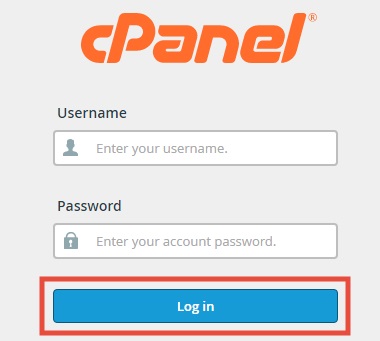
- Login to the cPanel dashboard of your SiteGround account
- From the cPanel, click on the ‘Softaculous’ button which will be on the ‘Auto Installers’ section

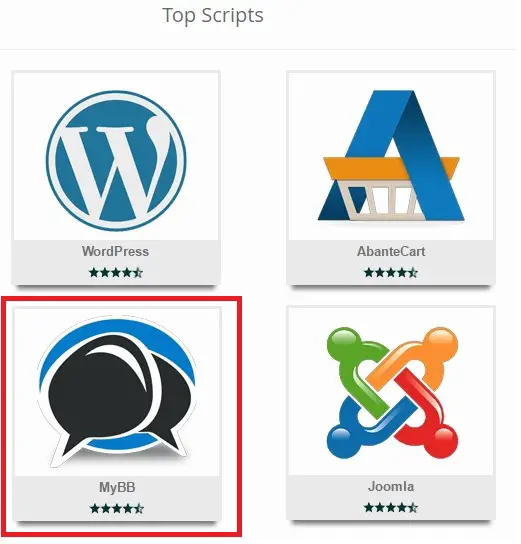
- This will take you to the Softaculous ‘Top Scripts’ page. From there, you can find the ‘MyBB’ button
As you are on the ‘Top Scripts’ page, you can look for the ‘MyBB’ button using 3 methods. They all are different methods but the result will be the same. So, you can use any one of the methods to find the ‘MyBB’ button. For your convenience, we will share all of the methods in the next part of the article.
#1:
- At the ‘Top Scripts’ page, if you scroll down a bit you will find the ‘MyBB’ button at the bottom of the page. Just click on the ‘MyBB’ button to proceed to the next step. However, if you don’t find the ‘MyBB’ button on the ‘Top Scripts’ list, you can follow the other two systems
#2:
- On the left sidebar of the ‘Top Scripts’ page, you will find the ‘Forums’ option. Click on the little arrow next to the ‘Forums’ option. Then you will see that a sub-menu will appear. You will find the ‘MyBB’ icon on that sub-menu. So, just click on the ‘MyBB’ button to proceed
#3:
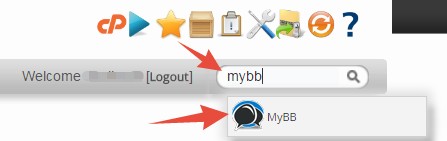
- On the top-right corner of the screen, you will find a ‘Search’ box
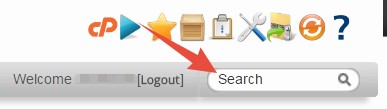
- Start to type ‘MyBB’ (not case-sensitive) on the search box. Some auto-suggestions will start to appear under the search box. Click on the ‘MyBB’ icon when it appears on the auto-suggestion box
If you have followed any of the methods correctly. At this point, you will be on the ‘MyBB’ overview page. On this page, you will find a quick summary of the ‘MyBB’ software.
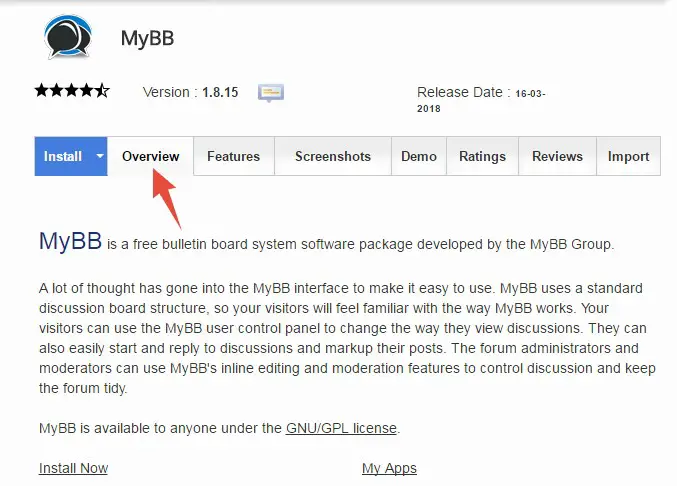
And, you will also be able to start the installation from this ‘MyBB’ overview page. So, without wasting more time, let’s start the installation.
Kicking off the installation:
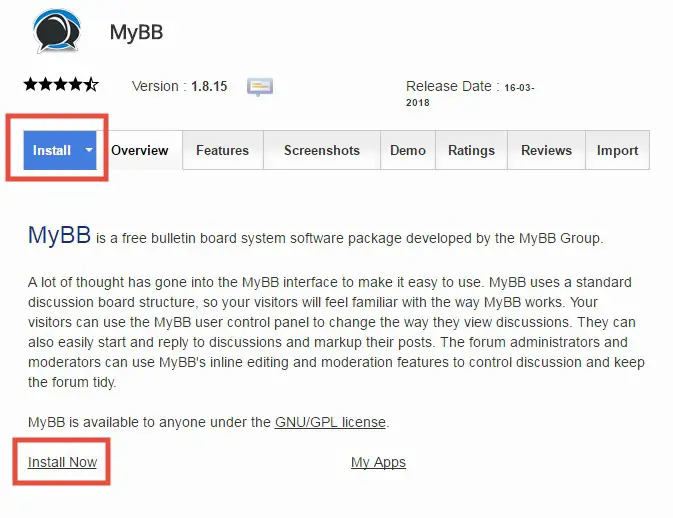
- Click on the ‘Install’ button from the top. Or you can also click on the ‘Install Now’ button from the bottom of the page
- This way, you will be on the installation page. You will find some forms to fill up on that page
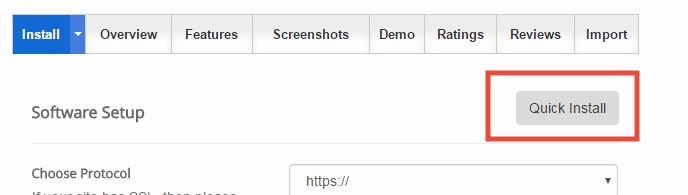
Normally, as it is the ‘Custom Install’ method. You will have 5 different sections to deal with. If you want to deal with fewer sections. You can use the other method which is the ‘Quick Install’ method.
But the default installation process (Custom Install) is the best one between the two methods. Cause, it is more customizable. So, we will only share the ‘Custom Install’ method in this article.
- If you want to use the ‘Quick install’ method. Click on the ‘Quick Install’ button from the top corner of the screen
We will share the 5 different sections one by one. So, you can easily follow the whole process. However, let’s continue.
Software Setup:
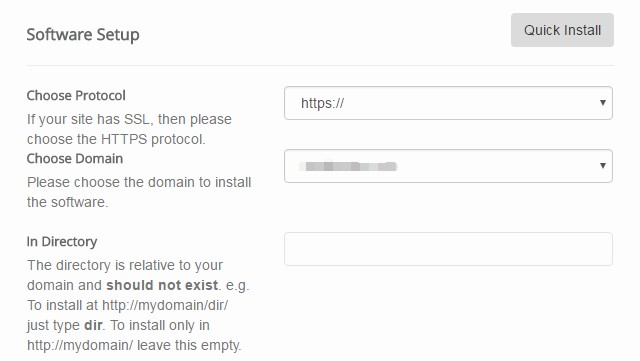
- Choose Protocol: This option is simple. If your site has SSL protection, select the ‘https://’ option. If your site doesn’t have the SSL protection, click on the ‘http://’ option from the drop-down menu. You don’t need to select either of the other two options such as ‘https://www’ and ‘http://www’

- Choose Domain: If you have only one domain name connected to your hosting account. Then you can skip this option. Because that particular domain name will be selected automatically. But, if you have more than one domain, then select the one you want to
- In Directory: You can leave this box empty
Board Settings:
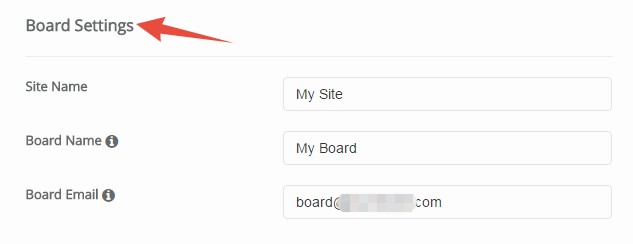
- Site Name: This is easy. Just type the name of your ‘MyBB’ site on this box
- Board name: Type the name of the board on this box
- Board Email: The box will be already filled up with an email like ’[email protected]’. You can replace it with a new one if you want to
Admin Account:
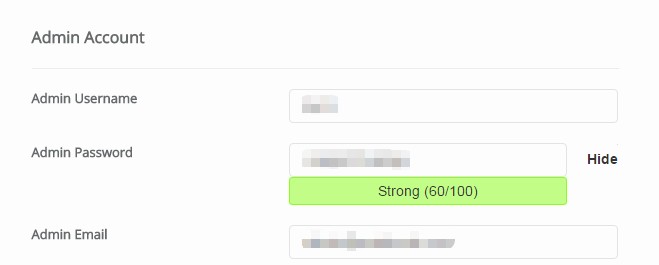
Remark: This section contains some important information like the username and password of your new ‘MyBB’ site’s admin panel. So, it is recommended that you save them for using later
- Admin Username: By default, there will be a username on this box. But, you can change it if you want to. But, remember that you should not use any generic username like admin, user, demo, test etc. Because these names are very easy to guess. So, if anyone tries to hack your website. It will be an easy task for them
- Admin Password: Like before, you will see this box also has an auto-generated password. If you don’t like it, replace it with your new one. But remember to save the password
- Admin Email: This box will also have a pre-existing e-mail address. It is better to substitute it with one of your personal email address. As you will need this email address to reset the password. Also, you will receive the username and password to this email address. So, you need to have access to this email address

Choose Language:
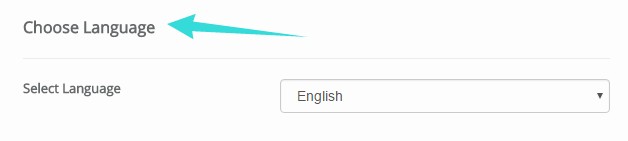
- Select the language which you want to use on your site from the drop-down list
Advanced Options:
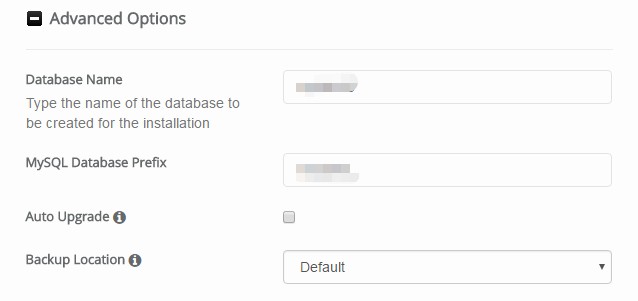
- Database Name: You don’t need to change anything in this box
- MySQL Database Prefix: Again, no need to change anything from the option
- Auto Upgrade: We recommend that you check-mark the box on this option. If you enable this option, then every time ‘MyBB’ gets an update. Your site will also be updated automatically

- Backup Location: Set it to ‘Default’, if it isn’t already
As you have filled up all of the 5 sections. Now you can finalize the installation process. But, before you do anything, check all of the sections again to see if everything is OK. Then, you can step ahead to the next part.
Executing the installation:
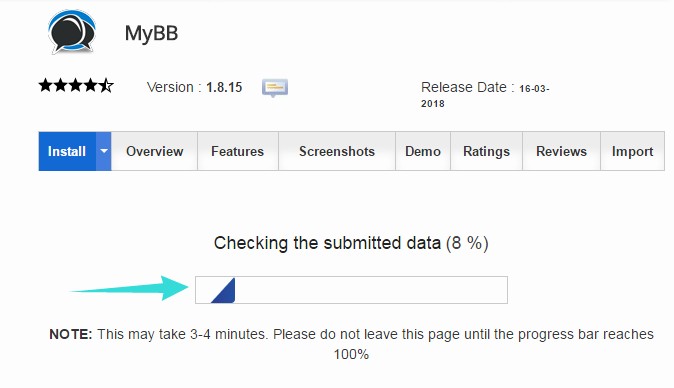
- As you have checked everything. Now, you can click on the ‘Install’ button from under the ‘Advanced Options’ icon
- Momentarily, the installation will be started. You can see a progress bar showing the state of the installation. It will take less than a minute to complete the installation. During this moment, do not close the tab
- After the installation is done, you will find a ‘Congratulations’ message on the next page
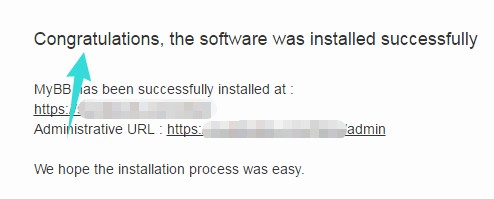
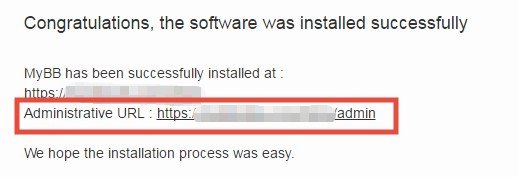
- There will also be an important information which is the ‘Administrative URL’ of your new site. So, save the URL or you can also bookmark it
Whoa! You have just completed the ‘MyBB’ installation on your SiteGround web host. Now, you should login to your site. In the next part, you will learn the process of logging in to your ‘MyBB’ admin panel.
How to login to ‘MyBB’ admin panel:
- To go to the admin panel of your new ‘MyBB’ website, you have to browse to the ‘Administrative URL’ which you received earlier. If you don’t remember it. You can easily find it. The default structure of the ‘MyBB’ admin login page is ‘yoursite.com/admin’. You need to replace the ‘yoursite’ with the actual domain name of your website
- As you are on the login page of your new ‘MyBB’ website. Enter the username and password in their respective places. Lastly, click on the ‘Login’ button
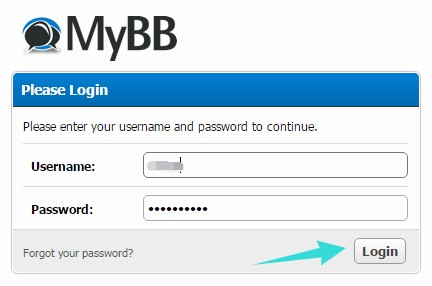
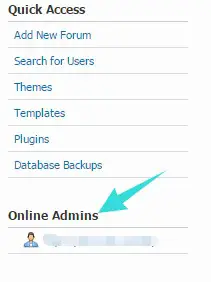
- Immediately you will be taken to the administrator panel of your new ‘MyBB‘ site. You can see on the left sidebar of the admin panel that you are logged in as an admin
The Final Verdict:
If you have followed our guide, you are at the admin panel of your new ‘MyBB’ website. So, it’s your turn to roll the dice. Start to customize the website. And, if you need to learn about installing ‘MyBB’ on a Siteground web host. You can always come back here anytime if you want to.