DISCLOSURE: This post may contain affiliate links, meaning when you click the links and make a purchase, we receive a commission.
‘WooCommerce’ is one of the most used eCommerce platforms all over the web. Almost any online store owners who use ‘WordPress’ on their website use ‘WooCommerce’.
If you are not familiar with ‘WooCommerce’ or don’t know the connection between this and ‘WordPress’. Let’s clarify.
‘WooCommerce’ is an eCommerce plugin, which can be installed on ‘WordPress’. And, this plugin can be used to setup and manage any online stores. It is being used by almost 28% of the online stores & has been downloaded for over 46 million times. Staggering, isn’t it?
But do you know, why? Because it is a reliable and powerful plugin. Besides that, it is completely free. So, anyone can use it to start their online business.
If you want to use ‘WooCommerce’ on your website. But, don’t know where to start. Then this guide is for you. Here we will cover the whole process of installing ‘WooCommerce’ on your WordPress website. We will also explain the process of setting it up. As always, we will attach screenshots to each step. So, everyone can follow this guide with ease.
But before we step ahead. You need to make sure that ‘WordPress’ is installed on your web host. If it’s not. Then you can install it within minutes. If you need any help regarding installing ‘WordPress’. You can take a look at our detailed guide below:
Now, we can begin…
How to Install and Setup WooCommerce on SiteGround
Steps to follow:
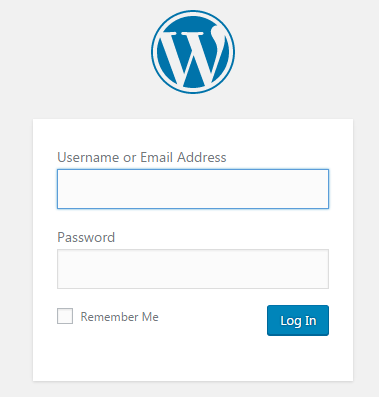
- Log in to the WordPress dashboard using the username and password
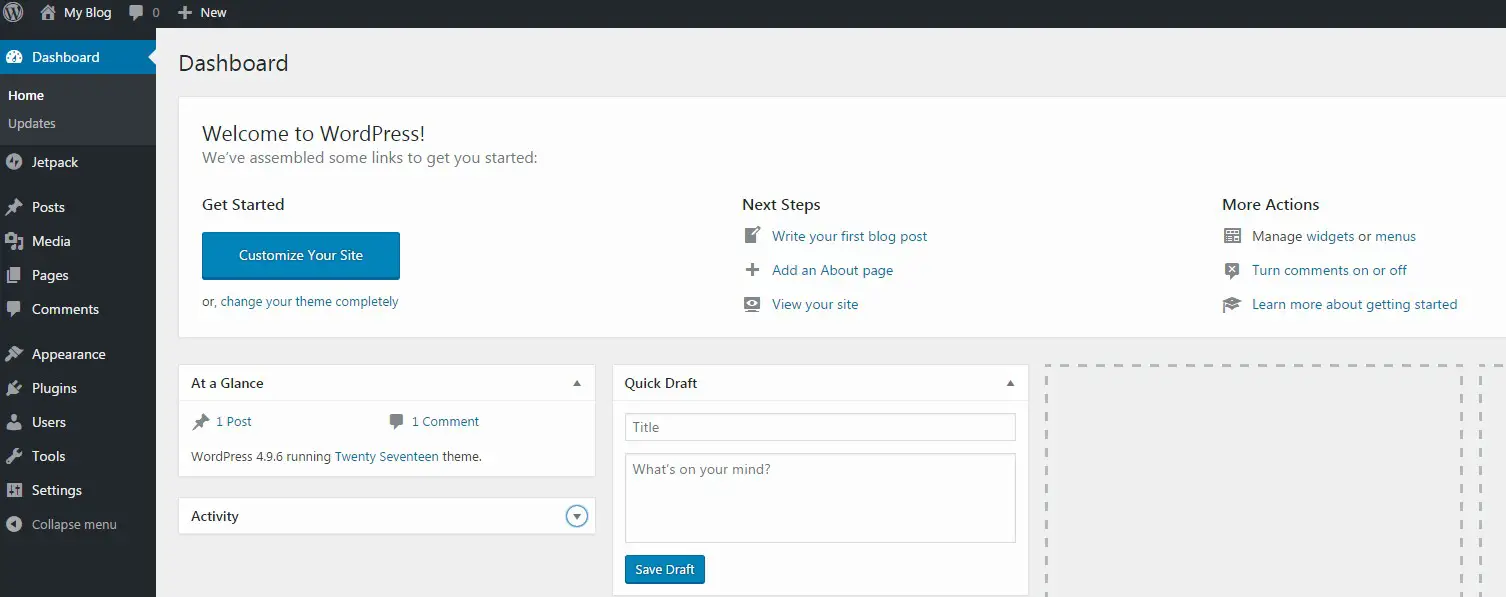
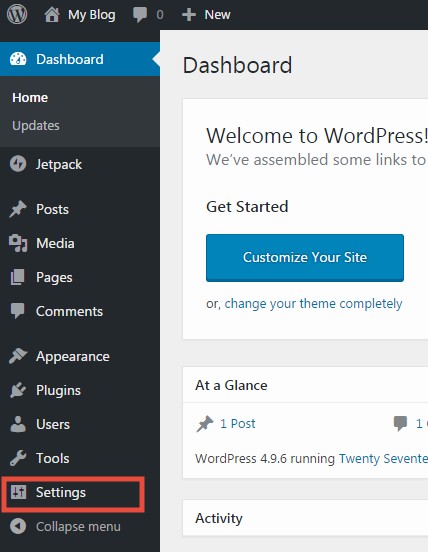
- After logging in, you will see the WordPress dashboard like the image below
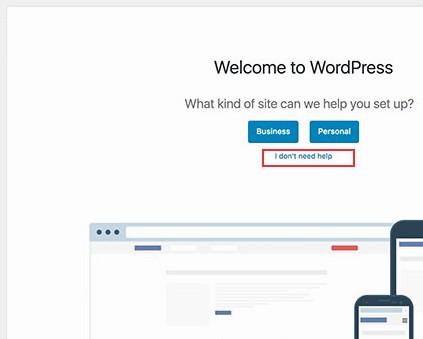
- Or in some case, you might also see a ‘Welcome page’ with some options (see the image below). You should click on the ‘I don’t need help’ option to continue
Some general settings on WordPress dashboard:
As it is your first time using WordPress, you need to configure some basic settings before doing anything. But, if you have already completed this steps. Then you are free to skip this next part.
- From the left sidebar of the dashboard, click on the ‘Settings’ option
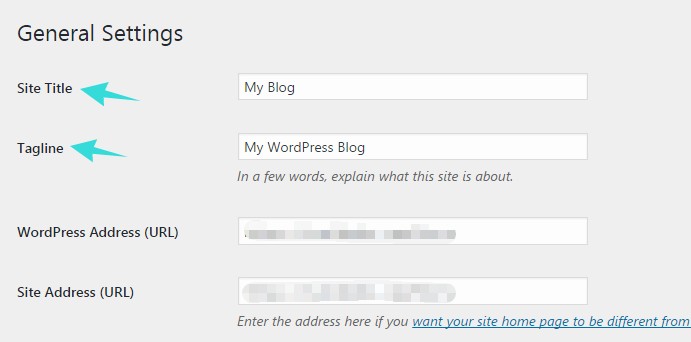
- It will open the ‘General Settings’ menu on the right side of the screen
- You should type in the ‘Site Title’ and ‘Tagline’ of your website in their respective places
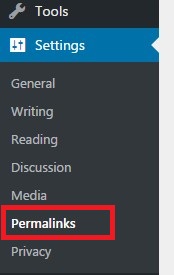
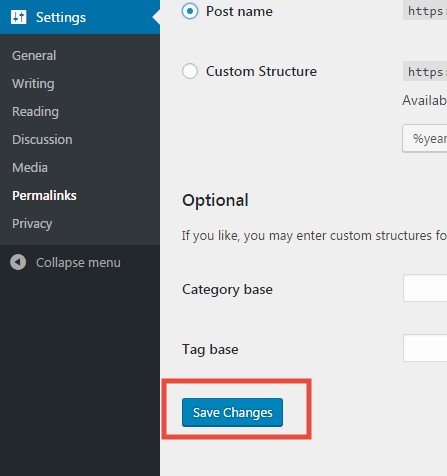
- After that, click on the ‘Permalinks’ option which will be under the ‘Settings’ option
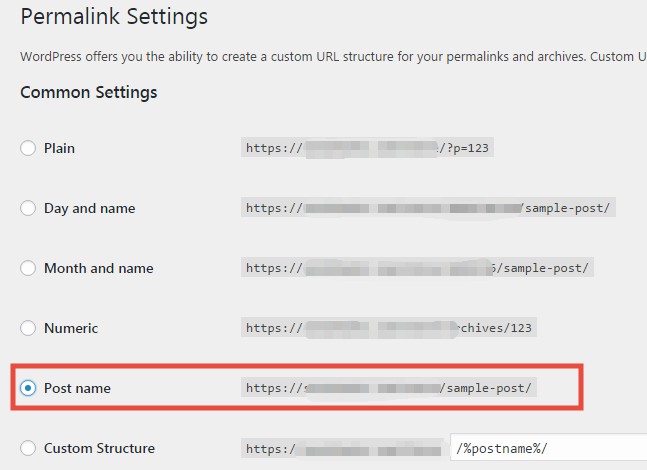
- Now, you can select the ‘Custom Structure’ of the URL of your website from this page. You can choose any one of the options. However, we recommend choosing the ‘Post name’ structure. Because it will help in case of SEO of your site. And, you know even a little setting can go a long way for SEO. Then again the selection is totally up to you
- After configuring the settings, click on the ‘Save Changes’ button from the bottom of the page
How to install the WooCommerce Plugin on SiteGround:
As ‘WooCommerce’ is a WordPress based plugin. We will show you how to install it on your new WordPress site. By following this method, you can also easily install any other plugins on your WordPress site.
There are three ways to add a new plugin to WordPress. We will explain all of them one by one. It depends on you which one you will use. So, let’s start the explanation.
#1:
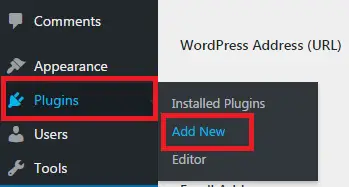
- Look at the left sidebar, you will see an option named as ‘Plugins’. Hover your mouse pointer over the ‘Plugins’ option, a new sub-menu will appear. Click on the ‘Add New’ button from that sub-menu to proceed
#2:
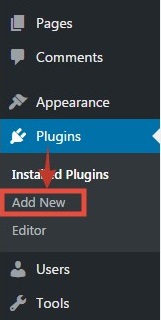
- You can also directly click on the ‘Plugins’ option from the left sidebar. And then click on the ‘Add New’ button from under the ‘Plugins’ option
#3:
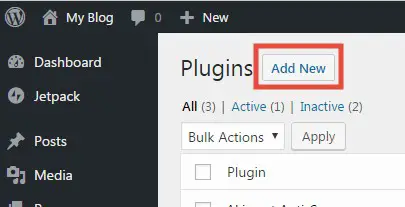
- Lastly, you can click on the ‘Plugins’ button. And then click on the ‘Add new’ button from the top of the screen
After this step, you will be on the plugin installation page. You will see a lot of popular plugins as suggestions on this page. Usually, you won’t find the ‘WooCommerce’ plugin on the suggestions. So, we need to look for the plugin using some other ways. Let’s see how.
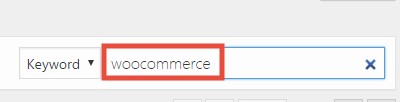
- If you look at the top-right corner of the screen, you will see a ‘Search’ box

- On the search box, type ‘WooCommerce’ (not case-sensitive). Momentarily, you will see search results are appearing. But, if you don’t see the results automatically, just click on the ‘Enter’ key on your keyboard
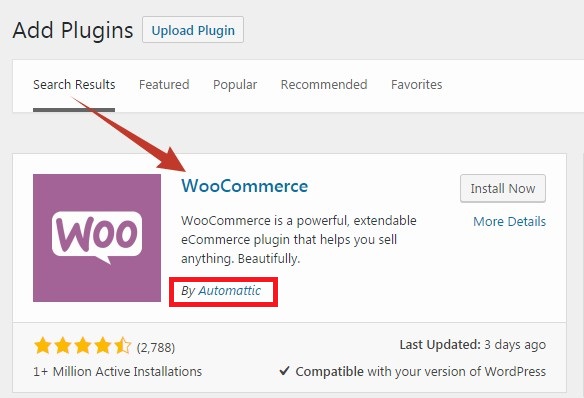
- Now, you will find the ‘WooCommerce’ plugin on the search results. The developer of ‘WooCommerce’ plugin is ‘Automattic’. So, you can know if it’s the real or fake one by looking at the writing ‘By Automattic’ under the ‘WooCommerce’ logo
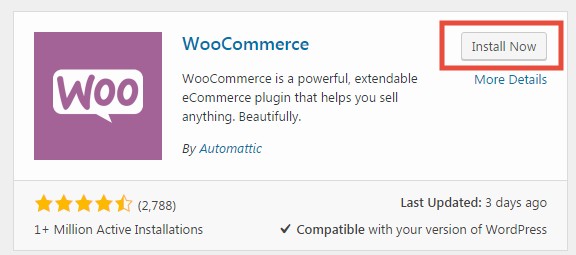
- Click on the ‘Install Now’ button and the installation will be finished within seconds
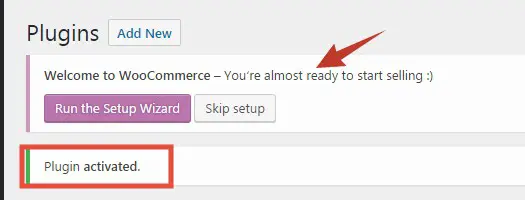
- Now, click on the ‘Activate’ button to activate the plugin
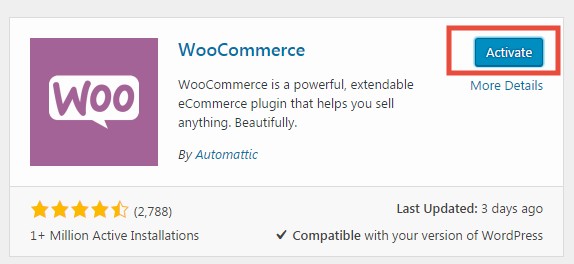
- Then, you will see a notification saying ‘Plugin activated’
Installation is done. Now, you need to setup the plugin before doing anything. If you don’t know how to do that. Don’t worry we will explain the topic step by step in this next part.
How to configure ‘WooCommerce’ plugin:
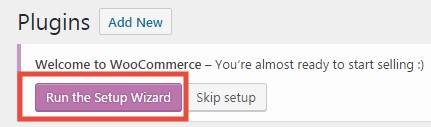
- You will see a ‘WooCommerce’ welcome message on the top of the screen
- Click on the ‘Run the Setup Wizard’ button
On the next page, you will be taken to the ‘WooCommerce’ setup wizard page. There are 6 steps on the setup wizard. We will tackle them one by one. Let’s go.
Section 1. Store Setup:
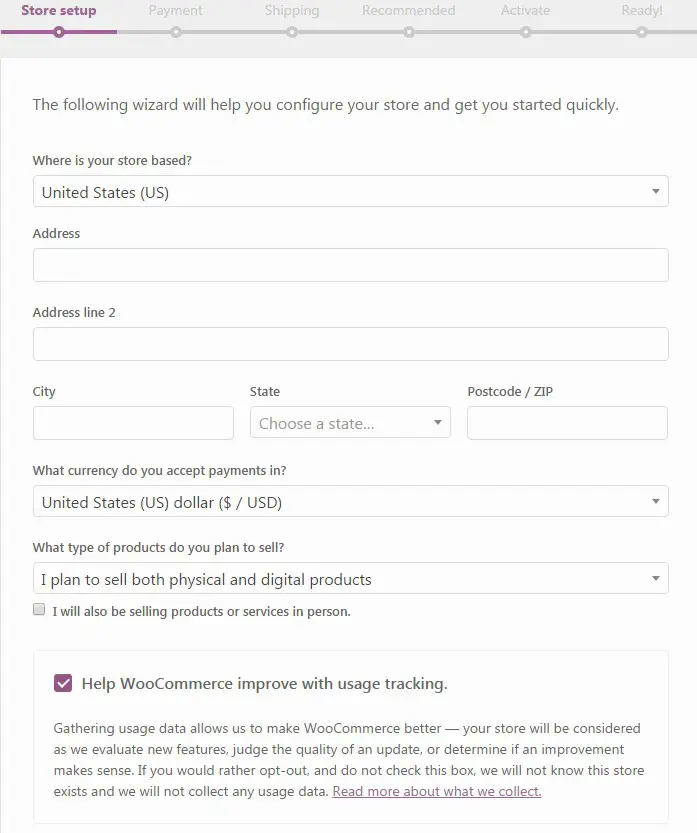
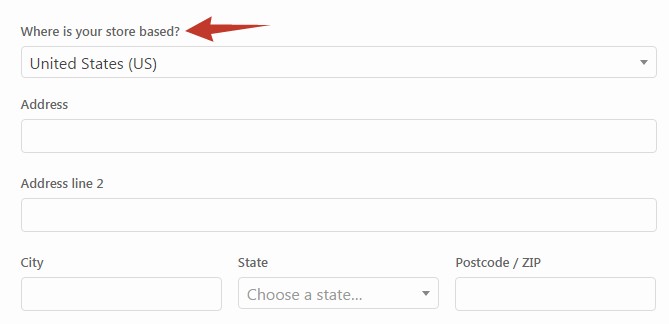
- In the first part, select the country from where you are operating the store
- Then type in the ‘Address, Address line 2, City, State and ‘Postal/zip code’ in their respective places
- Then select the currency from the drop-down list. It will be the currency in which you will accept the payment of your products

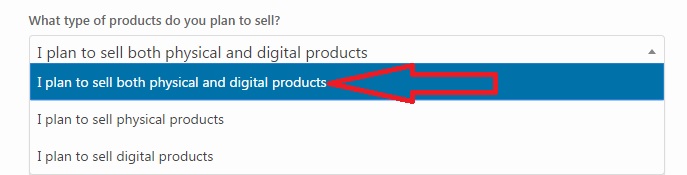
- Then, you can choose the type of products to sell. You can select either physical or digital products or both of them. Select your preferred option from the drop-down menu
- If you want to sell products offline, you can check-mark on the box next to the option ‘I will also be selling products or services in person’

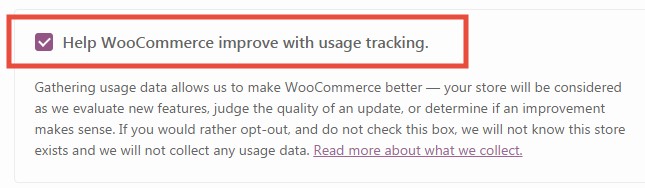
- If you want to help ‘WooCommerce’ by giving your usage data. You can check-mark the option ‘Help WooCommerce improve with usage tracking’. It is fully optional
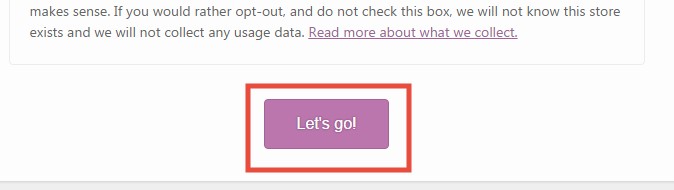
- After that, click on the ‘Let’s go!’ button to proceed to the next step
Section 2. Payment:
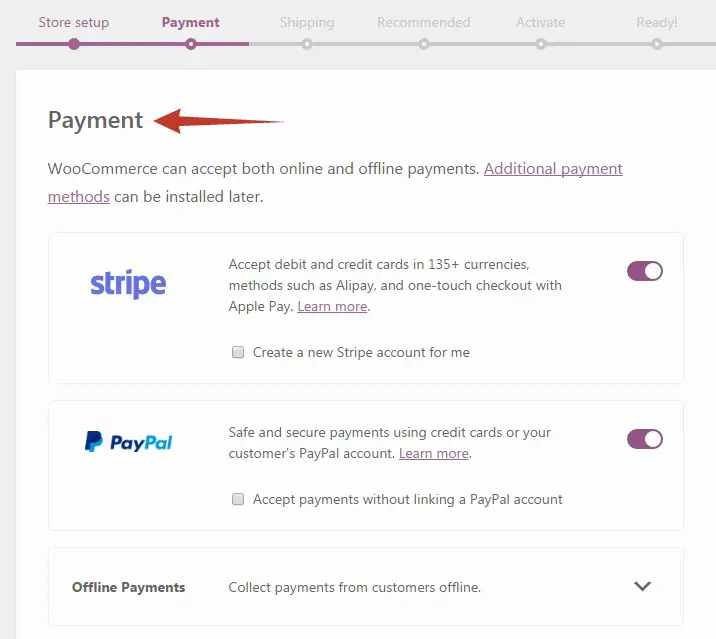
- In this section, you can set up the payment method of your online store. You can use two popular payment methods: PayPal & Stripe. However, if you want to use any other methods. You can set them later
- Click on the knob next to the option ‘Stripe’ and ‘PayPal’ to activate them
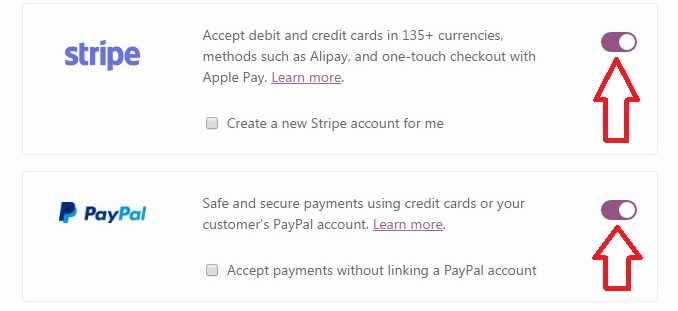
- If you don’t want to use any one of them, just click on the knob & it will turn into white. If the knob is purple then it is activated. And, if it is white then it is not activated
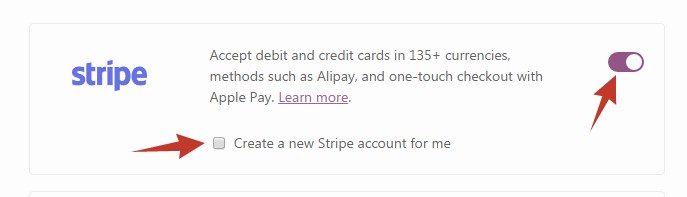
- If you don’t have a ‘Stripe’ account, you can check-mark the box ‘Create a new Stripe account for me’. And, then enter your email address, ‘WooCommerce’ will deal with the rest
- Similarly, if you want to accept payments without linking a PayPal account. You can check-mark that particular box. And then enter the email address of yours. ‘WooCommerce’ will take care of the authentication

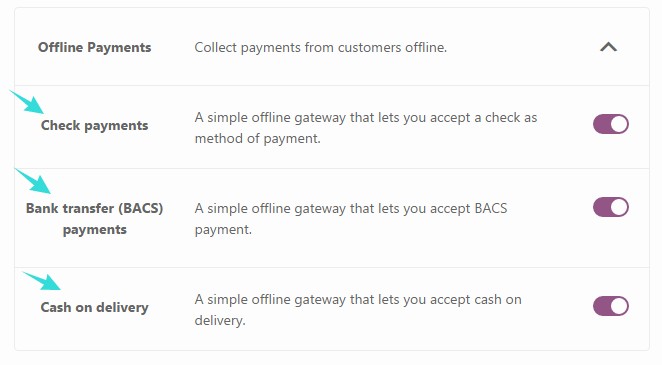
- If you want to accept offline payment. You can click on the ‘Arrow’ icon next to the ‘Offline Payments’ option

- There are three ways you can accept offline payments which are Check, Bank transfer, Cash on delivery. It is up to you, which methods you are going to use. You have to click on each of the knobs next to the options to activate them. Remember, purple knob means activated. And white knob means not activated
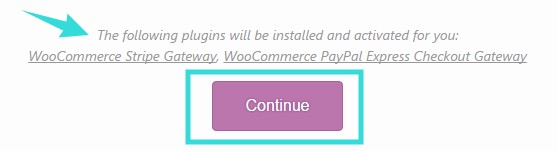
- Click on the ‘Continue’ button to proceed. You will see a notification that some plugins will be automatically installed. You don’t need to worry about them
Section 3. Shipping:
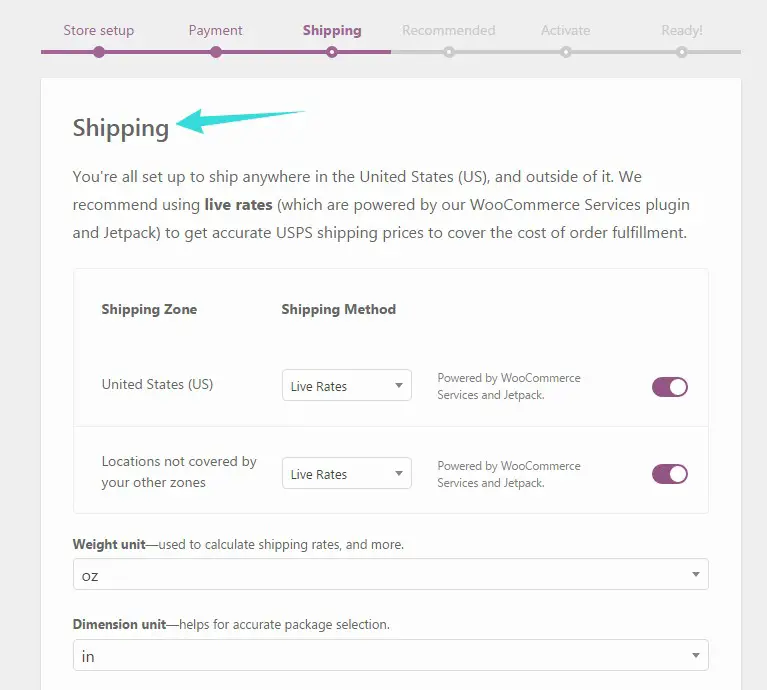
- You can select from three types of shipping methods which are Live Rates, Flat Rate, and Free Shipping. ‘WooCommerce’ recommends using the ‘Live Rates’ option. So, it depends on you whichever you use

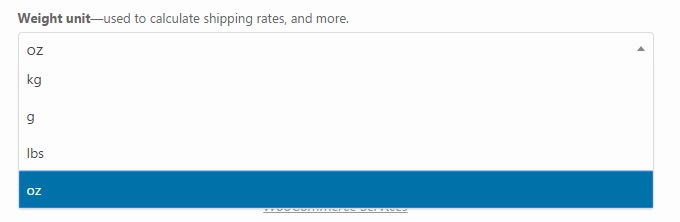
- Then select the ‘Weight Unit’ from the drop-down list
- Similarly, select the ‘Dimension Unit’ from the drop-down list

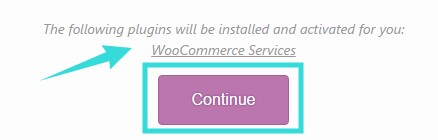
- Click on the ‘Continue’ button to step ahead to the next section. In this section, another plugin will be installed and activated automatically. No need to worry about it
Section 4. Recommended:
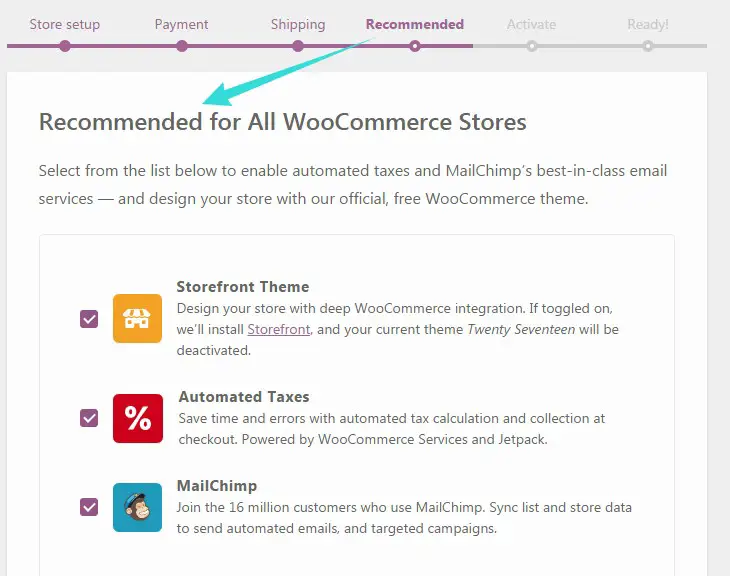
- In this section, you will see 3 recommendations from ‘WooCommerce’
- The first thing will be the ‘Storefront Theme’. It is a free theme but good for a stating website. If you want to use it you can check-mark this option and vice-versa

- The second option will be ‘Automated taxes’, it is better to activate it

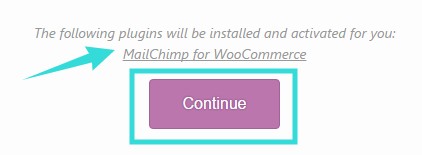
- The third recommendation will be ‘MailChimp’. It is an email marketing service for free. So, if you want to use it, you can check mark this option too

- Finally, click on the ‘Continue’ button to proceed
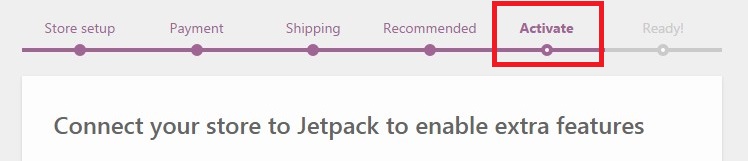
Section 5. Activate:
- In this section, you can connect ‘Jetpack’ (a plugin) to your WordPress site. It’s optional. So, if you want to use ‘Jetpack’ then click on ‘Continue with Jetpack’
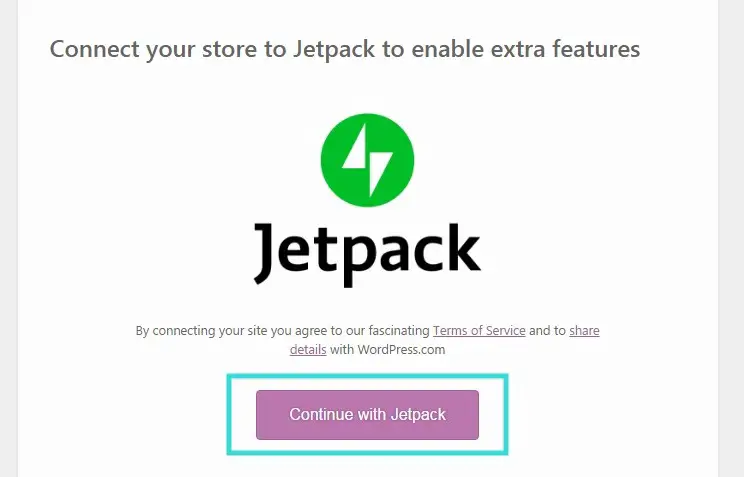
- Or else, you can click on the ‘Skip this step’ to go to the next section

Section 6. Ready!:
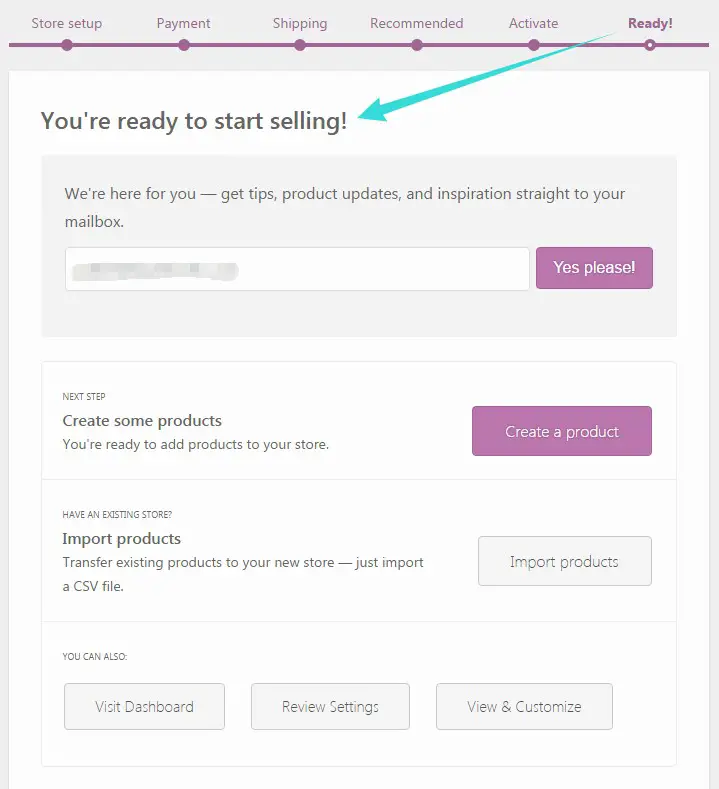
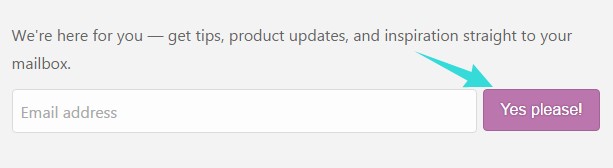
- If you want to subscribe to the ‘WooCommerce’ newsletter, you can enter your email address on the first box. And click on the ‘Yes please!’ button
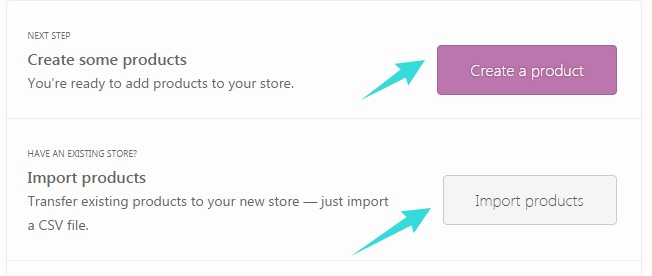
- You will be able to add some new products if you want to. Click on the ‘Create a Product’ or the ‘Import products’ button
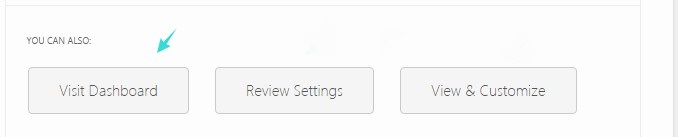
- On the other hand, you can also click on the ‘Review Settings’ or the ‘View & Customize’ button

- Or if you don’t want to do anything right now. You can click on the ‘Visit Dashboard’ to close the setup wizard and return to your WordPress dashboard
- If you need to learn more about ‘WooCommerce’, you will find a link to some ‘guided tour videos’ and also a post about ‘getting started’ in the bottom of the setup wizard page

Well Done! You have finally installed the ‘WooCommerce’ plugin on your SiteGround web host. You can now easily start to set up your online store.
So where do you start?
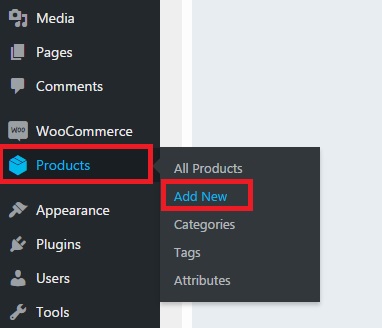
- Navigate to the left sidebar, you will find the option ‘Products’ under the ‘WooCommerce’ option. So, hover your mouse pointer over the ‘Products’ button and click on the ‘Add New’ button to start to add new products on your website
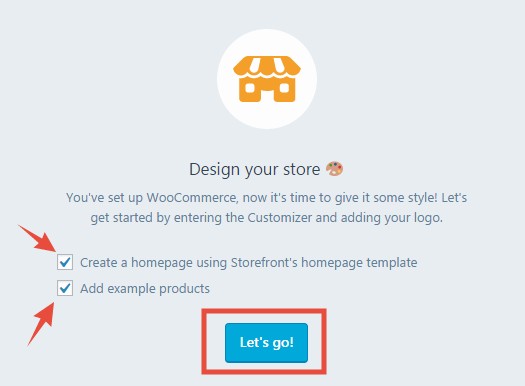
- Or if you are not ready to add new products, you can design your store. To do that, click on the ‘Let’s go!’ button from the ‘Design Your Store’ notification card. But, on that card, you can also check-mark two options; which are ‘Create a homepage using Storefront’s homepage template’ and ‘Add example products’. Both of the options are optional and self-explanatory. So, it is your choice if you want them or not
Congratulations! At last, you have learned the method of installing and setting up ‘WooCommerce’ on a SiteGround web host. Now, you can go out there and start selling products on your new ‘WooCommerce’ website. No one’s going to stop you now.