DISCLOSURE: This post may contain affiliate links, meaning when you click the links and make a purchase, we receive a commission.
Are you familiar with CRM?
CRM stands for Customer Relationship Management. If you own a business or a company. Then you can use CMR software to manage your company. Along with that, you can install the CMR software to your web host account. Then you can control the entire business easily from anywhere you want to.
The use of CRM system is increasing day by day. Because this type of software makes managing companies a breeze. And, ‘YetiForce’ is one of the most popular free CRM system available at this moment. In addition, it is an open source software. So, you can also customize the code/software your way.
So, if you want to use ‘YetiForce’ on your website. Moreover, if you are a ‘SiteGround’ web host user. Then, this is the article you were looking for. In this article, you will get a detailed guide to the entire process of installing ‘YetiForce’ on a ‘SiteGround’ web host. In conjunction with that, you will also find screenshots attached to each step. So, following this post will be very straightforward.
So, if you are ready. Here we go.
Read: Top YetiForce Hosting
Feel free to Subscribe to Our YouTube Channel if you like this video!
How to install ‘YetiForce’ using Softaculous on a SiteGround web host
The easiest way to install ‘YetiForce’ is to use the popular auto installer software ‘Softaculous’ let’s see how to do that.
Steps:
- Log in to the cPanel of your SiteGround account
- Then click on the ‘Softaculous’ link from under the ‘Auto Installers’ section

As of now, you will be at the ‘Top Scripts’ page. From this page, you will be able to select the software you want to install on your own website. But, if you look for ‘YetiForce’ software on that page. You will notice that the ‘YetiForce’ software is not available. There’s a reason behind it.
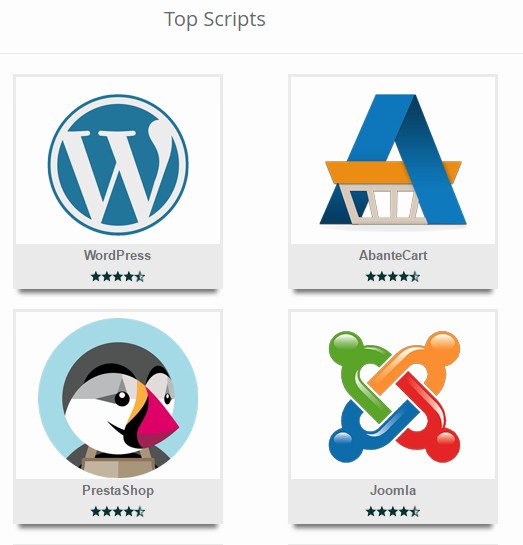
The reason is that the ‘YetiForce’ is not among the most used software. So, it won’t show up normally. But don’t worry about it. We will share 3 ways to locate the ‘YetiForce’ software icon in the next part of this tutorial. So, let’s get to it.
Note: Use any one of the methods below
#1:
- Navigate to the left sidebar of the page, you will see a link labeled as ‘ERP’. Click on the link and you will see a new list will appear in the middle of the page
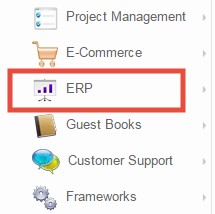
- There you’ll find the ‘YetiForce’ button. Click on the ‘YetiForce’ button to proceed
#2:
- You can also click on the little arrow next to the ‘ERP’ button. It will open a new sub-menu. On that menu, you will see the ‘YetiForce’ button. Click on the button to continue to the next page

#3:
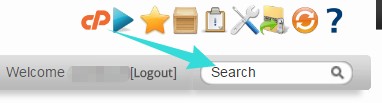
- This is a shortcut method to find the ‘YetiForce’ button. Look at the top right corner of the page, you will find a ‘Search’ box
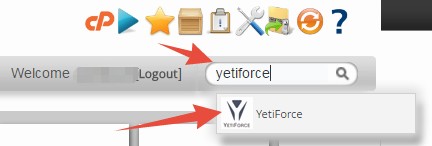
- Now start to type the word ‘YetiForce’ (not case sensitive) on the search box. You will see that the ‘YetiForce’ button has appeared on the auto suggestion box which will be under the search box. Click on the ‘YetiForce’ icon to proceed
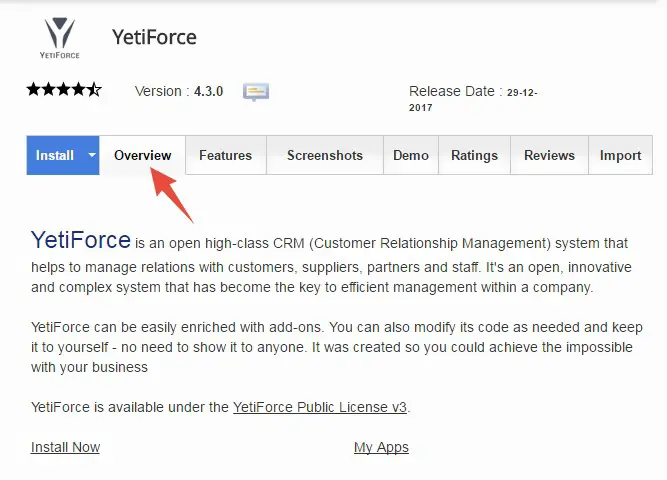
At this point, you will be at the ‘YetiForce’ overview page. From this page, you will find the install button. That means you can begin the installation process.
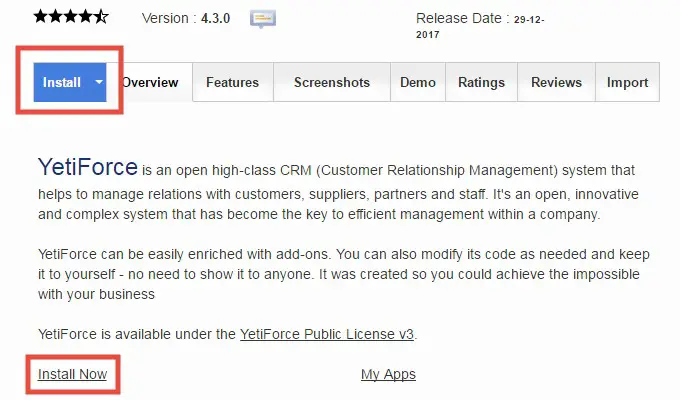
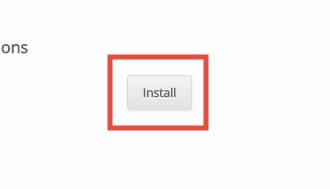
Initiating the Installation:
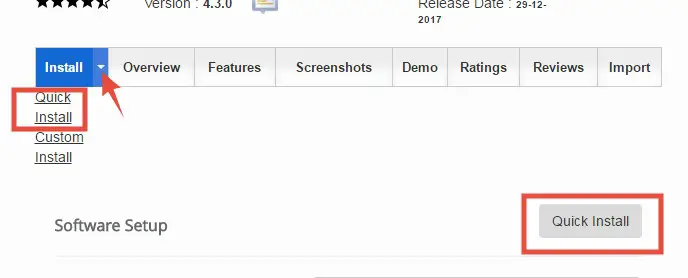
- Click on the blue colored ‘Install’ icon or the ‘Install Now’ button from the bottom of the screen
- Then the installation page will appear
Normally the installation page will open up with the ‘Custom’ installation interface. But there’s another interface available which is the ‘Quick install’ method. For your information, the custom install is the best option between these two. Also, it contains all of the options which are available in the Quick install interface.
For this reason, we will describe the custom install process here.
- If you want you can use the quick interface by clicking on the ‘Quick Install’ button
Another thing, we will split the whole ‘Custom install’ interface part by part to make it easier to understand. So let’s start with the first step.
Software setup:
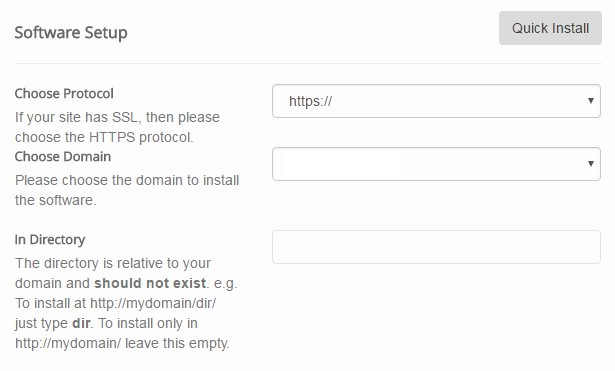
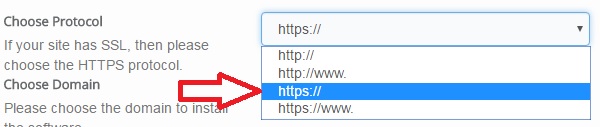
- Choose Protocol: there will be two options. ‘Https://’ is for the sites which have SSL protection. And, ‘http://’ is for the sites which don’t have SSL protection. If you have select either of those. You don’t need to choose the other two options such as- ‘https://www’ and ‘http://www
- Choose Domain: automatically, the primary domain will be selected. But, if you have multiple domains connected to your hosting account, you need to select your preferred one from the drop-down list
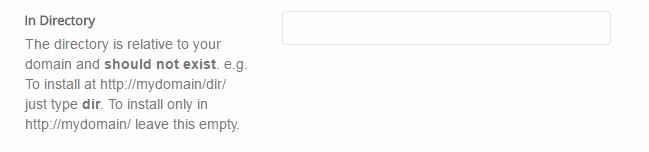
- In Directory: if you are a beginner. You can skip this option for now. For your information, this is related to your domain. For instance, if you want your visitors to find your site on your primary domain e.g. ‘yoursite.com’. Then keep the box empty. But, if you want your site to be found on a sub-directory like ‘yoursite.com/store’. Then type the directory name on the box. In this case, the directory name would be ‘store’
Admin Account:
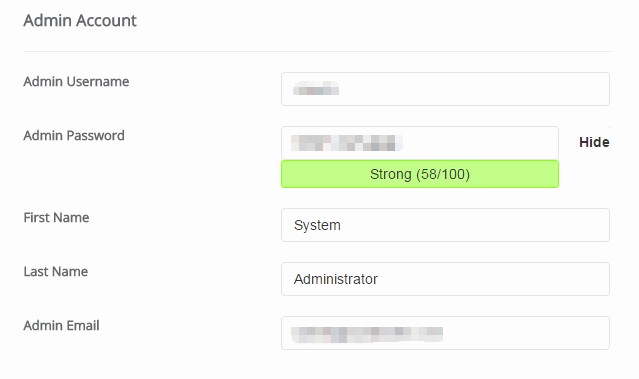
Note: You need to save or note down the information from this section
- Admin Username: you will notice that already there’s a username on the box. You can change it or not. It depends on you. But, if you change it. Remember that do not use any normal username like user, admin, administrator etc. Because, it will make the security of your site vulnerable. Daily, millions of sites are being hacked. So, if anyone tries to hack your site. Then it will be very easy to guess your username, if you use any generic one
- Admin Password: ‘YetiForce’ are very strict about their password. So, you have to follow a set of rules to make a viable password. The rule is: Password must contain at least one number and one uppercase and lowercase letter, and at least 8 or more characters. Now, you will see that the password box also contains an auto-generated password. But, chances are the auto-generated one will not be according to the required rules. So, change the password according to the rules
- First Name: it is not that important. You can keep the default one or you can use your own first name here
- Last Name: Similarly, you can leave it as it is. But, you can also change it to your own last name
- Admin Email: this is an important option. Always, provide a personal email address of yours. Normally, this email will be used to send the login credentials later to you. Also, it will be needed if you need to reset the password anytime

Choose Language:
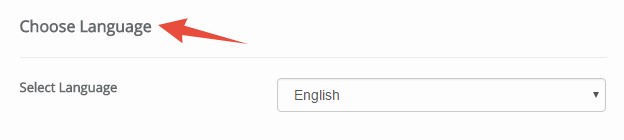
- Select the preferred language of your site from the drop-down menu
Advanced Options:

- Database name: save the pre-existing information from this box. You don’t have to change anything here
- Backup Location: no need to change anything here at all. The ‘Default’ option will be automatically selected. And, it is the perfect choice for this section
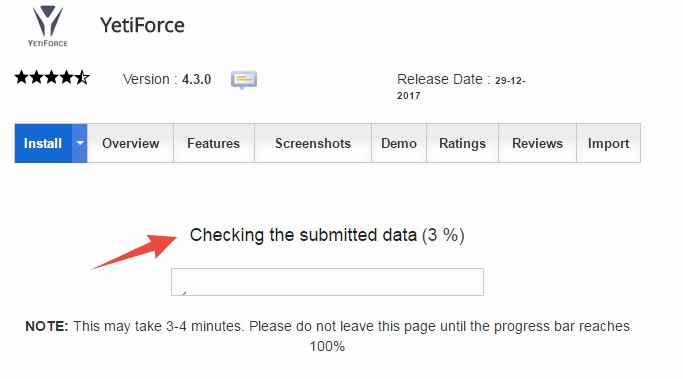
Finalizing the installation:
- It’s time to double-check all of the information you provided on all of the previous sections
- If you are content with that given information, you can click on the ‘Install’ button to start the installation process
- Instantly, the installation will be started. You will see a progress bar on the next page. Wait for the installation to be completed. Usually, it will be completed within a minute. So, please don’t close the tab until it is fully completed
- When the installation is finished, you will see a message like this ‘Congratulations, the software was installed successfully’
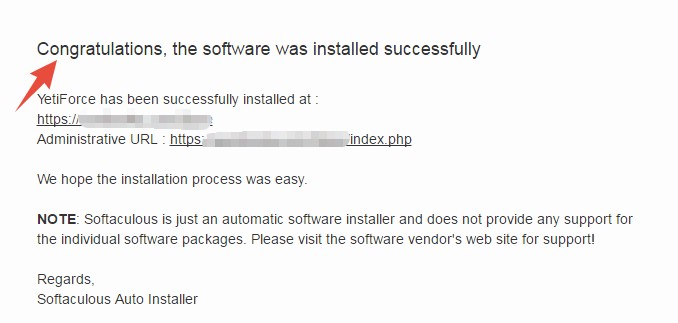
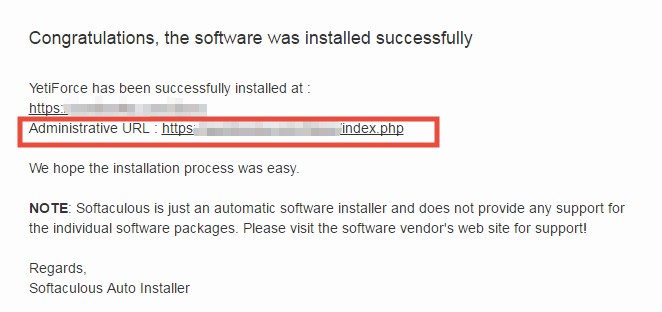
- On this page, you will also find the ‘Administrative URL’ of your new ‘YetiForce’ site. Save the URL or you can also bookmark it. As you will frequently use it from now on
Congratulations! You have just installed ‘YetiForce’ on your SiteGround web host. As we said, it was pretty easy to do. But, now if you want to reap the benefit of this installation. You need to log in to the back-end of your site first.
How to log in:
- Visit the ‘Administrative URL’ which you got after the installation. If you haven’t saved it. Then you can find the URL by applying this little trick below. The default structure of the ‘YetiForce’ admin URL is ‘yoursite.com/index.php’. So, change the part ‘yoursite’ to your own domain name and you will be able to go to the login page of your new site
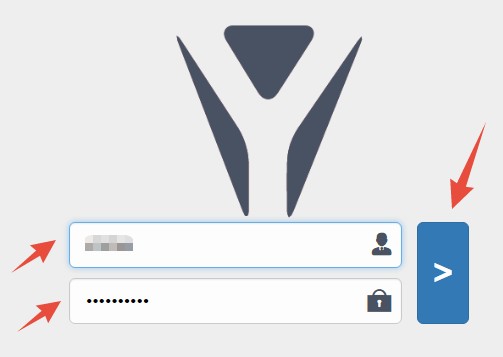
- As you are on the login page of your new ‘YetiForce’ site. Enter the username and password on their respective boxes. And, click on the big blue arrow button to proceed to your admin panel
From the admin panel, you can customize, control, create, and edit anything on your site. So, do as best as you can.
Our Thoughts:
This article was written specifically for the users who want to install ‘YetiForce’ on their SiteGround web host. We hope that it will help many of you. So, if you find it helpful, don’t forget to share it with others.