DISCLOSURE: This post may contain affiliate links, meaning when you click the links and make a purchase, we receive a commission.
Does this sound familiar?
You were trying to tweak a few settings on the backend of your website here and there. Or maybe trying a new theme or plugin. After customizing everything, you clicked on the refresh button on your browser to check out the new look of your website.
And guess what?
Your website has crashed or was showing some kind of errors. Turns out the situation was not even close to your expectation. We know that feeling. To be honest, we have faced it quite a few times too. But, this shouldn’t restrict you from customizing or re-designing your website.
That’s where ‘staging’ fits in. If you want to customize your website without breaking it. Then ‘staging’ is one of the best solutions out there. But, chances are you don’t know anything about staging at this point.
Fear not. We have got your back. In this article, we will let you know every bit of information about the ‘SiteGround Staging’ feature. First of all, we will explain what it is. Then we will decipher how to use it.
As always, we will attach screenshots to each of the steps to make it as simple as possible.
So do you want to know the magic formula? Then let’s jump in.
SiteGround Staging Tutorial – SiteGround WordPress and Joomla Staging
What is SiteGround Staging?
Simply put, ‘staging site/environment’ is a clone of an original website. Usually, that will be privately published (unavailable to visitors). Plus, a user can run any type of experiments on that clone website without messing up the original site of his. Additionally, after testing new customizations on the clone website (the staging environment), the users will be able to make them live on their original website. And everything will be transferred and replaced without any hassle to the original website. The good thing is, your website won’t even go to offline or in maintenance mode for even a second during the entire period of customization.
There are a lot of hosting providers offer this handy feature by default. Luckily, SiteGround is one of them. So, the ‘staging’ feature offered by the SiteGround web hosting provider is known as ‘SiteGround Staging’.
However, you will need to have the SiteGround ‘GoGeek’ plan to be able to use this feature. It does not come with the other two shared hosting plans which are ‘StartUp’ and ‘GrowBig’. That’s why if you have a SiteGround ‘GoGeek’ hosting account. Then you are in luck. As you can easily employ this useful feature to develop your website without messing it up.

Uses of SiteGround Staging feature:
You can do everything in the ‘staging environment’ which you could do in the original website. You can install/update plugins, themes, add contents etc. Even you can customize the theme of your website. Case in point, your visitors won’t be able to see the customization until you make it live.
Let’s say, you want to use a cache plugin on your website. As usual, there are huge numbers of similar plugins available out there. Now, if you want to know which is the best one. Then your best bet is to use them first. As you might already know that, it is not recommended to use more than one similar plugins on your website. As it might create various complications during the testing. Eventually, your site might crash. That’s where the ‘staging’ tool comes in handy.
So, you can do whatever you want to do in the staging environment. On top of that, it will not have any effects on the original website at all. When you are satisfied with all of the settings and customization, then you can transfer everything from the clone website to the original one with just a few clicks. Got it?
Remark: SiteGround staging is only available to the ‘WordPress’ and ‘Joomla’ users
How to use SiteGround Staging?
By this time, you have known about the uses of ‘SiteGround staging’. Now, we will describe the entire process of using SiteGround staging by dividing it into multiple sections. At first, we will start by explaining the process of accessing the ‘SiteGround staging’. Let’s do it.
Section 1. How to access the SiteGround staging and how to add a site to it:
- Log in to the cPanel dashboard of your SiteGround web host
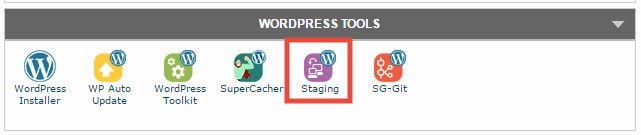
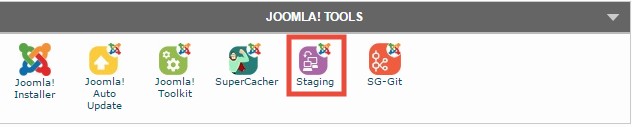
- Now, if you are a WordPress user you should click on the ‘Staging’ button under the ‘WordPress Tools’ section. Conversely, if you are a Joomla user then you have to click on the ‘Staging’ button from under the ‘Joomla Tools’ section
- On the next page, you will be able to see all of the websites are listed which were installed using any SiteGround auto script installers like ‘Softaculous’
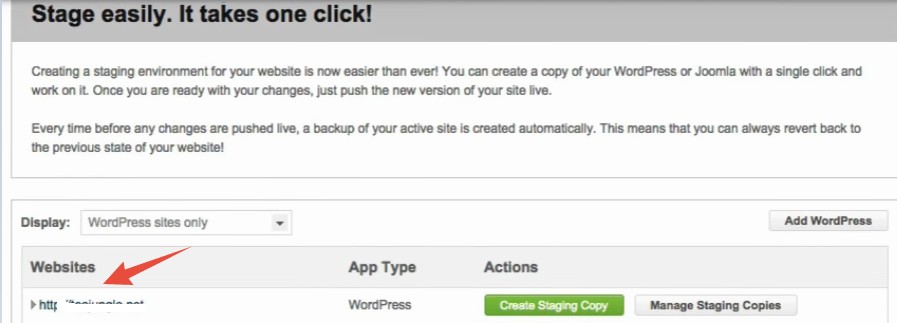
- Optional: However, if you have installed the ‘WordPress/Joomla’ CMS manually on your website. Then you have to click on the ‘Add WordPress’ or ‘Add Joomla’ button (depending on your CMS) from the right-hand side of the screen

- Then you will see a drop-down menu with all of the websites which are hosted in that particular hosting account. So, select the desired domain name from the drop-down menu and click on the ‘Add URL’ button. That will add that domain to the SiteGround staging tool
Section 2. How to create a new staging copy:
It is very easy to create a new staging environment for any of your websites. Let’s see how to do that.
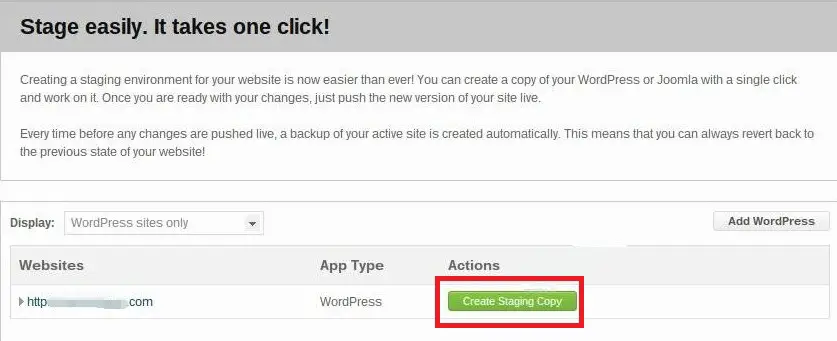
- After that, click on the ‘Create Staging Copy’ button from next to the domain name on which you want to use the staging tool
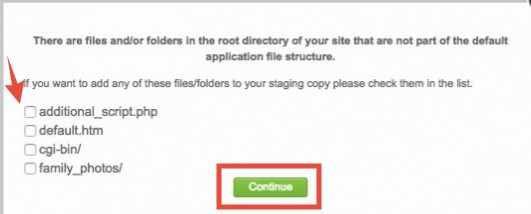
- This is an optional step. For some of you, this option won’t be available by default. It is only applicable for the users who have any files outside the default ‘Joomla/WordPress’ installation directory. So, a popup will appear showing those files. You will be asked if you want to add those files in the staging copy or not. Normally, you won’t need to add those files. But if you want to then just check-mark the files and click on the ‘Continue’ button to advance
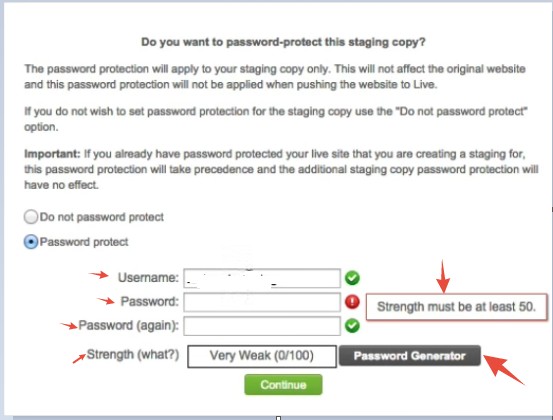
- Then another popup window will appear using which you can password protect your staging site. We highly recommend you to do this. If you protect your clone site with a password then it won’t be indexed by the Search engines. So, search engines won’t punish your website’s ranking due to duplicate contents. Also, no one without knowing the password would be able to access to that staging site. Yet, if you want it to be public you can choose the first option which is ‘Do not password protect’
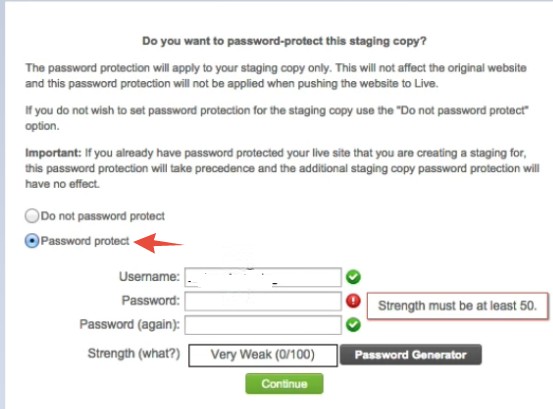
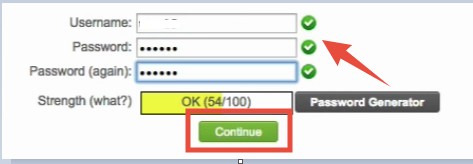
- So, enter a username and password on the empty boxes. To be noted, the password strength must be at least 50. You will be able to see the strength of the password on the password strength indicator. You can also use the ‘Password Generator’ button to create an auto-generated password. Remember to save this password anywhere safely. This will be needed later
- So, when you are done filling the required information, click on the ‘Continue’ button to proceed
- You will see a progress bar saying ‘Creating subdomain’. The new clone website will be ready within a few minutes

- Optional: If you have bought the domain name of your website from SiteGround then a new subdomain like stagingX.yoursite.com (X will be replaced by a number) will be created automatically. It will be used as the web address for the clone website. However, if you have not bought your domain from SiteGround then you need to manually create the subdomain by adding an A record in the DNS zone of your domain
Section 3. How to manage and use SiteGround staging:
As you have just created the ‘staging’ copy of your website. Now, you can start to manage it. So, go to the staging tool if you haven’t already and then follow the guide below.
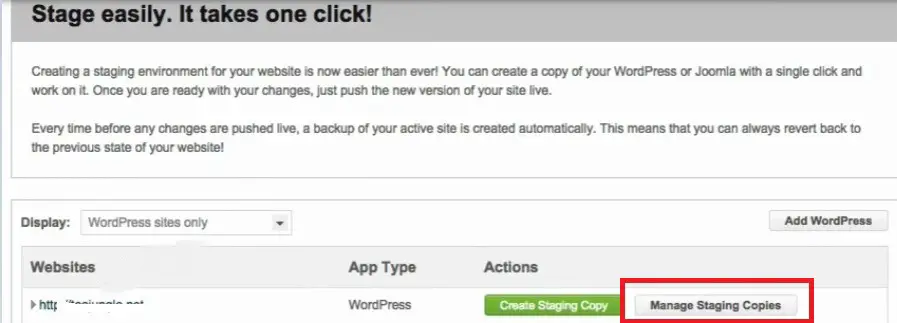
- First, click on the ‘Manage Staging Copies’ button next to the website you want to customize. This will take you to the SiteGround ‘staging’ dashboard
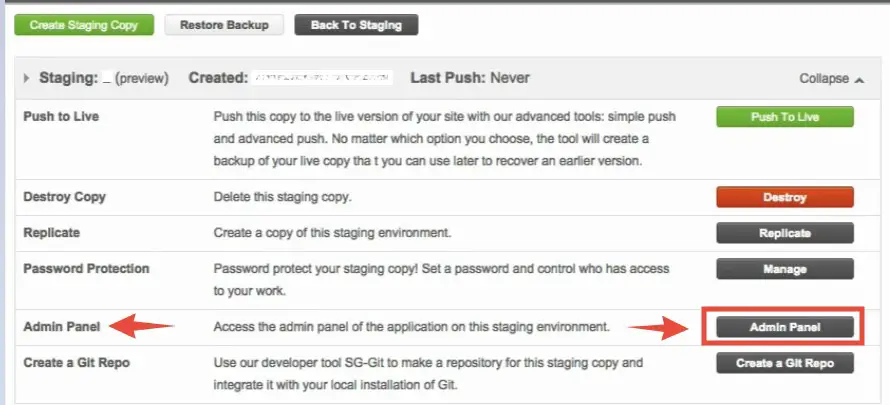
- Then on the next page, click on the ‘Admin Panel’ button from the list of the options. It will take you to the clone website which you have just created. Or else, you can also go to ‘staging1.yoursite.com’ (replace ‘yoursite’ with the domain name of your website). The outcome will be the same
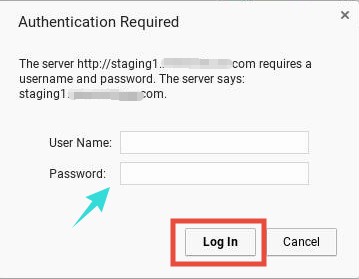
- Another new tab will open where you will find an authorization box. You have to enter the username and password which you had set up in the previous section. So, after entering the username and password click on the ‘Login’ button
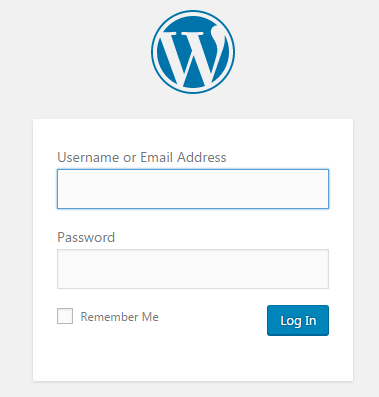
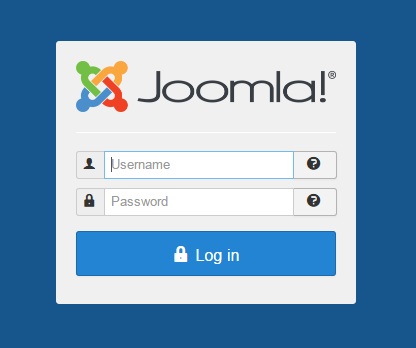
- Now go to the URL ‘staging1.yoursite.com/wp-admin’ (for WordPress) or ‘staging1.yoursite.com/administrator’ (for Joomla)
- In doing so, you will be taken to the login page of either the ‘Joomla’ or ‘WordPress’ admin panel (depends on your website’s CMS). So, log in to your site’s admin panel and customize your site the way you want to. Because right now, the customization will only be applied to the clone website, not the original one
Section 4. How to push the ‘staging’ site live:
At this point, we assume that you have made all the required customization on your clone/staging website. Now, you can make those settings live on your original website. Let’s see how to do that.
- Go to the SiteGround ‘staging’ dashboard by clicking on the ‘Manage Staging Copies’ button. And click on the ‘Push To Live’ button from the top corner

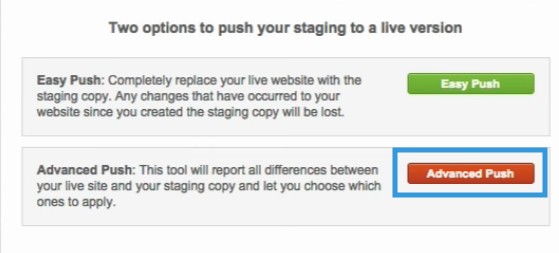
- A popup window will appear. You can choose between two methods which are ‘Easy Push’ and ‘Advanced Push’
- If you are a beginner then we recommend you to click on the ‘Easy Push’ button as it is the simplest way between these two options. It will completely replace everything from the original website
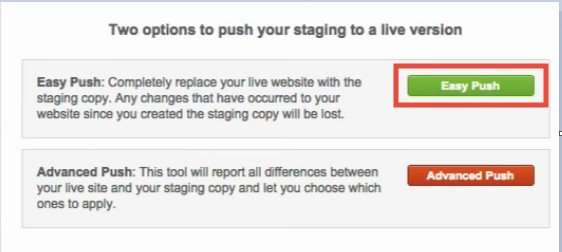
- But, if you want more customization then click on the ‘Advanced Push’ button to proceed
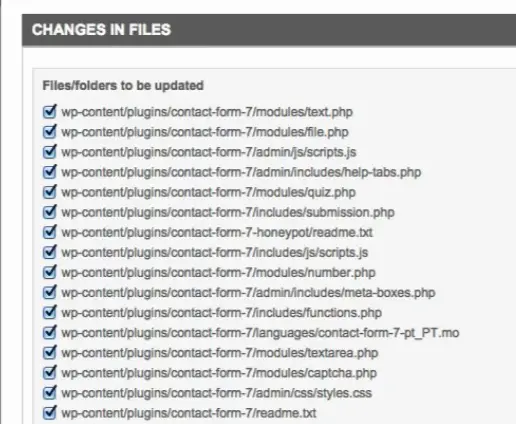
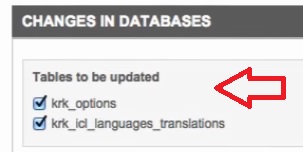
- On the next page, you will be able to compare all of the changes you have made to the files and database. Then you can choose which of the changes you want to keep or discard individually if you want to
- If you are satisfied with all the changes, click on the ‘Push To Live’ button from the bottom of the page

- Then you will see another popup window asking ‘Are you sure you want to make this staging copy live?’, click on the ‘Yes’ button to proceed

- In doing so, you will see that the ‘staged’ copy is going live. It will take more than a couple of minutes. Although the time fully depends on the size of your website
- In the end, you will see a ‘success’ notification on the next page. Click on ‘OK’ to close it

Section 5. Deleting the staged copy:
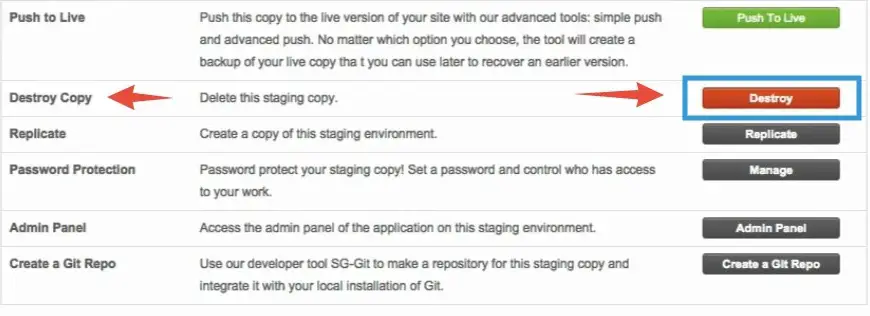
After pushing the new changes live if you are not going to use the staged copy anymore then you should delete it. We recommend deleting it because it will take a lot of space on your hosting account. On the contrary, you can keep it if you want to. However, we will show you how to delete the staging copy in the following section.
- From the SiteGround staging dashboard, click on the ‘Destroy’ button to delete the copy
- Then, click on the ‘Yes’ button from the popup window to complete the deletion

Wrapping it up:
We tried to show you the ins and outs of SiteGround ‘staging’ in this blog post. If you have a SiteGround ‘GoGeek’ hosting plan then you should take the benefit of this awesome tool. From now on, you can be more flexible while customizing your website. So, don’t wait. Try this useful tool as soon as possible.