DISCLOSURE: This post may contain affiliate links, meaning when you click the links and make a purchase, we receive a commission.
It is very plausible that you might not like ‘Joomla’ after using it for some time. So, if you want to switch from Joomla then you have to uninstall it before you can use any other CMS (Content Management System) on your website.
Prior to that, you need to know how to uninstall Joomla from your website. So, if you are searching to know the method of uninstalling Joomla from your SiteGround account then you are at the right place. As in this article, we will demonstrate the whole process with screenshots attached to each step.
We will talk about three different methods in this post. But, you can follow any one of them. The first method is automatic. But, the other two are manual. So, we recommend using the first method if possible.
So, without killing more of your valuable time, let’s roll.
Read: Top Joomla Hosting
How to Uninstall Joomla on SiteGround
#1. Automatic method (Using the Softaculous auto installer):
This method is very easy to follow. But, there’s a catch. Firstly, you have to install Joomla using the ‘Softaculous’ auto installer. If you haven’t used Softaculous auto installer then you will not be able to use this method. In that case, we will tell you to follow other methods. We will add those methods later in this article.
To make it easier for all of the readers, we will describe this method step by step. We will divide this method into two parts. To be noted, the first part has two variations of it. So, you can use any one of them. For the purpose of describing, we will explain both of the variations. So, let’s get to the good part.
First Part:
- Log in to the cPanel dashboard of your SiteGround web hosting account
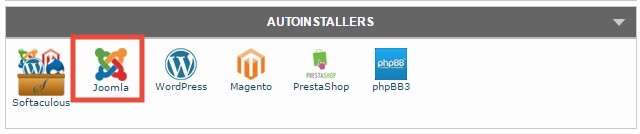
- As you are going to use the Softaculous auto installer for this uninstallation, click on the ‘Softaculous’ button. You will find the button below the ‘AutoInstallers’ section

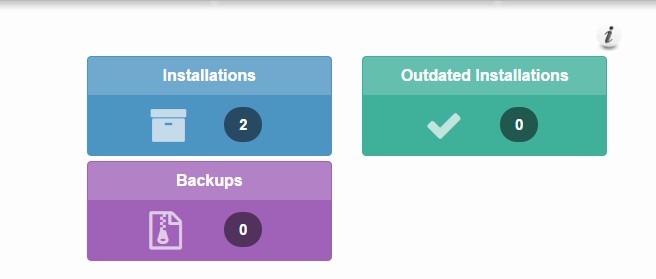
- On the next page, you will see three options named ‘Installations’, ‘Outdated Installations’, and ‘Backups’
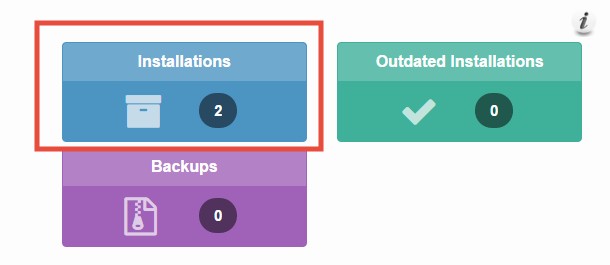
- As the Joomla CMS is already installed, it will be under the ‘Installations’ section. So, click on the ‘Installations’ button from those 3 options
- After that, you will see all of the installed CMSes on your website(s) on the following page. You can also sort them by three different criteria if you want to
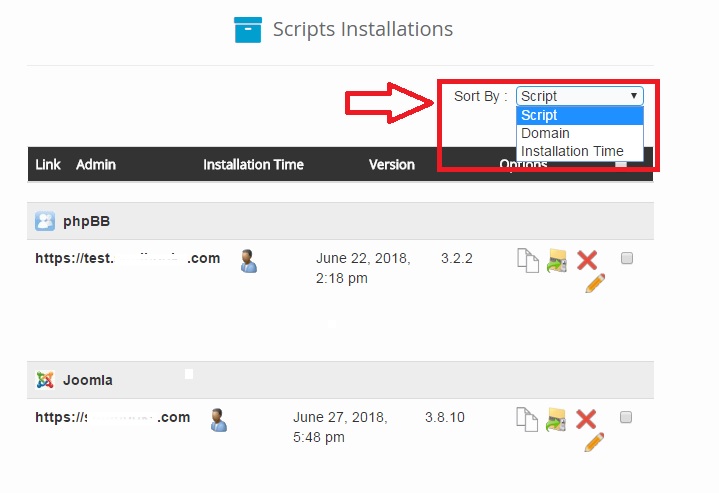
- Eventually, you will find the ‘Joomla’ installation under the ‘Joomla’ section. If you have more than one installations then all of them will appear here
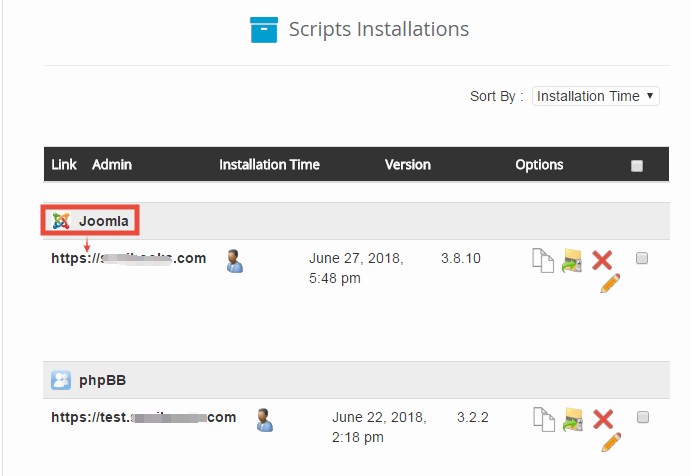
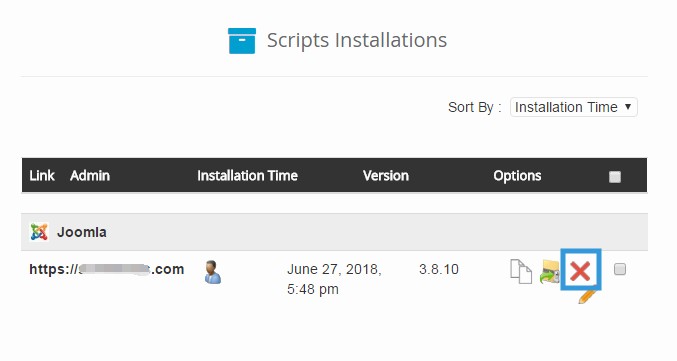
- Now, click on the red colored ‘Cross/Remove’ button from next to the Joomla installation you are going to uninstall
Or
- Log in to the cPanel account of your SiteGround web host
- Click on the ‘Joomla’ button from under the ‘Autoinstallers’ tab
- This will take you to the place where you will find the list of all of the installed ‘Joomla’ CMS on your website(s). It will be under the ‘Current Installations’ section. So, click on the red colored ‘Cross/Remove’ button next to the installation you want to uninstall

Second Part:
From now on, the rest of the system is similar for both of the cases. So, follow along.
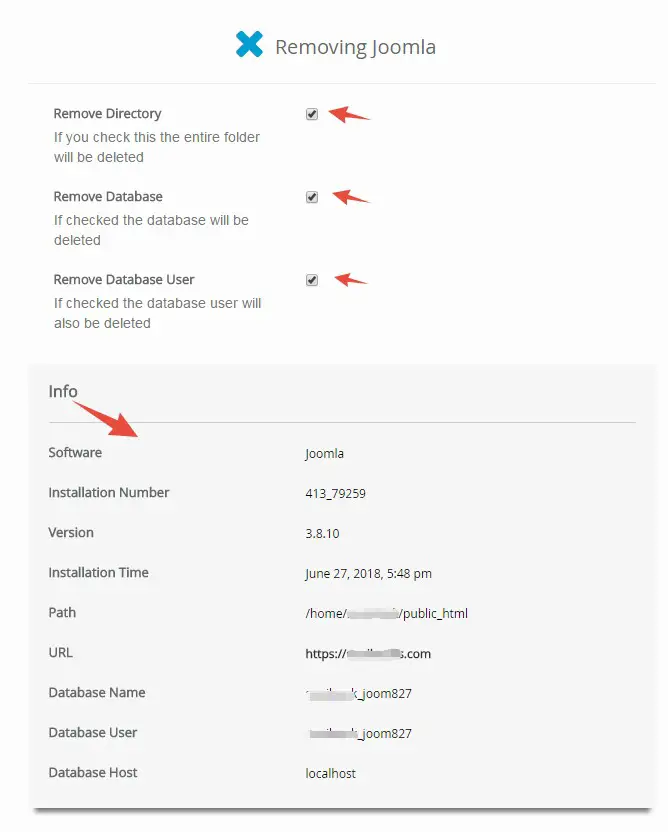
- On the next page, you will find a lot of information about the ‘Joomla’ installation. You will also see three different options named as ‘Remove Directory’, ‘Remove Database’, and ‘Remove Database User’. There will be check-marks next to each of them, which means that they are selected. We recommend that you keep them as they are
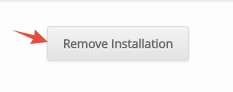
- After you are content with everything, click on the ‘Remove Installation’ button which will be at the bottom of the page
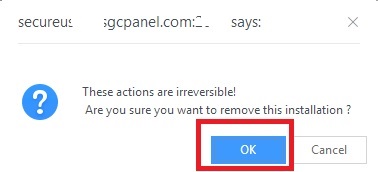
- Now, a pop-up will appear with a warning that you are going to uninstall Joomla in the next step. So, click on the ‘OK’ button to proceed
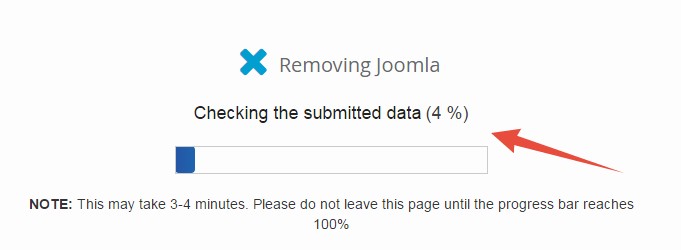
- Later, you will see that the uninstallation is in progress. Do not close that page until the progress bar reaches to 100%. It will be completed within a minute
- After the uninstallation is completed, you will see a ‘success’ message on the next page

By this time, you have learned to uninstall Joomla using the automatic method. Now, we will tell you about the manual method of uninstalling ‘Joomla’ from SiteGround web host accounts.
#2. Manual method:
This method will be divided into 3 parts. All of the parts are mandatory. As always, we will describe them one by one in a step by step manner next. So, let’s see how to do it.
Part 1. Deleting the ‘Joomla’ installation directory from the cPanel:
- Log in to the cPanel dashboard of the SiteGround web host of yours
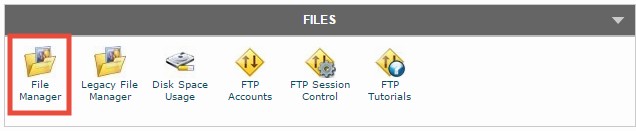
- Now, scroll down to the ‘Files’ section. And, click on the ‘File Manager’ option to go to the next step
- Next, a popup will appear on the screen. First, choose the preferred domain name from the drop-down menu. Then click on the ‘Go’ button which will open a new tab

- On the new tab, you will see that the ‘public_html’ folder has opened. It is the default installation folder for your CMS. However, if you have used sub-directory to install the CMS in the first place. Then you have to open that particular directory instead of opening the ‘public_html’ folder. From the left side of the screen, you can choose the folders. And on the right side of the screen, you will find the files inside of those folders visible

- So, if you want to open any directory other than the default one i.e. ‘Public_html’ then you have to click on the ‘+’ button next to the ‘public_html’ folder. That way, all of the sub-directories will be visible. From there, you can advance to the next step
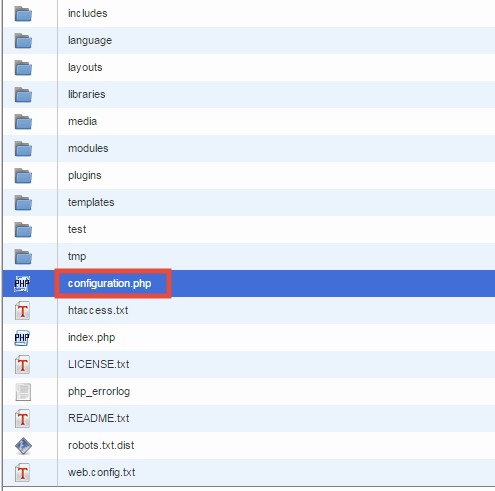
- As we have installed the CMS in the ‘public_html’ folder, we will open the ‘public_html’ folder. And then click on the ‘configuration.php’ file from the right-hand side of the screen to select it
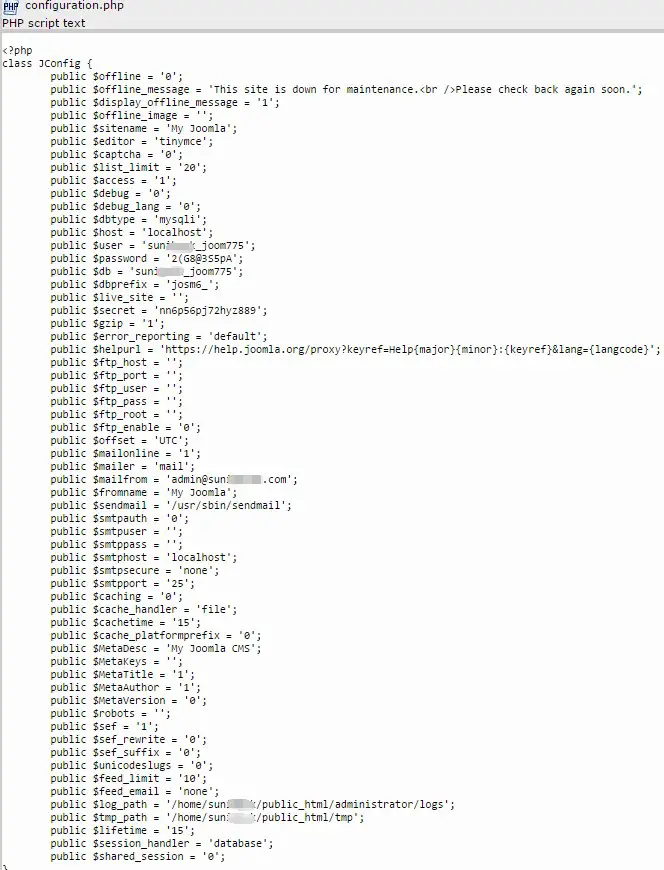
- Now, right click on the ‘configuration.php’ file. In doing so, a new popup menu will appear. Click on the ‘View’ button from the options

- Consequently, a new tab will open with a lot of information
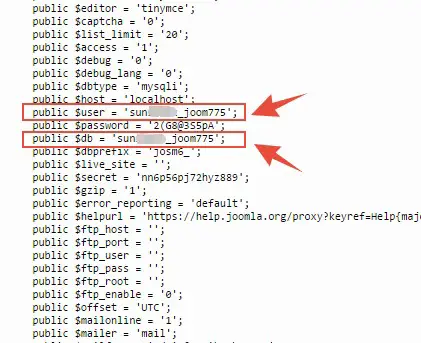
- At this point, we have to copy and save some information from the new tab. So, copy the ‘public user’ and the ‘public db’ names. Both of the names will be in this format ‘your-domain-name-joom-any-number’. Now, copy both of the information and paste in any safe place to keep them safe. We will have to use that information in the next method
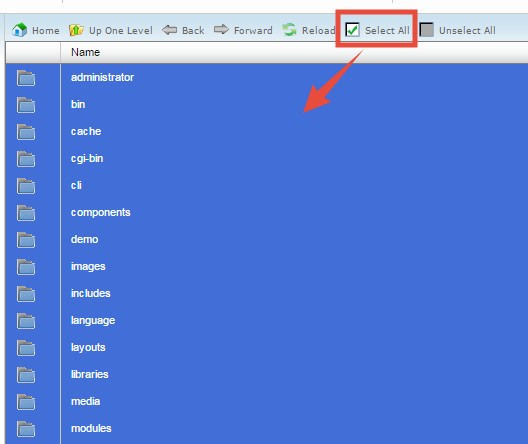
- Now, return back to the ‘public_html’ folder. From that page, click on the ‘Select All’ option from the top bar. Now, all of the files from that folder will be highlighted in blue color which indicates that they are selected
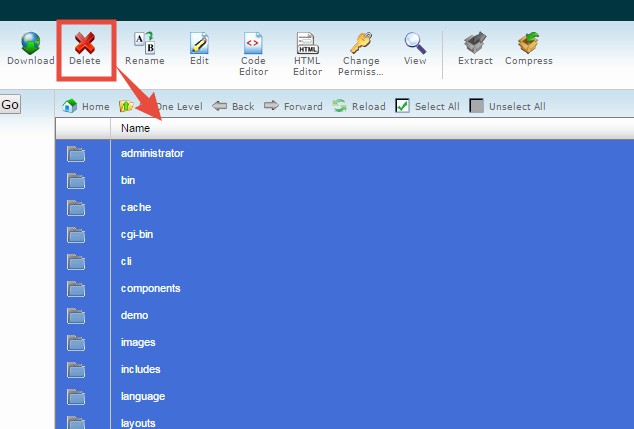
- Now, click on the ‘Delete’ button from the top menu. Eventually, a new popup will appear
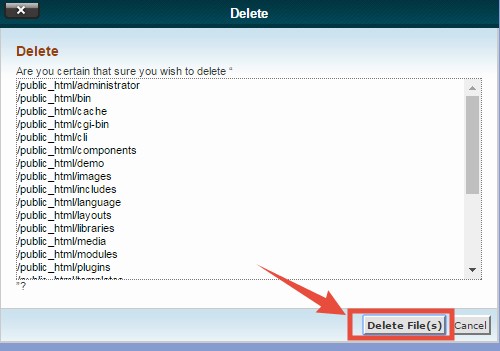
- From that popup window, click on the ‘Delete File(s)’ button. The popup will disappear
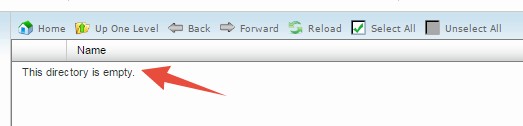
- All of the files will be deleted and you will see a notification saying that the directory is empty
That’s it. You have deleted all of the files which are related to the Joomla installation. Now, you will have to delete the database information which is related to the Joomla installation. So, let’s do that.
Part 2. Deleting the Database:
- Log in to the cPanel dashboard of your account
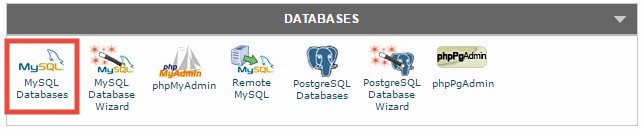
- Then scroll down to the ‘Databases’ section from that page. You have to then click on the ‘MySQL Databases’ button to proceed
- On the next page, you will see the list of the databases under the ‘Current Databases’ section
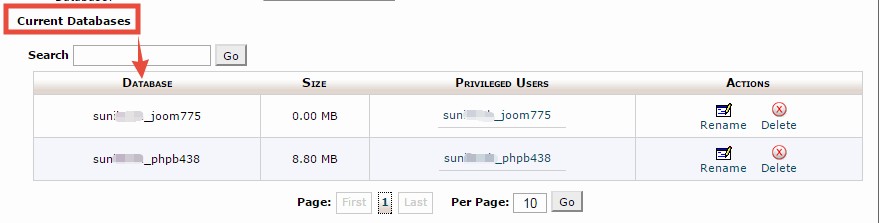
- Now, find the appropriate database name which is related to the ‘Joomla’ installation you are going to uninstall now. As we have told you to save the ‘public db’ name in the previous step, you can check that name and see which one matches to it. Then just click on the ‘Delete’ button from next to the name of that particular database. Because the ‘Public db’ name is the database name

- On the next page, click on the ‘Delete Database’ button which will permanently delete this database

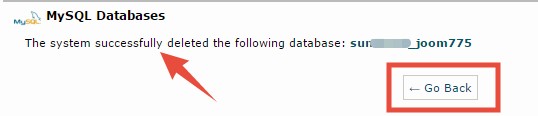
- Then on the following page, you will see a ‘success’ message. Click on the ‘Go Back’ button to return to the previous page
After returning to the previous page, you have to delete the database user permanently this time. So, follow the steps to do it without any difficulties.
Part 3. Deleting the Database user:
- From that ‘MySQL Database’ page, scroll down until you find the ‘Current Users’ section. All of the database users will be listed there

- Now, find the specific database user from the list. You can check against the ‘public user’ which you saved previously. As the name of the ‘public user’ is the name of the ‘database user’ in this case. So click on the ‘Delete’ button from next to the ‘database user’ which you want to delete

- On the next page, click on the ‘Delete MySQL Users’ button to permanently remove the user from the database

- Next, you will see a ‘success’ message on the next page which confirms the deletion

Well done! You have already deleted the ‘database’ and ‘database user’ which was related to the ‘Joomla’ installation on your website. At this point, you have successfully uninstalled ‘Joomla’ on your SiteGround account manually.
Uninstall Joomla using FTP client:
If you are a beginner then we don’t recommend this method for you. First of all, you will need to know all about FTP client and its uses. Then you can follow this method. If you are not comfortable then skip this method.
- First of all, download any FTP software. We recommend FileZilla
- Then connect the FTP software with your web server
- Now, from your FTP client software, browse to the ‘Public_html’ folder. But, if you haven’t installed Joomla on the default directory. Then browse to that particular directory from the FTP client software and open that directory
- Now, you have to delete all of the files from that folder
- After that, you have to delete the ‘database’ and the ‘database username’ by following the method we have mentioned above
That’s all for this post. We hope it will be enough for you to uninstall Joomla from your SiteGround web host. We have described three different approaches to perform the uninstallation. So, you can use any one of them.