
DISCLOSURE: This post may contain affiliate links, meaning when you click the links and make a purchase, we receive a commission.
A lot of website owners use WordPress on their website. You might be one of them.
But, it is not surprising that you might not like WordPress after all. If that’s the case then don’t worry. You can uninstall WordPress from your website. And then you can install any other CMS (Content Management System) on your website to give them a whirl.
So, if you are searching to know about the process of uninstalling WordPress from your web host account. Then you don’t need to search anymore. Because in this article, we are going to share the secret of uninstalling WordPress from a SiteGround web host. We will reveal multiple ways to do that. And there will be screenshots with each step. So, it will be very easy to follow for all of you.
So, without dawdling let’s move on.
SiteGround Uninstall WordPress using Softaculous auto installer:
First thing first, it is only possible to use this process if you used the Softaculous auto installer to install WordPress in the first place. If you have not installed WordPress using Softaculous then you need to skip this method and follow the next one.
This is the easiest way to uninstall WordPress from a SiteGround hosting account. We will split this method into two parts. On the first part, you will see two different methods. However, the outcome of both of them is same. So, you can use any one of the methods. And, then follow the second part. Now, let’s start.
First Part:
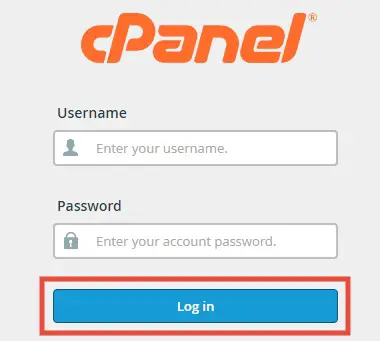
- Login to the cPanel dashboard of your SiteGround web host account
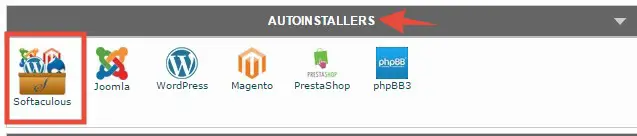
- Then click on the ‘Softaculous’ button from under the ‘AutoInstallers’ tab
- On the next page, you will see three options labeled as ‘Installations, Outdated Installations, and Backups’. These are related to the CMSes you have installed on your website
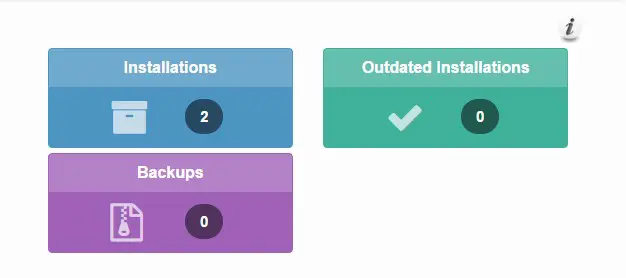
- Now, click on the ‘Installations’ button
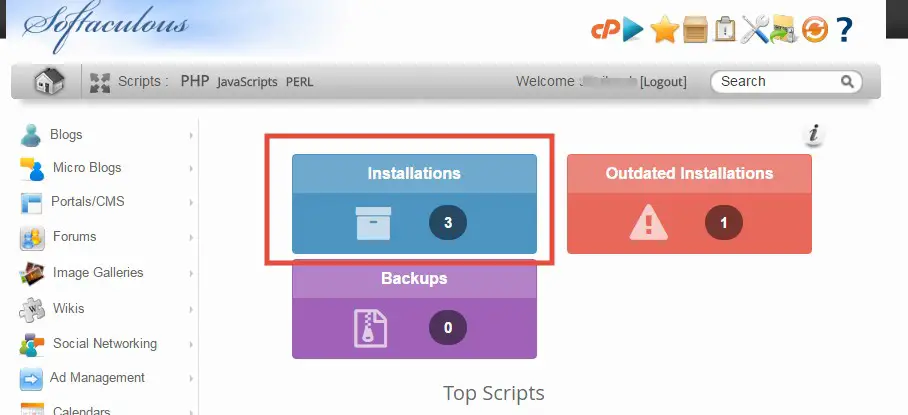
- On the next page, you will find all of the CMSes you have previously installed under the ‘Scripts Installations’ section. You can sort the list by three different criteria if you want to
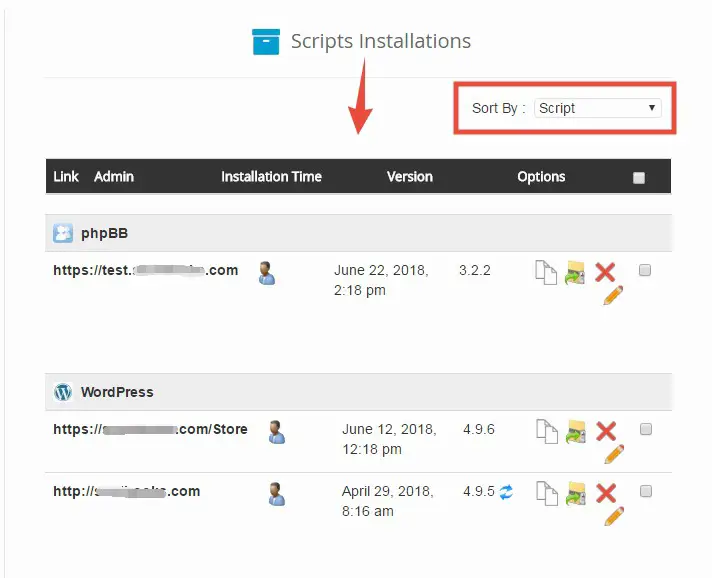
- As you are going to uninstall ‘WordPress’ from your cPanel. You will find all of the ‘WordPress’ installations listed under the ‘WordPress’ section
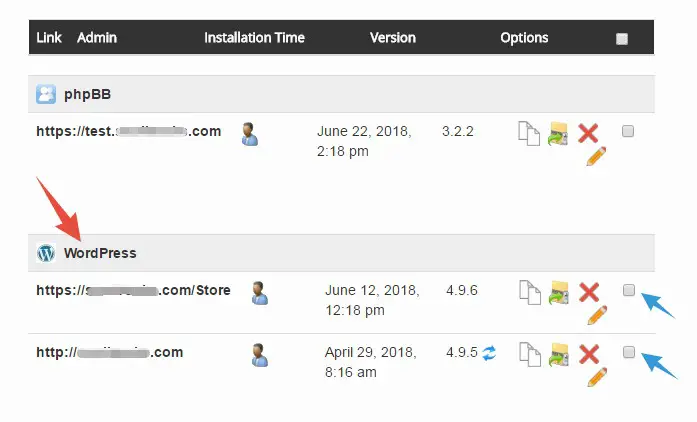
- Now, click on the big red colored ‘Cross/X’ (Remove) icon next to the installation you want to uninstall

Or,
- After logging in to your cPanel, click on the ‘WordPress’ button from under the ‘AutoInstallers’ tab
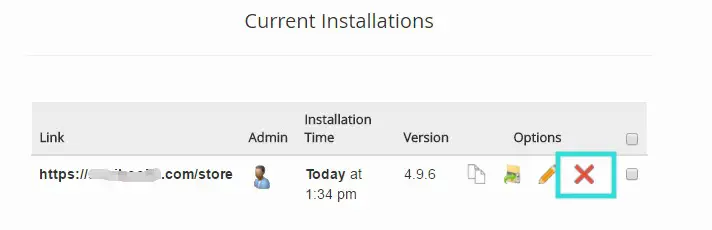
- On the next page, scroll down a bit to see a list of the currently installed WordPress CMS on your website

- So, click on the red colored ‘Cross/X’ (Remove) button to proceed to the next page
Whichever method you followed from above. The next part is similar for both of them. So, you can continue to read the rest.
Second Part:
- On the next page, you will see some information about the CMS you are going to uninstall. You will find 3 options ‘Remove Directory, Remove Database, and Remove Database User’ which can be toggled on or off. But, we would highly recommend that you keep those options as they are which is check-marked
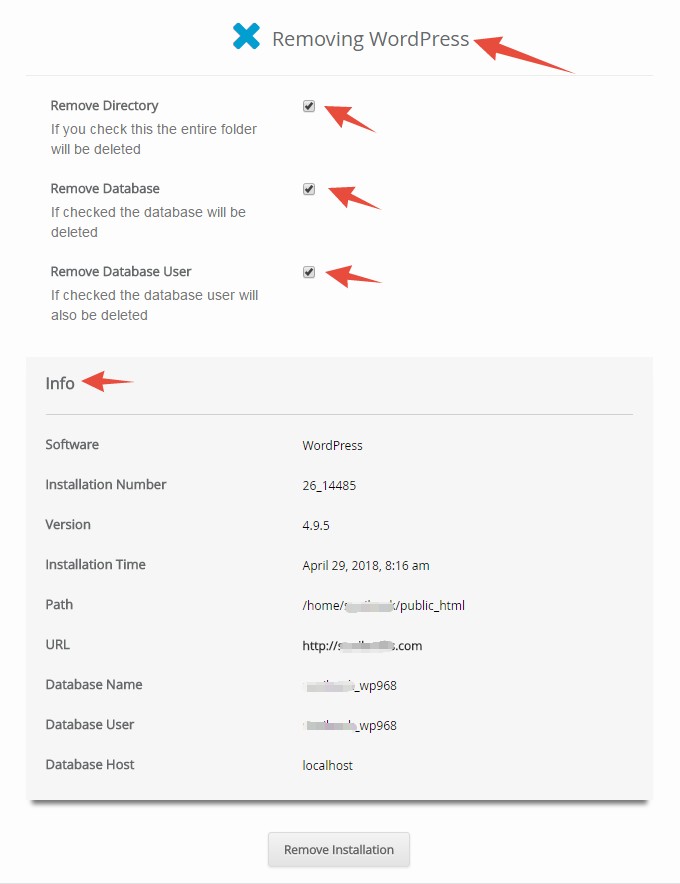
- Now, click on the ‘Remove Installation’ button from the bottom of the page

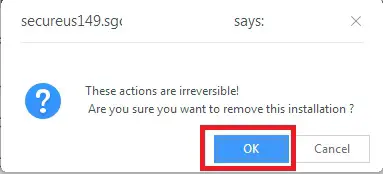
- A popup will appear asking if you want to delete WordPress for sure. Just click on ‘OK’ to proceed. And then the process will start instantly
- On the next page, you will find a progress bar which will represent the progress of uninstallation process. This will take a minute or two to complete the uninstallation

- When the uninstallation is done, you will see a ‘success’ message on the new page

That’s it! You have just uninstalled WordPress from your SiteGround web host using the Softaculous auto installer.
Now, we will explain the manual way to uninstall WordPress from SiteGround. In this section, we will describe the process of deleting the WordPress directory through cPanel file manager. As this might be complicated for some of you, we will divide this method into two parts. So that it will be easy to follow for everyone. So, let’s begin.
#1. Deleting the ‘WordPress’ installation directory manually:
- Log in to the cPanel of your SiteGround web host
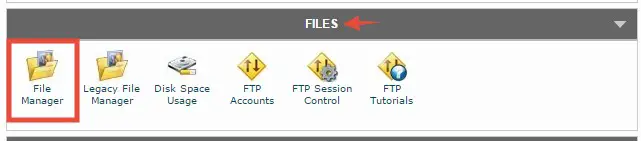
- Now, scroll down to click on the ‘File Manager’ button which will be under the ‘Files’ section
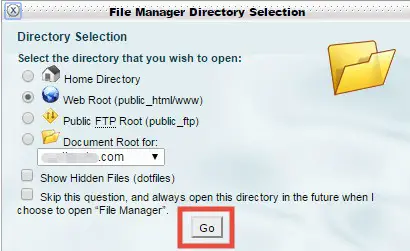
- Now, a popup will appear, click on the ‘Go’ button and a new tab will open on your browser
- On the new tab, you will find a folder called ‘public_html’ which will be on the left sidebar of that page. That is the default CMS installation directory in cPanel
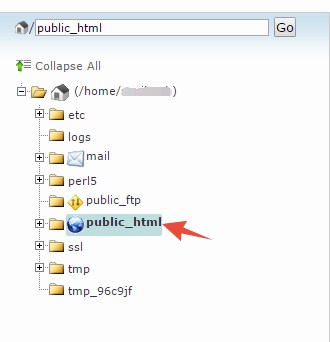
- If you have installed WordPress in a different directory then you can click on the ‘+’ icon next to the ‘public_html’ folder which will bring out the sub-directories. Then you can click on the specific sub-directory to select it
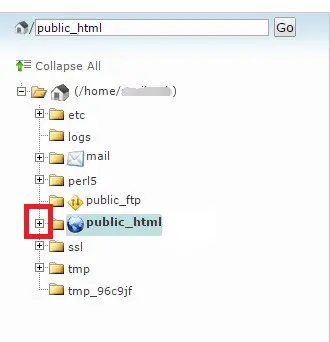
- However, as we have installed WordPress in the default directory, we will click on the ‘public_html’ folder to select it
- Now on the right-hand side of the screen, you will find all of the ‘WordPress’ installation files. You need to delete all of these files to uninstall WordPress completely
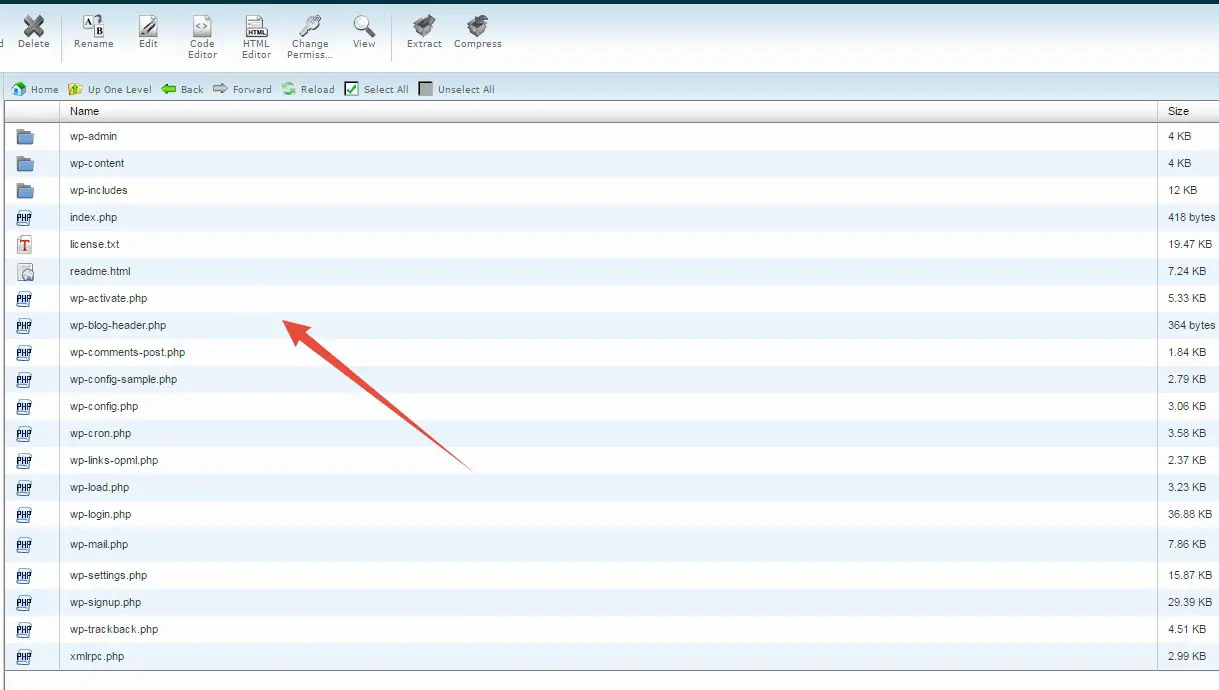
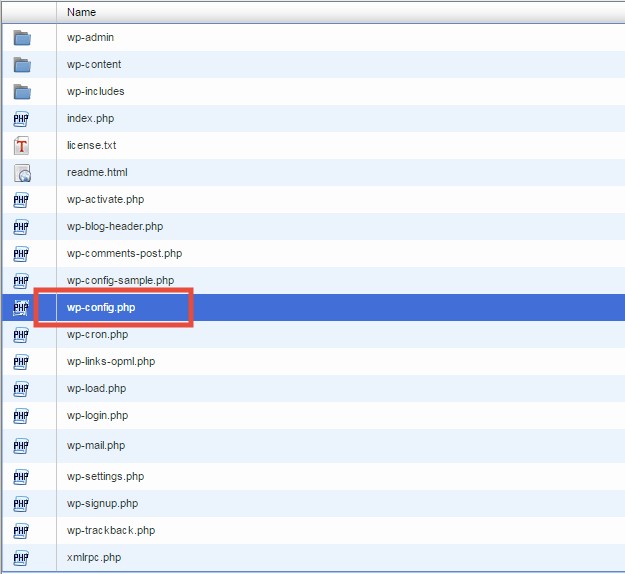
- But, before you delete anything, we have another thing to do. From the list of the files, click on the ‘wp-config.php’ file to select it
- Now, click on the ‘View’ button from the top menu
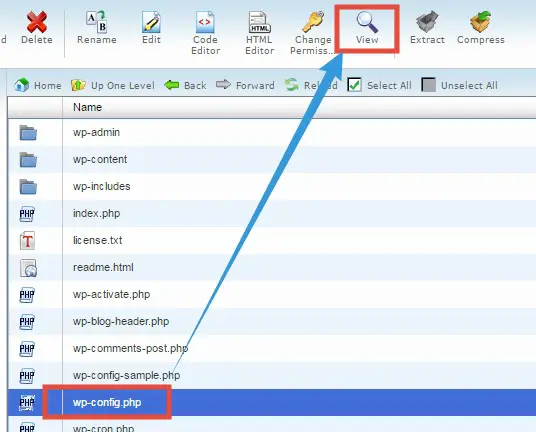
- In doing so, a new tab will open with a lot of information
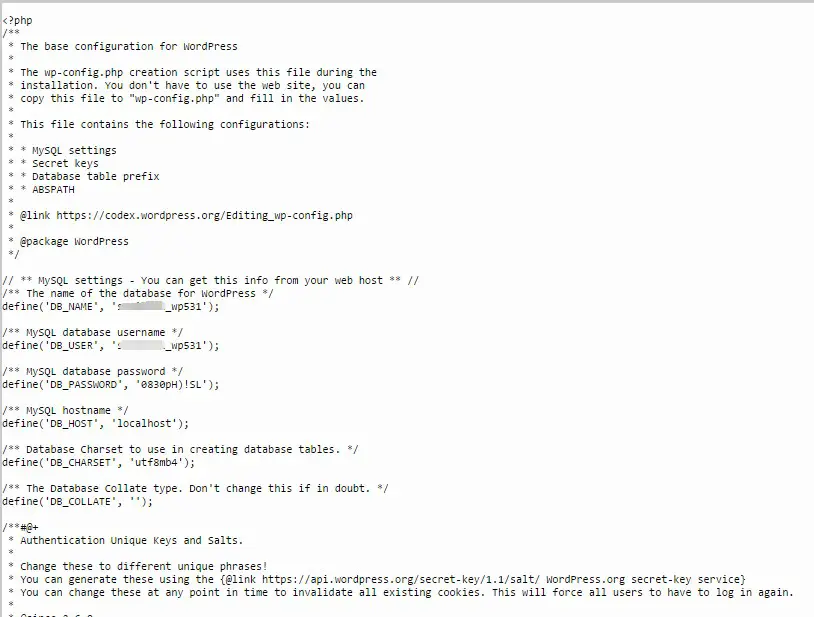
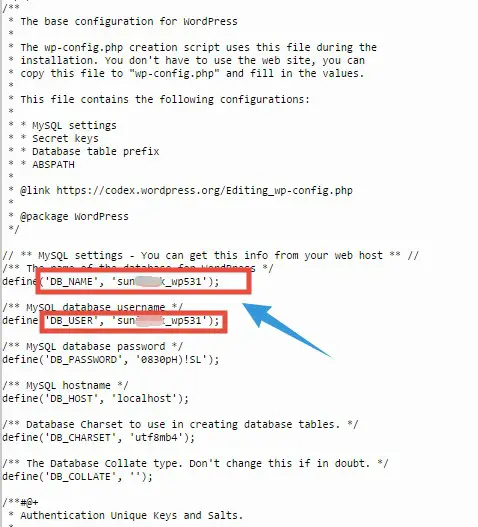
- From that page, you need to copy and save 2 pieces of information for later use. You need to copy the name of the database and the database username from that page. You will find both of them next to ‘DB_NAME’ and ‘DB_USER’. So, copy and save them for later
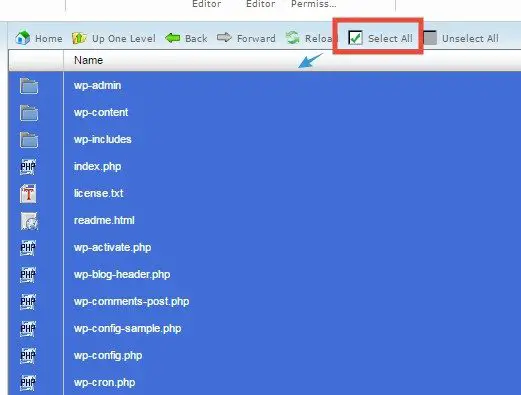
- After that, return to the previous tab. You need to select all of the files from that page by clicking on the ‘Select All’ option from the top bar. In doing so, all of the files will be highlighted in blue color. That means they all are selected
- Now, click on the ‘Delete’ button from the top menu to delete these files

- A new popup will appear. Click on the ‘Delete file(s)’ button to proceed
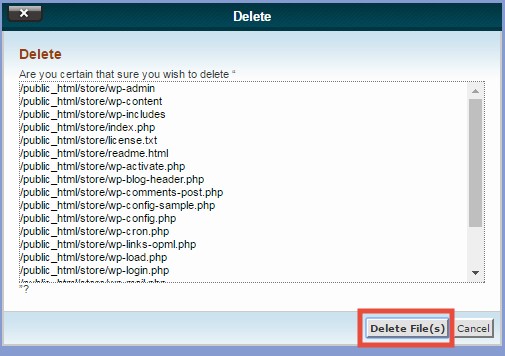
- Shortly, the files will be deleted
So, you have deleted all of the WordPress installation files from the installation directory directly. Now, you need to proceed to the second part of the process.
In the second part, we will delete the database information related to the WordPress installation which we just deleted. It is very easy, so don’t be afraid at all. Let’s go.
#2. Deleting the ‘Database’ and ‘Database user’ manually:
- Log in to your cPanel dashboard
- Now, scroll down and navigate to the ‘Databases’ section. Under that section, click on the ‘MySQL Databases’ button

Deleting the Database:
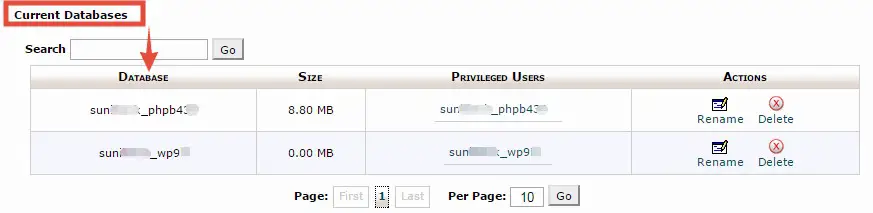
- On the next page, you will find the database names under the ‘Current Databases’ section. Usually, you will see only one database there. However, if you have created more than one websites or databases then you will have multiple databases there (as in our case). So, you need to find the correct one among them. To find that, you need to check for the database name which we have told you to save in the first part of this method. So, check carefully and identify which is the database name you saved earlier
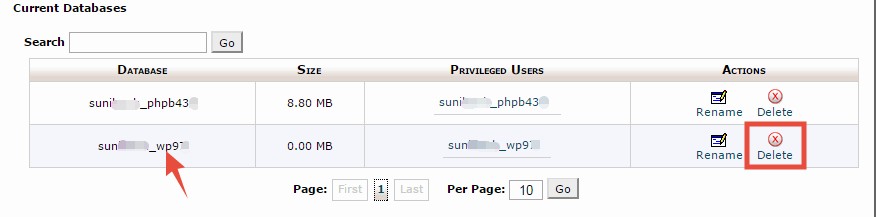
- Now, as you have already identified the database name, you can click on the ‘Delete’ button next to that database
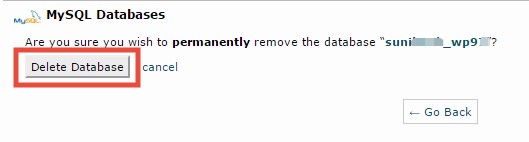
- On the next page, click on the ‘Delete Database’ button to continue
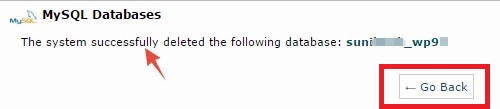
- Then you will see a confirmation message that the database was removed successfully. Click on the ‘Go Back’ button to get to the previous page
Deleting the Database user:
- On that page, scroll down to the bottom of the page. Then you will find the section named ‘Current Users’ where all of the active ‘database users’ will be listed. You need to identify the correct database username to delete it as it is not needed anymore. As we have already told you to save the database username on the previous section. It will be easy to determine for you by matching the saved name to this current username

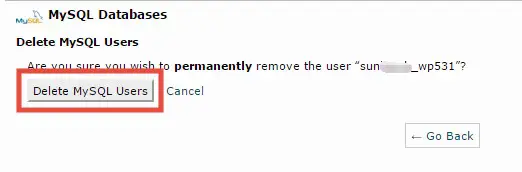
- Now, click on the ‘Delete’ button next to the database username which you want to remove

- On the next page, click on the ‘Delete MySQL Users’ button to permanently delete the database user
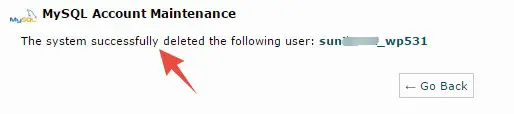
- Lastly, you will see the ‘success’ notification about the deletion of the database user on the next page
If you are still here. Then you have learned the manual way of uninstalling WordPress on SiteGround. There’s still another way to uninstall WordPress that is using FTP.
However, it is not that easy. So, we don’t recommend it for beginners but we will give you a basic idea of the process below. As it is for the advanced users, you will be able to understand it easily from the hint.
Uninstall WordPress via FTP:
- Download any FTP software
- And connect your web server
- Now, browse to the ‘Public-html’ folder as it is normally the default WordPress installation folder. Or if you have installed WordPress in any other directory. Then browse and open that directory
- After that, delete all of the files inside that folder. That will uninstall WordPress from your SiteGround web hosting account
- At last, you have to delete the database and the database username manually as we have mentioned in the above method
That is all. We have tried to give you a detailed guide on how to uninstall WordPress from your SiteGround web host account. We hope that you can follow this guide and uninstall WordPress one way or another. Now, we have to close the curtain. The rest is up to you.