DISCLOSURE: This post may contain affiliate links, meaning when you click the links and make a purchase, we receive a commission.
So, you have decided to open an online store. At this point, it is just a dream.
If you want to make that dream a reality. You will have to step up. You have to buy your domain and hosting for your online store first. If you have done this part already. Then you are just a few steps away from achieving your goal.
Now, you have to decide which e-commerce platform you want to use in your online store. If you haven’t decided yet. You can go with the popular e-commerce platform ‘PrestaShop’.
Why?
Because this is a free software. And, you can also install it on your web host yourself. Think I’m exaggerating?
Although, installing ‘PrestaShop’ on a hosting account sounds pretty complicated. We can assure you that it is the opposite.
So, if you have decided to install ‘PrestaShop’ on your Siteground’ hosting account. But, don’t have any clue about what to do next.
Then you can read this post. In this post, we will describe the entire process of installing ‘PrestaShop’ on a Siteground web host. In addition, we will also provide screenshots with each step to make it easier for you.
Read also: Top PrestaShop Hosting
Table of Contents
How to Install PrestaShop on SiteGround
So, let’s get things underway.
Method 1 – Installing PrestaShop on Siteground with auto installers/Softaculous
There are two ways to install ‘PrestaShop’ on Siteground web host. We will talk about both of them. But, we will begin with the ‘Softaculous’ installation method.
How to install ‘PrestaShop’ on Siteground via ‘Softaculous’:
First, we will have to visit the Softaculous PrestaShop ‘Overview’ page. In order to do that, we can follow two different methods. But, the outcome of both of the methods will be same. So, you can follow either of them.
1st method to go to the ‘PrestaShop’ Overview page:
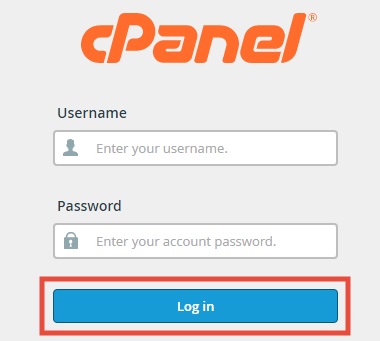
- Login to your Siteground cPanel
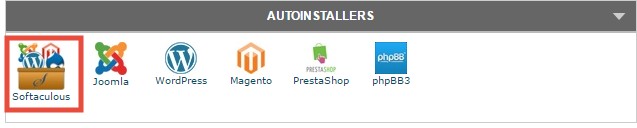
- Locate and click on the ‘Softaculous’ icon on the cPanel dashboard. It will be on the ‘Auto Installers’ section
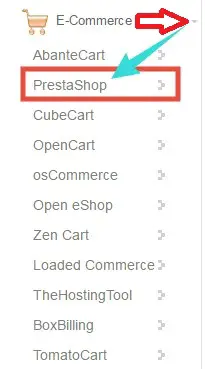
- On the left side of the following page, you can find the ‘E-Commerce’ Click on the down-arrow beside the option itself. And a new drop-down menu will appear. From that menu, click on ‘PrestaShop’ to advance
OR,
- You can click on the ‘E-Commerce’ category from the left-hand side
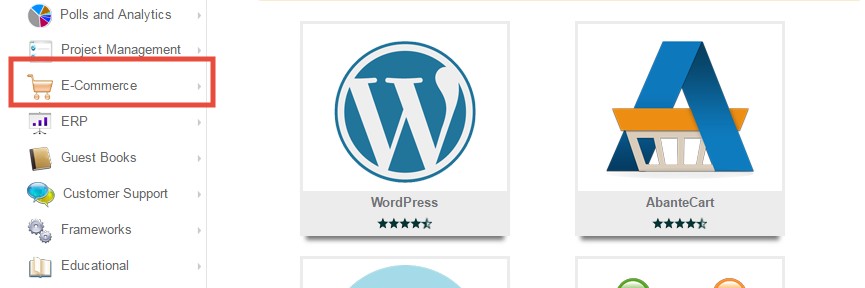
- So, the list of the e-commerce related software will appear on the right side of the screen
- There you will find the ‘PrestaShop’ listed as an e-commerce software
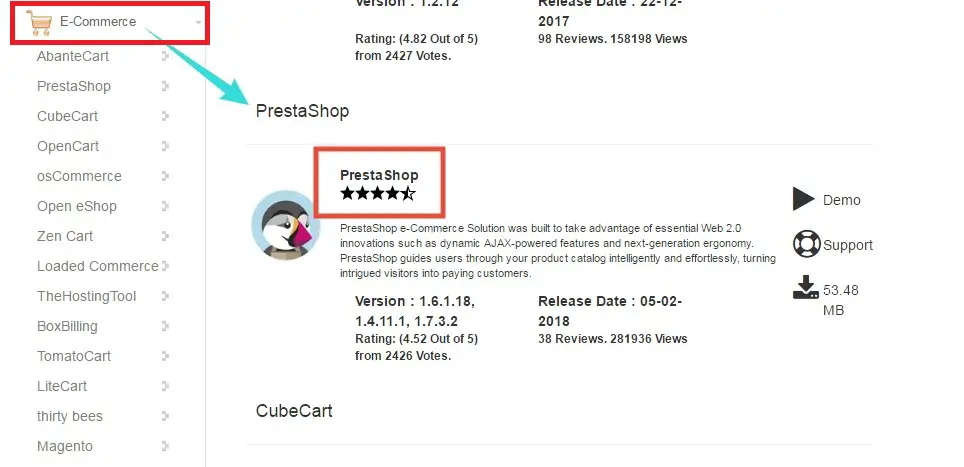
- To proceed, click on the ‘PrestaShop’ button which will take you to the ‘PrestaShop’ overview page
2nd method to go to the PrestaShop Overview page:
If you are already on the overview page. You can skip this part.
- Login to cPanel of your Siteground web host
- Find the ‘PrestaShop’ button under the ‘Auto Installers’ section. And, click on it
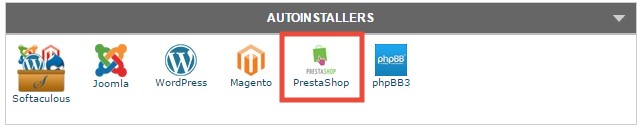
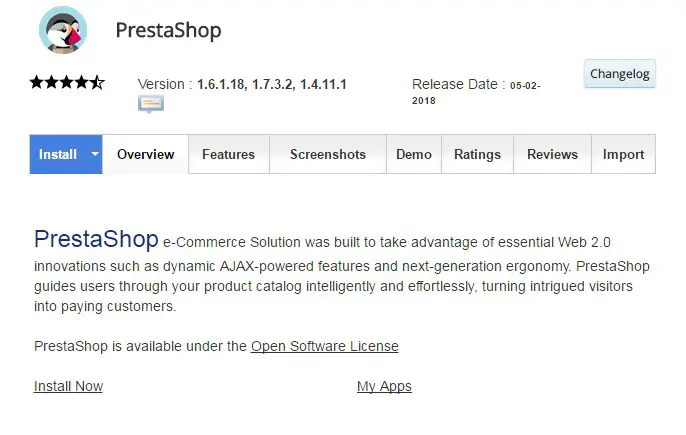
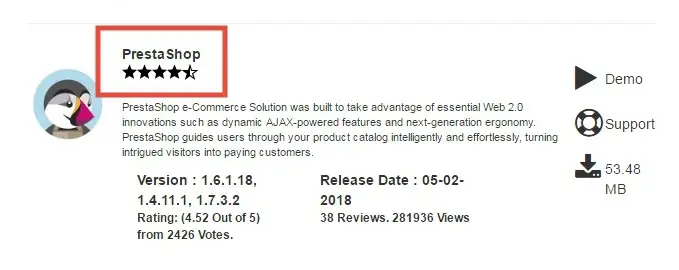
- On the next page, you will be taken to the ‘PrestaShop’ Overview page
As you are on the PrestaShop Overview page. Now, you can start the installation with the help of ‘Softaculous’ script installer.
Install PrestaShop via Softaculous:
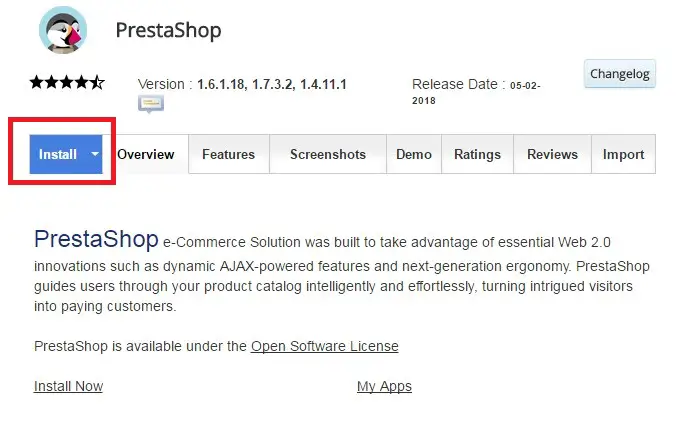
- From the overview page, click on the blue ‘Install’ button. It will open the installation page

Click on Install Note: By default, you will be using the ‘Custom install’. It has many options to configure. So, we will show you the ins and outs of the ‘Custom install’ method
In this part, you have to fill up some forms. We will certainly cover all of the sections for you. So, it will be pretty easy.
Software Setup:
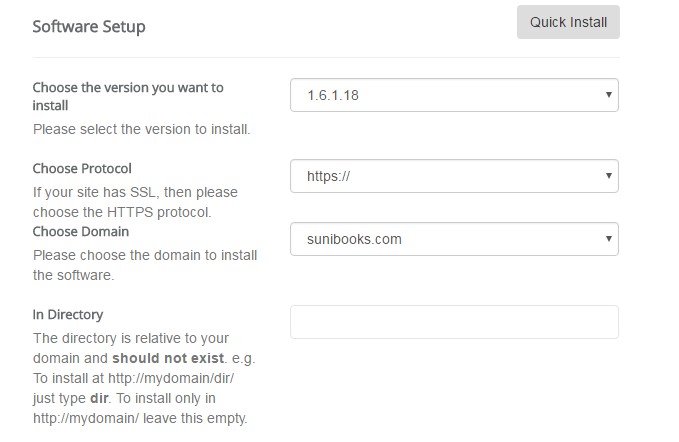
- The first option is to choose the version of ‘PrestaShop’ you are going to install. We advise you to select the latest one from the drop-down menu

- On the ‘Choose Protocol’ option, you have to select the protocol of your website. Here, you can select from either of ‘https://’ or ‘http://’. If your domain name has SSL protection, then select the ‘https://’ and if your domain doesn’t have SSL protection select the ‘http://’. We don’t recommend choosing from the other two

- The next option is to choose your domain. If you have added only one domain name on your hosting account, then that will be automatically selected
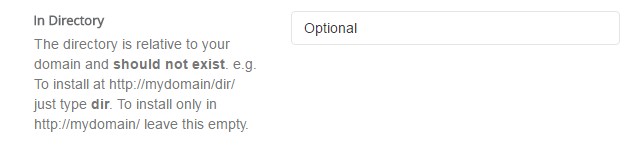
- The ‘In Directory’ option can be skipped. However, if you want to add an extension to your web address like ‘yoursite.com/store’ (‘store’ is the extension here’). Then you can type the extension inside the ‘In Directory’ box
Site Settings:
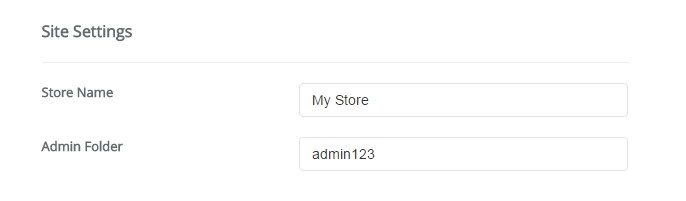
- Here, you will type your site name on the ‘Store Name’ option
- The ‘Admin Folder’ will be used as the extension of your admin URL (which will be used to login to the backend of your PrestaShop site). So, whatever you use, note it down
Admin Account:
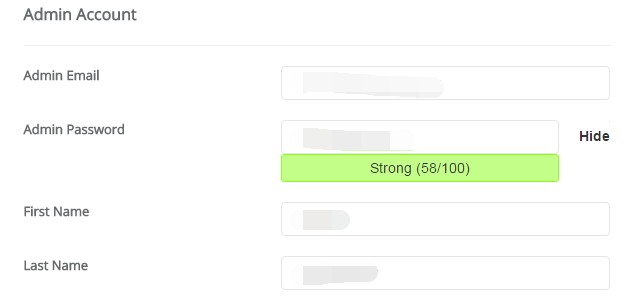
Remark: Note down both of the ‘Admin Email’ and ‘Admin Password’ in a safe place. These will be needed later
- The first option is the ‘Admin Email’. You can use any valid email address here. It will be used as the login email address of the admin panel of your ‘PrestaShop’ site
- There will be an auto-generated password on the ‘Admin Password’ option. You can keep that or else, you can use any of your desired ones
- Lastly, fill up the ‘First Name’ and ‘Last Name’ options
Advanced Options:
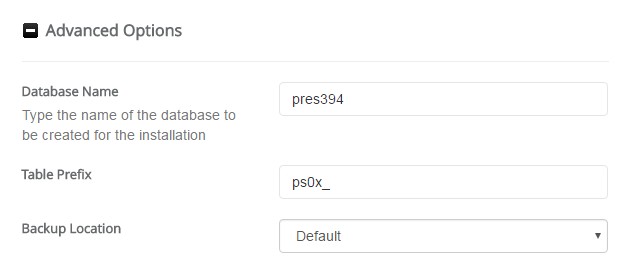
- On this section, you will find 3 different blank boxes to fill up. However, you don’t need to fill up any one of them (as it will be already filled up). But, you can save the info from this section
Starting the Installation:
- Check back every section. If you have provided all the required information. Also, if you have already saved the important information. Then you can proceed by clicking on the ‘Install’ button
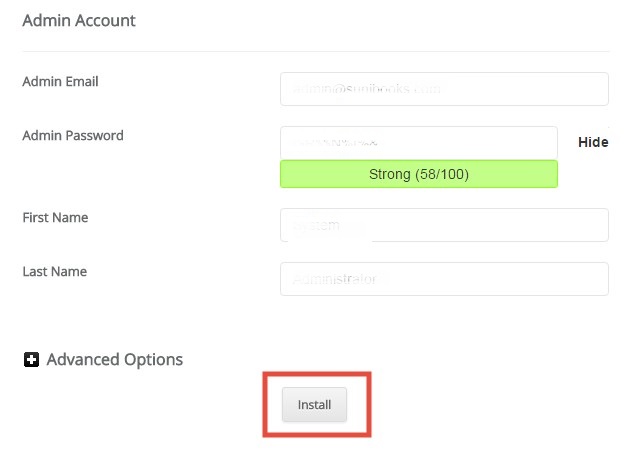
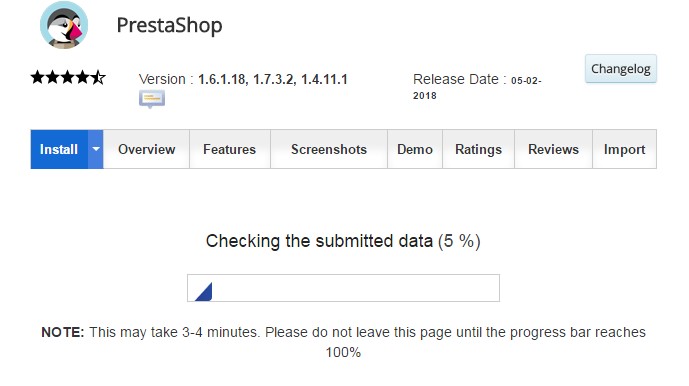
- After you click on the ‘Install’ button. The installation will be underway. Wait until it is finished. Do not close this page during the installation
- When the installation is finished, you will be redirected to a page with a ‘Congratulations’ notification
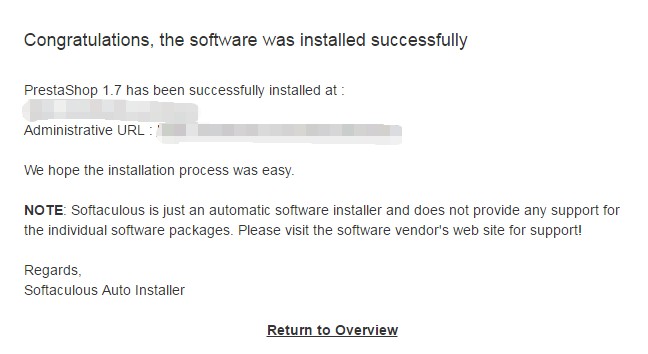
- You will find the admin URL there. It will be used to access the login page of your PrestaShop admin panel. So, bookmark the URL
Log in to your PrestaShop admin panel:
- Click on the ‘Administrative URL’ and you will be redirected to the login page
- Now, enter the ‘Email Address’ and ‘Password’. Finally, click on the ‘Log in’ button

Tip: The default admin URL structure is “yoursite.com/’Admin Folder’”. Here, ‘Admin Folder’ refers to the value you provided in the ‘Site Settings’ section next to the ‘Admin Folder’ option.
Normally, the ‘Admin Folder’ box has the value ‘admin123’. So, it will be like ‘yoursite.com/admin123’. But, we will recommend that you change the default ‘admin123’ to something else and save it.
Method 2 – How to install PrestaShop on Siteground manually
How to install PrestaShop manually on Siteground:
If you want to install PrestaShop manually then you can follow this part of the post. We will share the whole process step by step. So, it will be easier to follow.
What we are going to do:
- Create a MySQL database
- Download the PrestaShop installation file
- Unzip the file
- Upload the required files to the web host
- Extract the uploaded file
- Finish the installation with the PrestaShop auto installer
So let’s get started.
How to create a new MySQL database on Siteground:
Remark: Save or note down all of the information of this section like the Database name, Database username and Database password
- Log in to Siteground cPanel
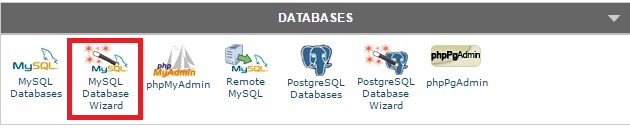
- Scroll down to find the option ‘MySQL Database Wizard’. Normally, you will find it under the ‘Databases’ section. Now, click on it
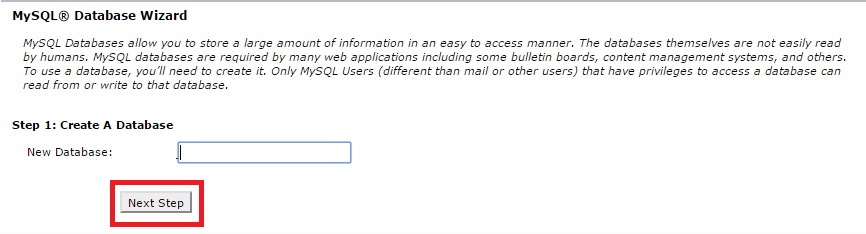
- Next, provide a name for the new database. And, click on ‘Next Step’
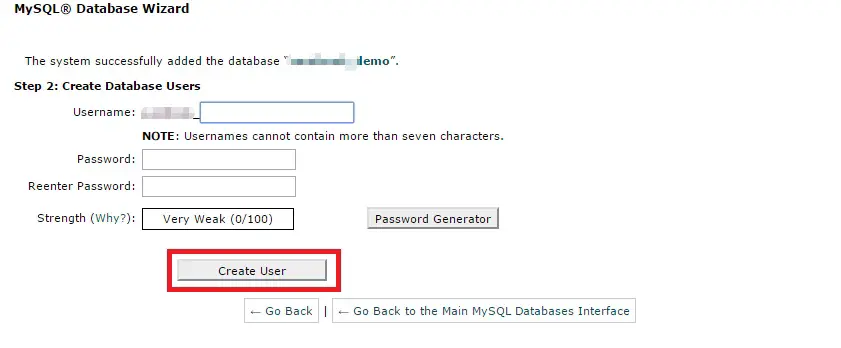
- On the following page, provide a new database username and password. If you want to generate a new password automatically, then click on ‘Password generator’ option. After you have typed everything, click on ‘Create User’ to go to next part
- Then, you have to check-mark the ‘All Privileges’ option and click on ‘Next Step’
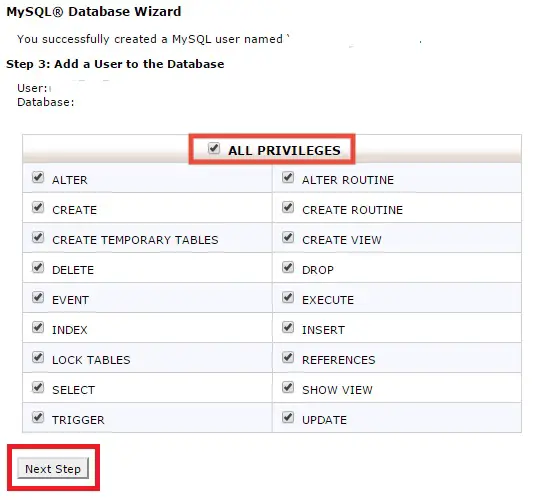
- On the last step, you will see the database name and the database username. It means that you have completed creating a new MySQL database

Download the PrestaShop installation Package:
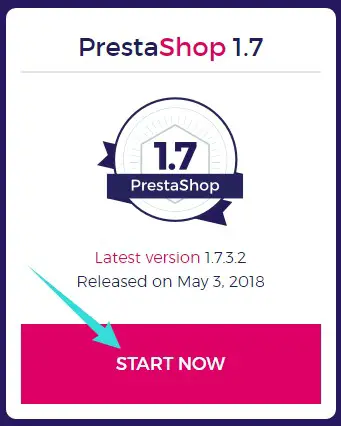
- Visit the PrestaShop official download page
- Click on ‘Start Now’ on that page
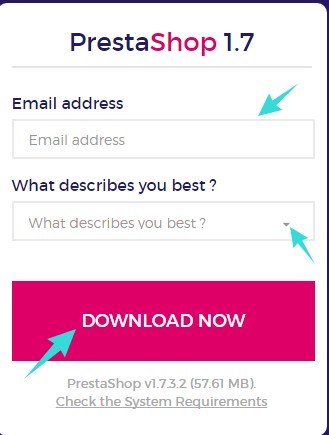
- Now, the ‘Download Now’ button will appear. However, you need to provide your email address and select ‘what describes you best?’ from a list of selection prior to download the file
- So, enter a valid email and pick the appropriate option from the drop-down menu
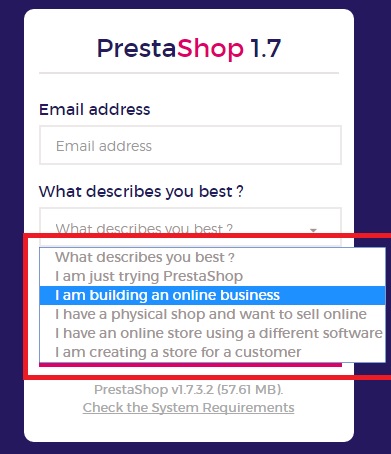
- Then click on ‘Download Now’. Instantly, the download will start
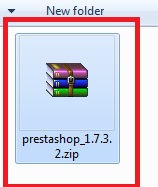
After you have downloaded the file on your PC. You need to unzip the file. Because the file will be downloaded in ZIP format.
How to unzip the downloaded file:
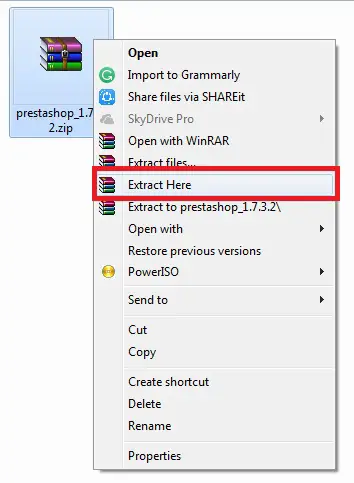
You can use any archiver software to unzip the file. However, if you are not familiar with them. You can download the trial version of WinRAR from here- WinRAR (32-bit) & WinRAR (64-bit). Install the software on your PC. After that,
- Right-click on the ZIP file. Then click on ‘Extract Here’ from the options
- Now, the extraction process will be started. You will find three new files after the extraction process is completed. You will need to upload these 3 files to your web host. So, remember the location of them

Upload the files to Siteground web host:
You can use any FTP client to upload the files to your web host. However, we will let you know the process of uploading files via the cPanel ‘File Manager’. It is simple and will save a lot of time.
- Log in to your cPanel account
- Then scroll down to locate the ‘File Manager’ icon. Click on that icon

- A new popup will appear. Just click on the ‘Go’ icon. And, a new tab will open on your browser
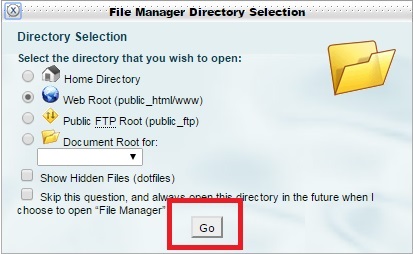
- On the new tab, you will see your ‘File Manager’. You can upload the file from here. However, there are two places where you can upload the file
Where to upload the File:
- If you want to install the ‘PrestaShop’ on your domain directly (like ‘yoursite.com’). Then you have to upload to the ‘Public_html’ folder
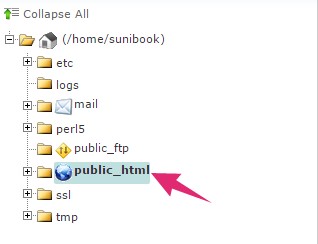
- But, if you want to install ‘PrestaShop’ on a new directory (like ‘yoursite.com/store). You have to create a new folder inside the ‘Public_html’ folder. Then, you need to upload the file to the new folder (in our case, the new folder is ‘store’)
If you don’t want to create a new directory, you can skip this part below:
- To create a new folder, click and select the ‘Public_html’ folder. Then click on ‘New Folder’ from the top menu
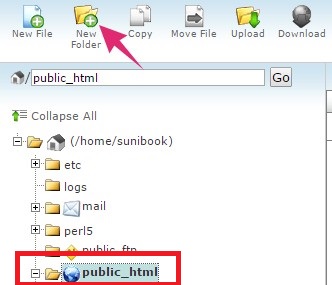
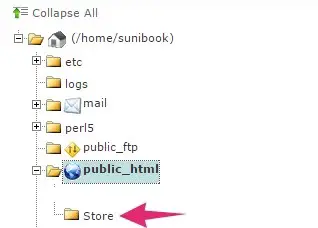
- Then give a name to the new folder. We have named ours ‘Store’ as we want to install ‘PrestaShop’ on ‘yoursite.com/store’. Then click on ‘Create New Folder’. The new folder will be created instantly. Now, you can upload the file to your preferred folder

Start the upload:
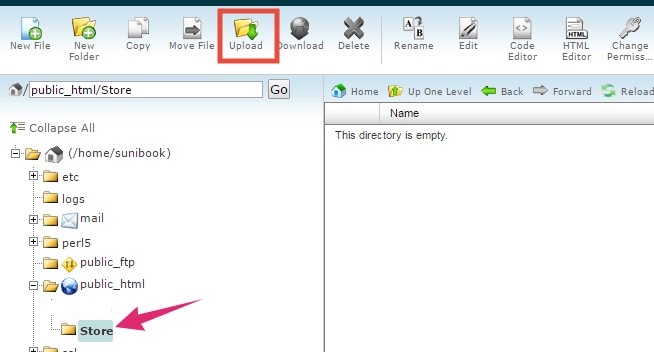
- On the ‘File Manager’ tab, click on the folder where you want to upload the file (Public_html/the new folder) from the left pane. In our case, we will select the folder which we created i.e. ‘Store’. You can select the ‘Public_html’ folder too

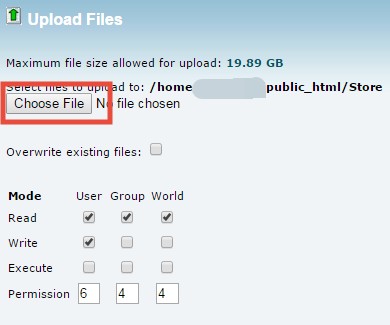
- After selecting the desired folder, click on ‘Upload’ button from the top menu. A new tab will be opened shortly
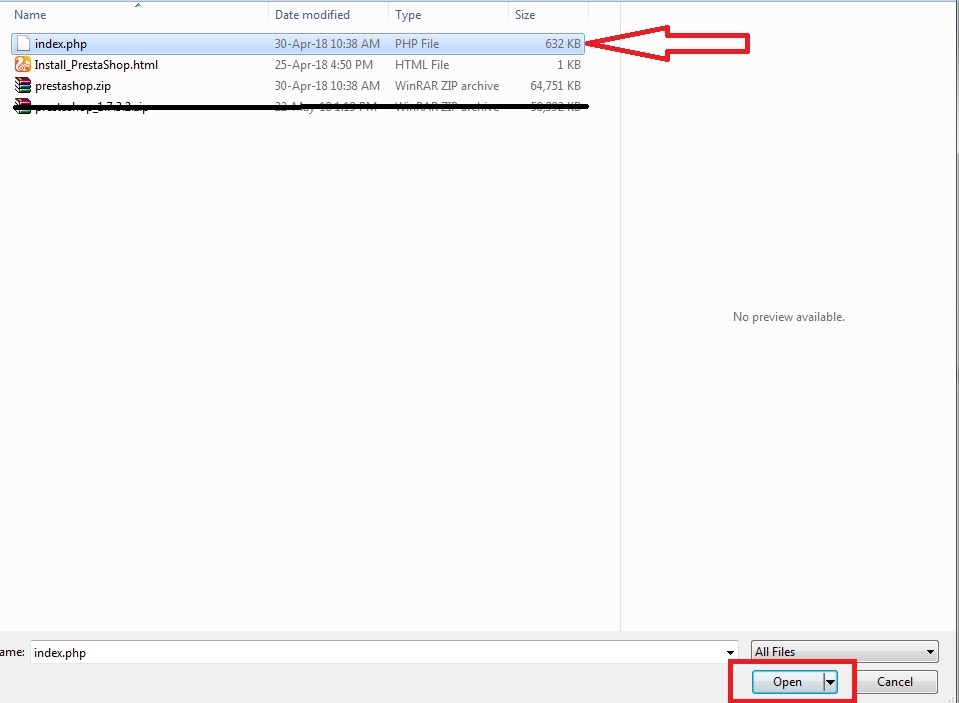
- On that tab, click on ‘Choose File’ and you can upload the three files
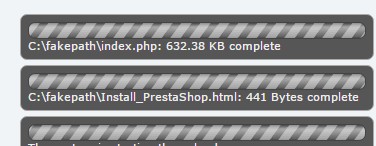
- At first, upload the ‘index.php’ file
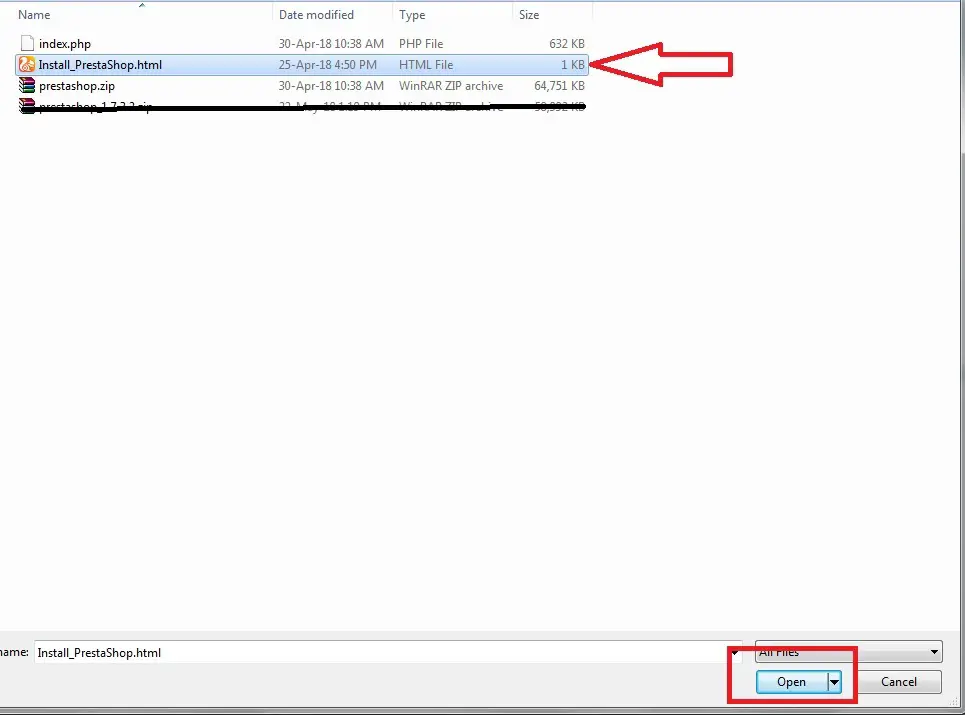
- Secondly, upload the ‘Install_PrestaShop.html’ file
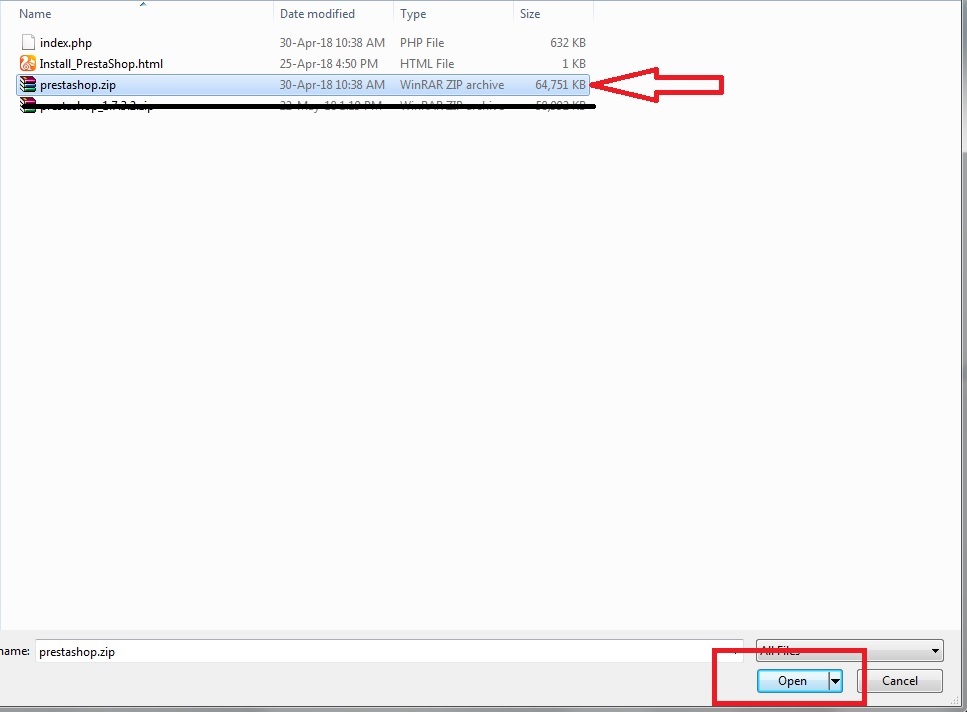
- Finally, upload the ‘prestashop.zip’ file. It will take a bit of time depending on your internet speed. So, don’t close the page until the upload is finished
- After the upload is finished, you can see the progress notification on the bottom-right corner of the page
As we have completed the upload. Now, we have to unzip the ‘prestashop.zip’ file. To unzip we can use the built-in extractor on the cPanel ‘File Manager’.
Let’s start.
Unzip the file:
- Find the ‘prestashop.zip’ file on the ‘File Manager’ page. If you don’t find the file, refresh the page
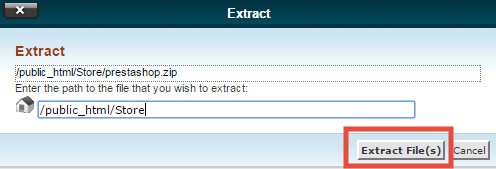
- Now, click on the ‘prestashop.zip’ file. Then click on the ‘Extract’ button from the top menu

- A new popup will appear. Click on the ‘Extract Files’ button to start the extraction
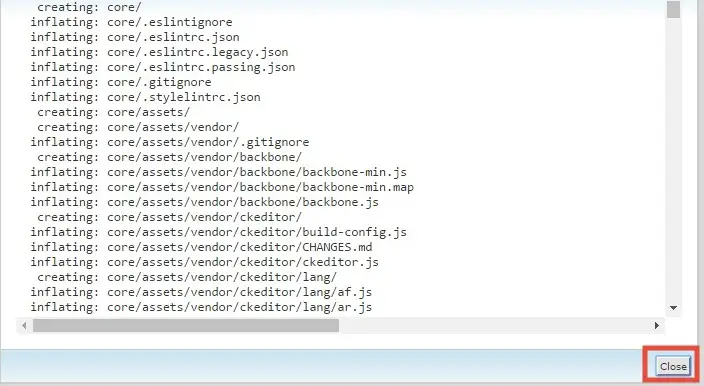
- After the extraction is completed, you will see another popup with all the extraction result. Just, click on ‘Close’ to finish the process
Finishing the installation with the help of ‘PrestaShop’ installation assistant:
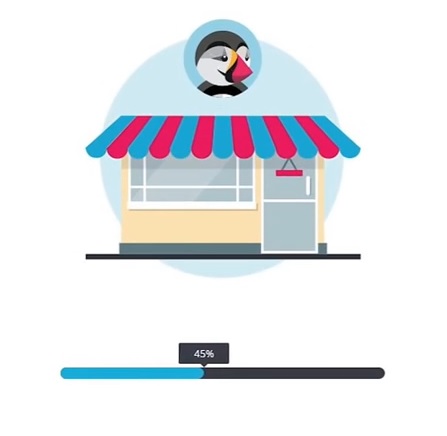
- Go to the URL of your site from your PC browser. In our case, it is ‘yoursite.com/store’. If you have uploaded the ‘PrestaShop’ installation file to the ‘Public_html’ folder then the URL would be ‘yoursite.com’
- At first, you will see a progress bar on your site. Let it finish automatically
- Then the ‘PrestaShop’ auto-installer will be loaded. There will be 6 sections. We will cover them separately one by one below
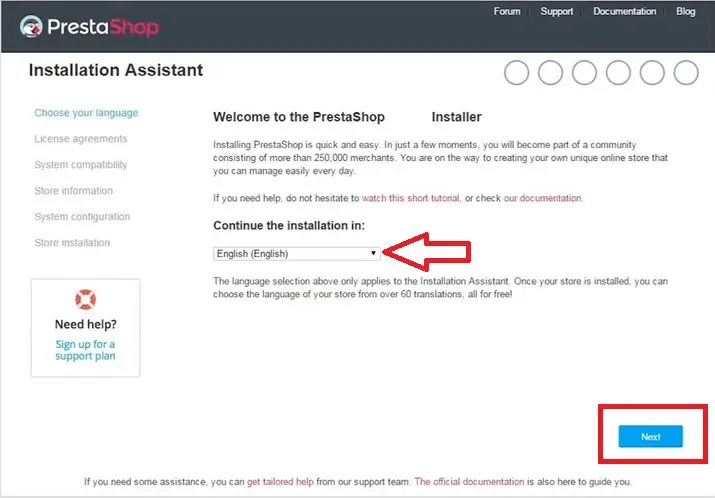
Choose your Language:
- Select your preferred language from the drop-down menu. And click ‘Next’
License Agreements:
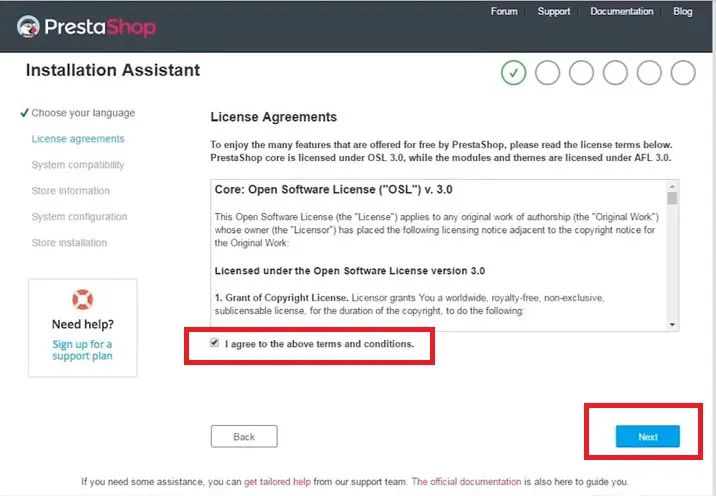
- You will have to agree to the terms and services of ‘PrestaShop’ in this section
- Just check-mark the box next to the ‘I agree to the above terms and conditions’ option and click on ‘Next’
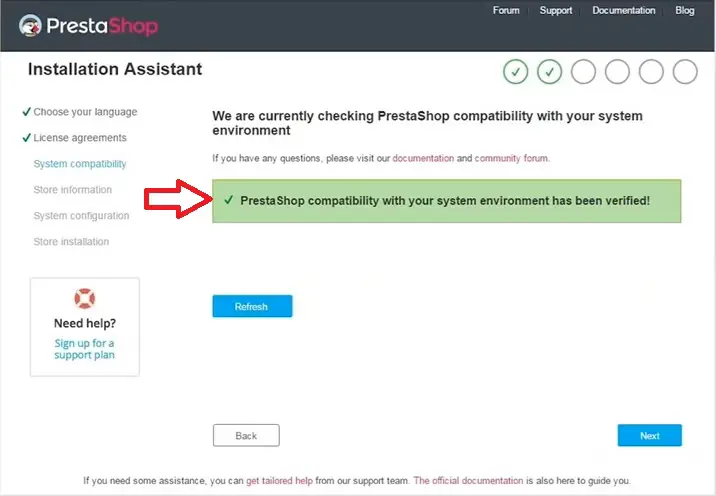
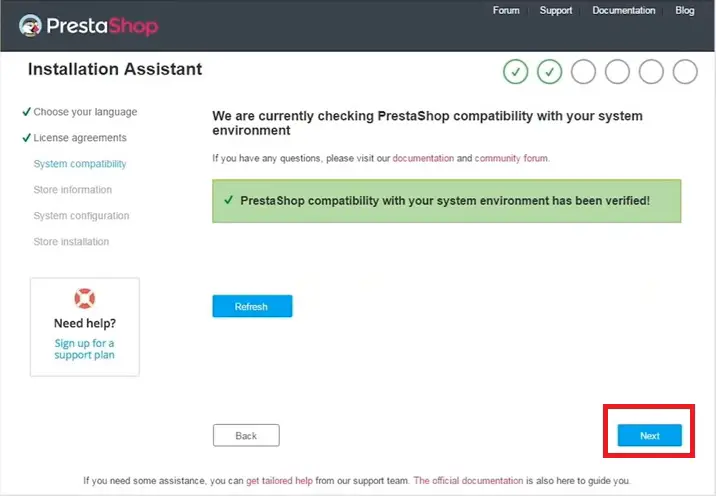
System Compatibility:
- In this section, the installer will check the compatibility. If everything is compatible, you will see that there’s a verification message
- But, if there’s some problem, you will see some warning. If they are not major, you can skip them
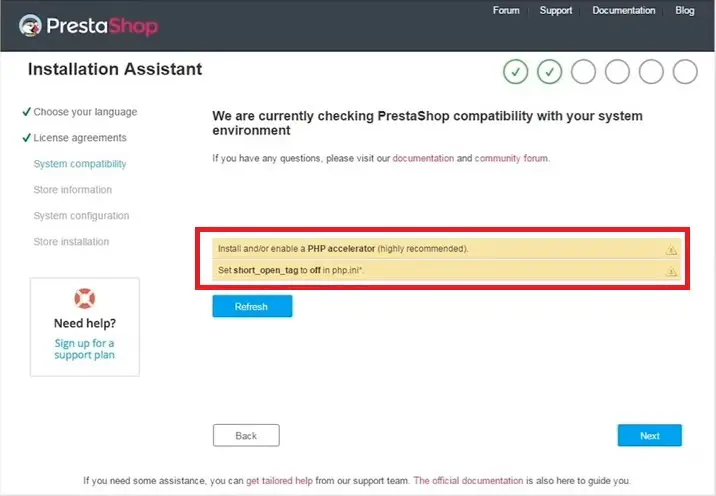
- So, you can click on ‘Next’ to proceed
Store Information:
Here you will have to fill up some forms related to your ‘PrestaShop’ store. It is divided into two sections. We will walk you through the entire process.
- Information about your store:
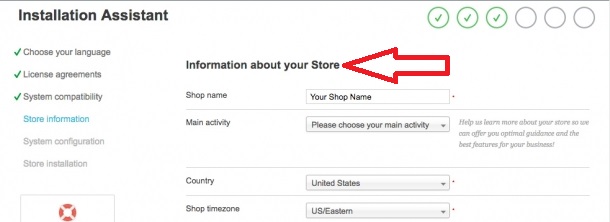
- Type your shop name on the first empty box. Then choose the suitable option from the ‘Main Activity’ option. Finally, select your country and time zone
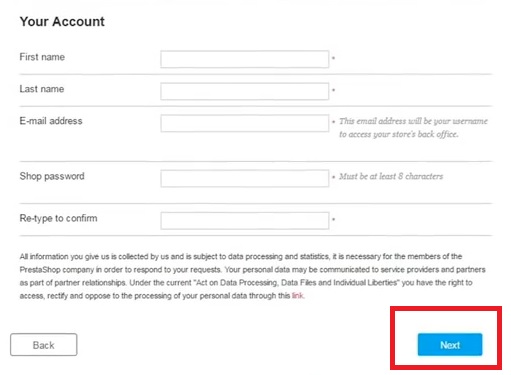
- Your account:
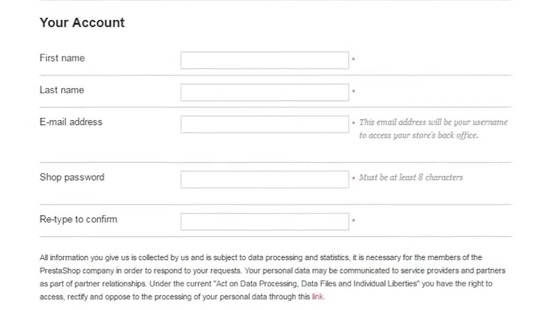
- You have to provide your first, & last name. Then your Email address. Remember it will be used to enter into your ‘PrestaShop’ administration panel. And, type the password twice to confirm. If everything is OK. Click on ‘Next’
System Configuration:
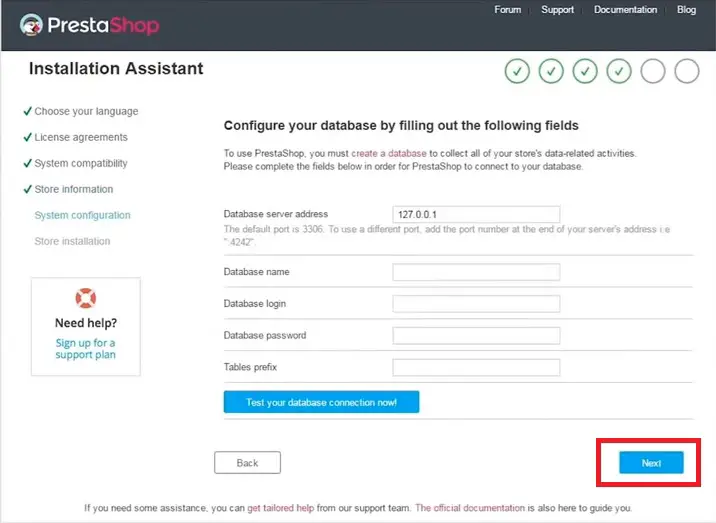
On this section, you have to provide the information of your MySQL database. As you have already created a new MySQL database earlier. You can easily provide all the required information of this section.
- Do not change the ‘Database server address’
- Provide your MySQL database name on the second blank box
- On the ‘Database login’ box, you have to provide the database username
- Then type the database password
- No need type anything on the table prefix
- Click on ‘Next’ to advance
The Installation:
- When you clicked the ‘Next’ button on the previous step. The installation would have started instantly. You will see a progress bar
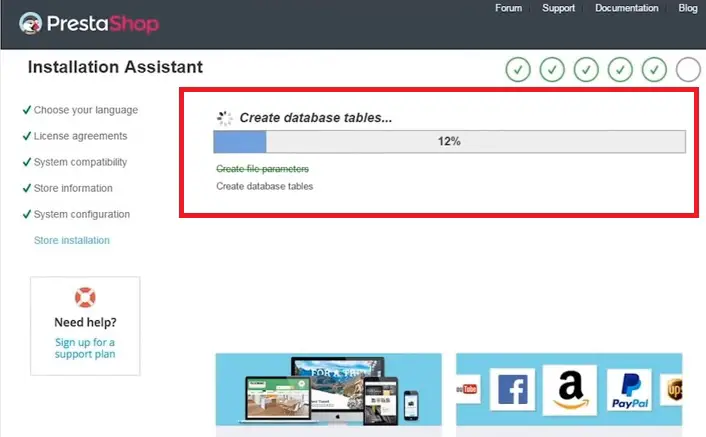
- Wait for the installation to be completed
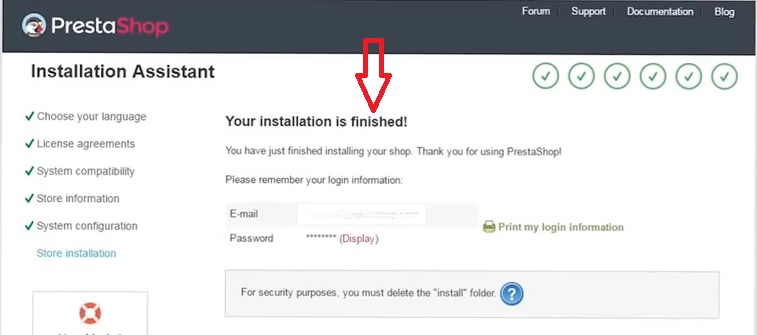
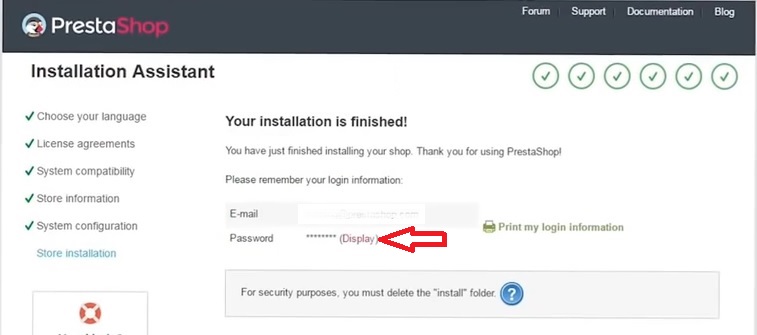
- When the installation is completed, you will find your login information. Save them in a safe place. You can also see the password by clicking on the ‘Display’ button
- You can print this information by clicking on the ‘Print my login information’
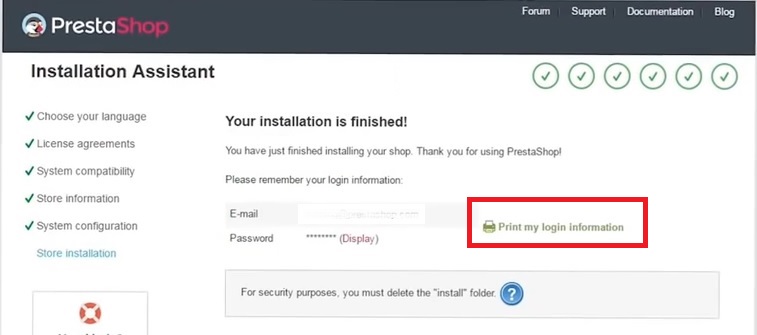
- You can login to your new ‘PrestaShop’ administration panel with this email address and password

The Last Words:
We have tried to cover every possible way to install ‘PrestaShop’ on Siteground web host. We hope that it will help you to use ‘PrestaShop’ on your website. So, go and create your dream online store.