DISCLOSURE: This post may contain affiliate links, meaning when you click the links and make a purchase, we receive a commission.
Are you just starting your journey in the website building game?
If that’s the case, then you should start using an easy to use CMS (Content Management System) software for your site. We know that there’s an abundance of CMS software out there. But, not all of them are beginner-friendly.
If you are looking for a user-friendly CMS then you should take a look at the ‘Concrete5’. It is specially designed for the beginner users. The whole software is intuitive. You don’t have to be a professional to use it.
The best feature of this software is that you can directly edit your website from the front-end of the site. So, you can directly see what’s happening to your site firsthand. Most of the other CMSes don’t give this option.
If you have decided to give ‘Concrete5’ a shot. Then you can read this article. As we are going to share the process of installing ‘Concrete5’ on a SiteGround web host. So, if you are a SiteGround hosting user. It will be very useful for you.
Then let’s start the journey.
Read: Top Concrete5 Hosting
https://www.youtube.com/channel/UCStigKbWmeCkat6xKxyjAbg/
The process of installing ‘Concrete5’ on ‘SiteGround’ using ‘Softaculous’:
There are two methods of installing the ‘Concrete5’ CMS on a SiteGround hosting account which are ‘Automatic’ and ‘Manual’. But, the easiest method is the automatic one. So, for your convenience, we will share the automatic method of installing ‘Concrete5’. The other way of saying this is the ‘Softaculous’ installation method. So, let’s get to work.
Step 1:
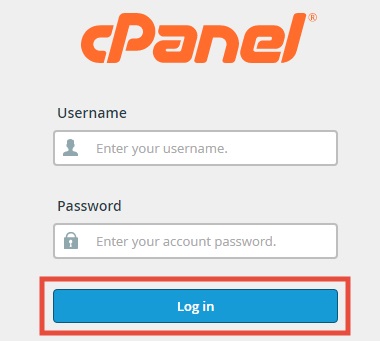
- Log in to cPanel of your SiteGround account
- As you are going to install via Softaculous, you should click on the ‘Softaculous’ button. You will find it in the ‘Auto Installers’ section
Now you will be on the Softaculous script installation page. In this page, you will find all of the available CMS software to install.
As you are going to install ‘Concrete5’ you need to select that software from this page. Unfortunately, you won’t find it by default. Don’t worry about it. We are here to help you.
In the next part, we will show you how to locate the ‘Concrete5’ icon & proceed to the next step
There’s more!
We will actually share 3 different ways to look for the ‘Concrete5’ icon. By the way, you can use any of the methods mentioned below. So without wasting more time, let’s get down.
Step 2:
#1:
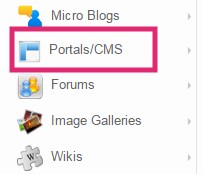
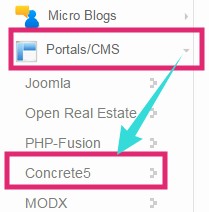
- On the left sidebar, you will find the names of a lot of categories. You have to click on the ‘Portal/CMS’ category. Then you will see that a list of ‘Portal/CMS’ software will appear on the right side.
- After scrolling down, you can find the ‘Concrete5‘ icon. Just click on the ‘Concrete5’ icon to continue to the next page
#2:
- From the left sidebar, click on the little arrow next to the ‘Portal/CMS’ icon. A new drop-down menu will appear. You will find the ‘Concrete5’ icon there. Click on the ‘Concrete5’ icon to continue
#3:
- On the top-right corner of the screen, you will notice a ‘Search’ box
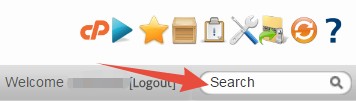
- You need to search the ‘Concrete5’ button using the search box. So start typing ‘Concrete5′ (not case-sensitive) on the search box. On the auto suggestion box, the icon of ‘Concrete5’ will appear. Click on the icon to proceed
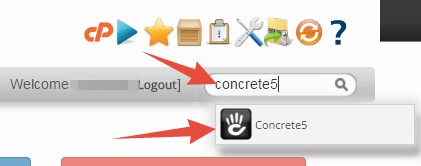
- However, if you don’t find any auto-suggestions. Then you can fully type the name ‘Concrete5’ and press ‘Enter’ key on the keyboard
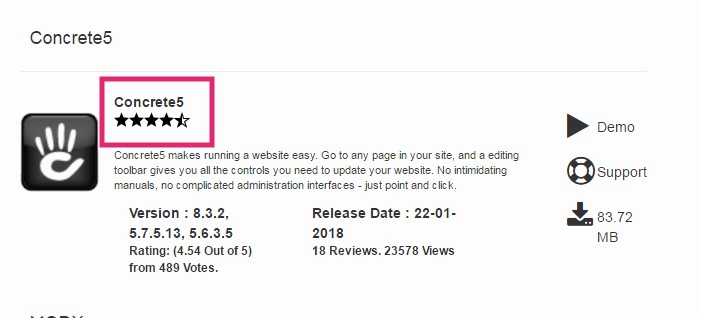
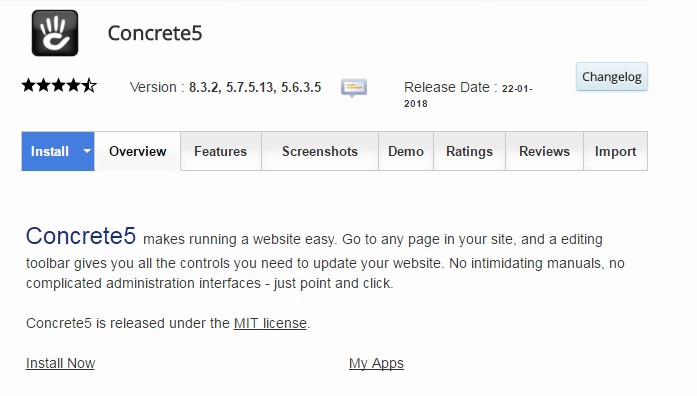
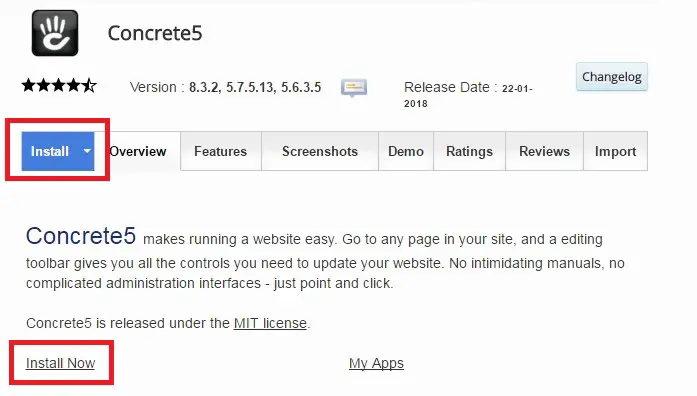
We assume that you have already found and clicked on the ‘Concrete5’ icon. If you have done that. Now, you will be on the ‘Concrete5’ overview page. At this point, you can initiate the process of installation from there.
Step 3:
Initiating Installation:
- Click on the blue ‘Install’ button or the ‘Install Now’ button to bring up the installation forms
You need to fill up some forms in the next few steps. Of course, we will let you know about all of the steps thoroughly.
By default, the ‘Custom install’ method will open from the two methods named as ‘Custom and Quick install’. And we recommend the ‘Custom install’ method as it covers all of the important aspects of the installation process. Thus, we will share the ‘Custom install’ method here.
- If you want to use the ‘Quick Install’ method. Then click on the ‘Quick Install’ button
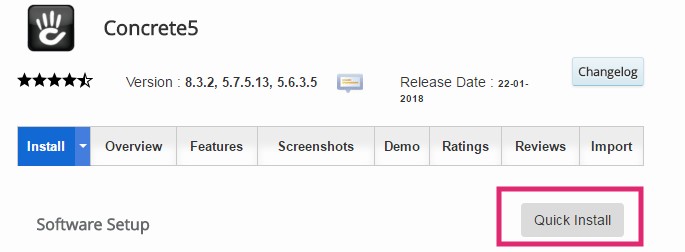
As we will talk about the ‘Custom install’ method. Let’s start with the ‘Software Setup’ section.
Software Setup:
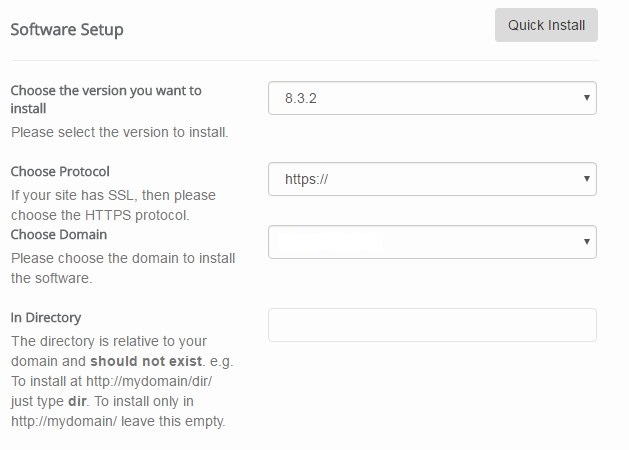
- Choose Version: You have to select the latest version of ‘Concrete5’ from the drop-down menu. At the time of writing this article, the latest version is 8.3.2

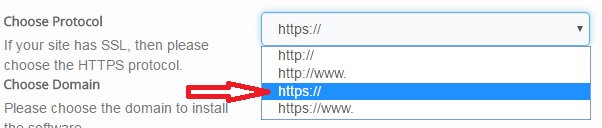
- Choose protocol: This option is related to your domain name. If your domain name has SSL protection then use ‘https://’. But if your domain does not have the SSL protection then use ‘http://’. We don’t advise to use the other two options
- Choose Domain: There will be already a domain selected. If you have multiple domains connected to your hosting account, then you can select your preferred domain from the drop-down list
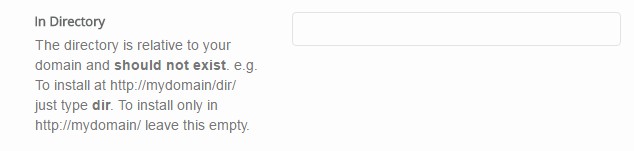
- In Directory: You can keep this empty. But, if you want to install ‘Concrete5’ on a sub-directory of your domain e.g. ‘mysite.com/store’ then type ‘store’ in the box
Site Settings:
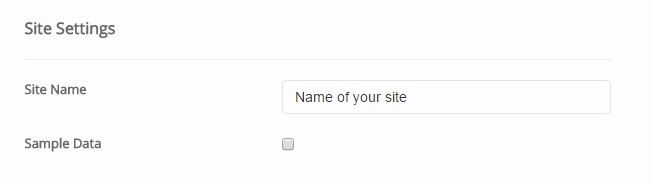
- Type your website name on the ‘Site Name’ option. Although, you can change it later
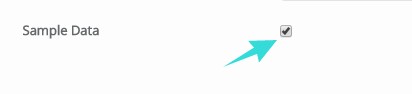
- The ‘Sample Data’ box is optional. If you want to customize your site your way from the beginning. Then you should not select it. But, if you want to see a sample of a website right after you install ‘Concrete5’ then you should check-mark the option
Admin Account:
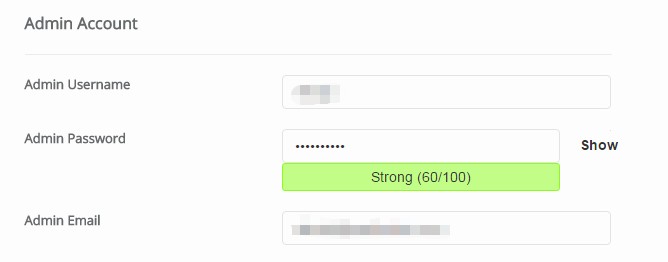
Remark: This section has a lot of important information. So, you have to save the information you are going to provide for the later use
- Admin username: There will already be a username in the box. If you like it, you can keep that. But, you can also put your favorite one in the box
- Admin Password: Remember to use a strong password. Also, you can keep the auto-generated one. But, remember to save the password
- Admin Email: You should use a valid email address. Because it will be used to send the login credentials of your ‘Concrete5’ site to you. Also, you will need it if you want to reset the password

Advanced Options:
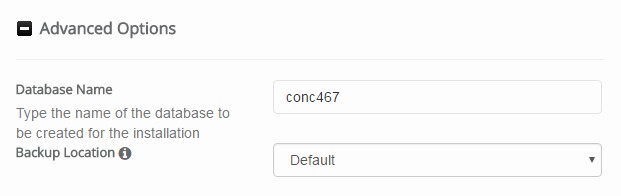
- This is not an important setting for the beginner users. So, you can skip this section. For safety, you can save the ‘Database name’
Finishing Installation:
- Check carefully if you have used valid information or not. Also, check that if you have saved the important information already
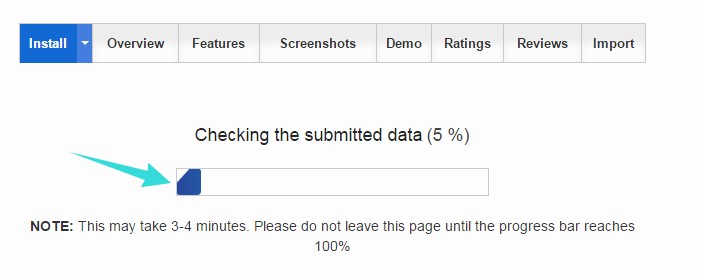
- If you have done everything right. Then click on the ‘Install’ button to start the installation process

- You will see a progress bar is indicating the progression of the installation. Do not close this tab until the installation is finished
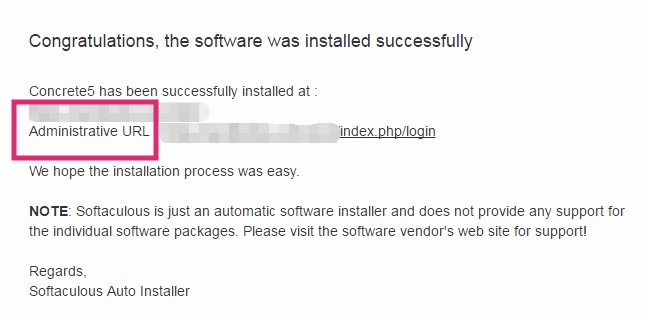
- After the installation is done. You will see a ‘Congratulations’ message on the screen
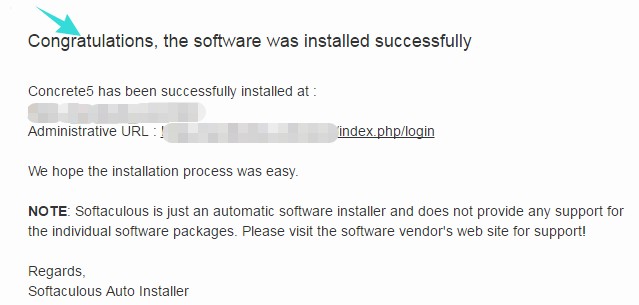
- This message will also contain the ‘Administrative URL’ of your new ‘Concrete5’ site. Save that URL or bookmark it
Tip: The default structure of the ‘Concrete5’ admin URL is like ‘mysite.com/index.php/login. So, if you don’t know yours. You can easily guess it from the structure mentioned above
Step 4:
You have just completed the installation of ‘Concrete5’ on your SiteGround web host. Now, you should start using it. But before you can use it. You have to log into your account. Let’s see how it works.
Log in to your new site:
- Go to the administrative URL of your site
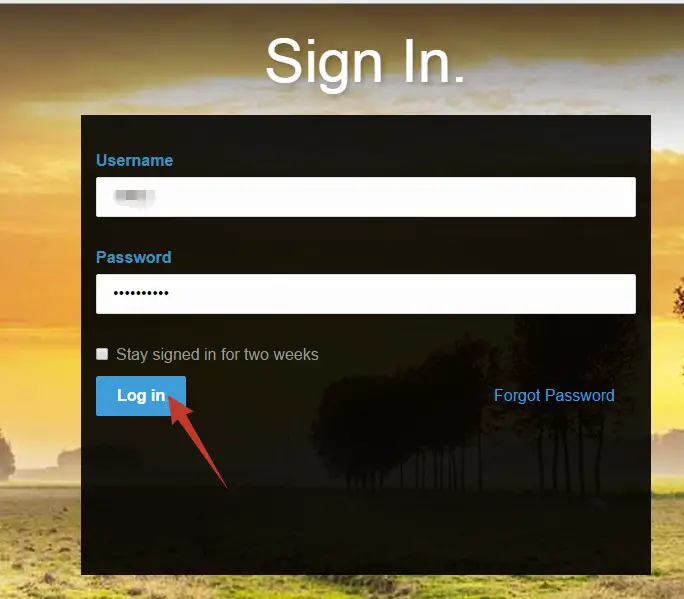
- You will see a login page like the below picture. Just enter the username and password. Then click on ‘login’
- You will be automatically taken to the back-end of your new website
Let’s rewind it:
So, you have learned the easiest method to install ‘Concrete5’ on SiteGround web host account. Now, it’s your turn to set up your website using the ‘Concrete5’ CMS. We hope that you will be able to install ‘Concrete5’ without any difficulties. If you face any issues during the installation. Just refer to this article and you will find the solution.