
DISCLOSURE: This post may contain affiliate links, meaning when you click the links and make a purchase, we receive a commission.
If you want to get an in-depth report on your website visitors.
Then ‘Google Analytics’ is a must-have tool for your website. It is undoubtedly the best website traffic analysis tool in the world right now. So, you should integrate this awesome tool with your website/s as soon as possible.
And did we tell you that this tool is free to use? However, Google also offers a paid version of this tool. But, we think that the free version is more than enough.
So, in this article, we will let you know how to install, configure and integrate Google Analytics to your WordPress website hosted on a SiteGround web host. As always, this article will contain screenshots to make it easier for everyone.
Are You Ready?
Creating a Google Analytics account:
First, you need to have a Google account/Gmail address in order to create a ‘Google Analytics’ account. So if you don’t have any, create a new one right now. We recommend you to create a separate Google account only for your business related activities. Although in this article, we will assume that you have one already.
- So, go to Google.com on your browser and click on the ‘Sign In’ button from the top right corner of the page

- Then enter your Gmail address and password to log in to your Google account. Remember that this account will be used to sign up for the Google analytics account
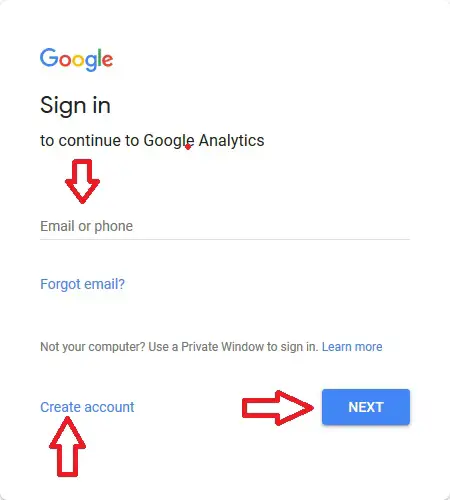
- Now go to the official page of Google Analytics using the same browser where you are logged in to your Google account

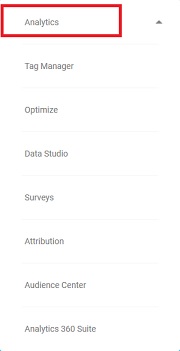
- Now click on the ‘Sign In’ button from the top corner. This will bring out a number of options
- You need to click on the ‘Analytics’ options from the list
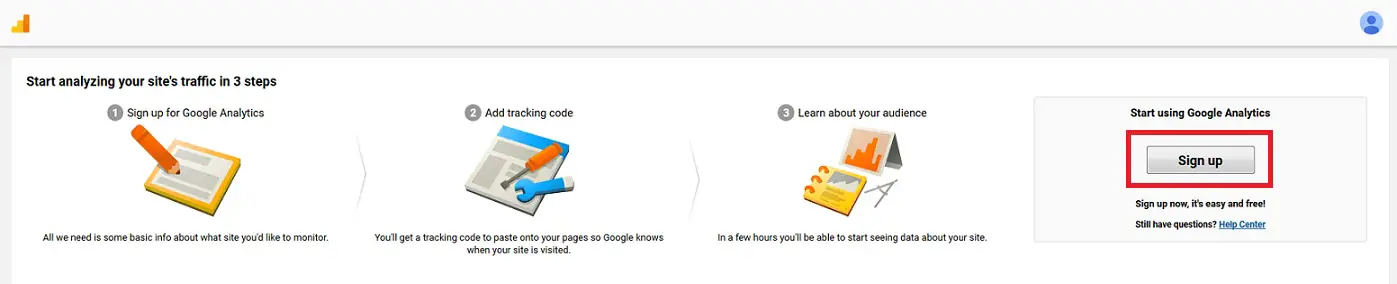
- On the next page, click on the ‘Sign Up’ button
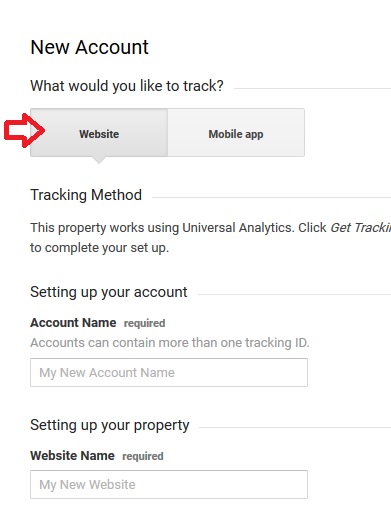
- This will take you to a new page where you can start the initial process of creating a Google Analytics account. By default, the account would be created for websites. However, you can create an account for mobile apps too. But as we need to track websites. So, we will go with the default option which is ‘Website’
- Now you will have to fill up some forms. We will let you know all of the details about this section
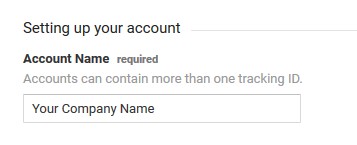
- Write a name on the ‘Account Name’ box. It could be your name or just your company name
- In the section ‘Website Name’, type the name of your website

- In the ‘Website URL’ box, type the whole address of your website. You can also choose between the ‘http’ and ‘https’ protocol. If you have SSL Protection on your site you need to select the ‘https’ and vice-versa

- The ‘Industry Category’ is related to your website’s subject matter. There are a lot of different types of categories on this box. Choose the one which is the closest to your website’s niche

- Choose the time zone of your location on this ‘Reporting Time Zone’ section

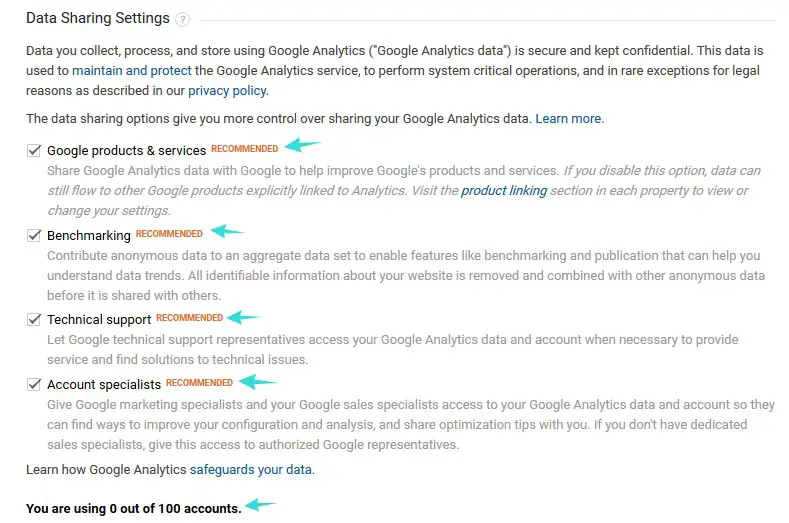
- On the bottom of the page, you will find some settings related to ‘Data Sharing’. By default, all of them will be selected. However, if you don’t want to share data with Google, then you can uncheck the boxes
- Lastly, click on the ‘Get Tracking ID’ button on the bottom of the page
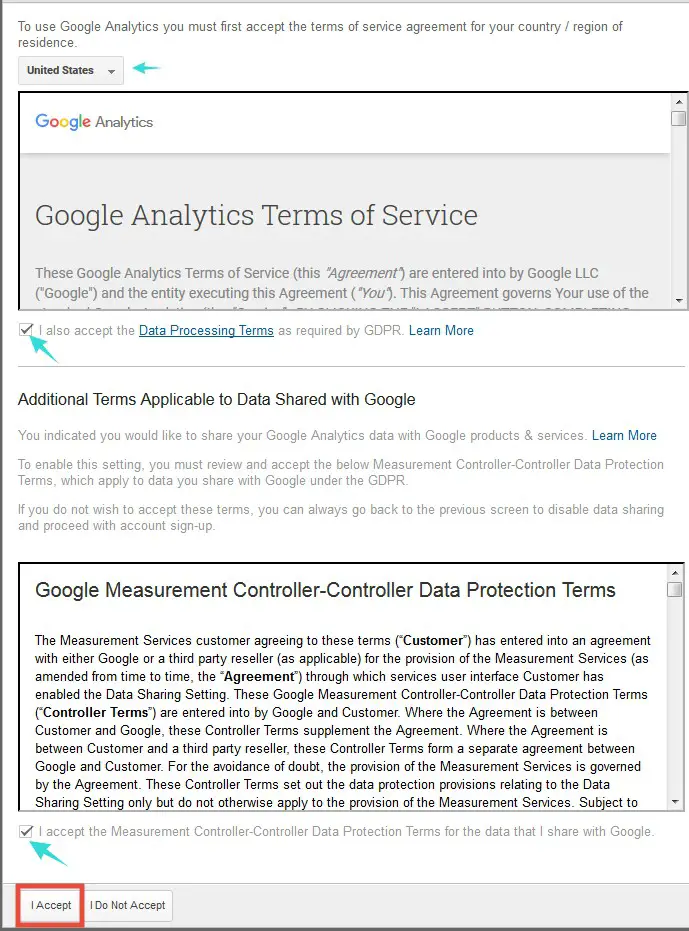
- In doing so, a new popup window will appear with Google’s ‘Terms and Services’ (the Terms and Services are different for each location). However, you need to check-mark next to all of the boxes. And then you can click on the ‘I Accept’ button. At this point, your Google Analytics account will be created
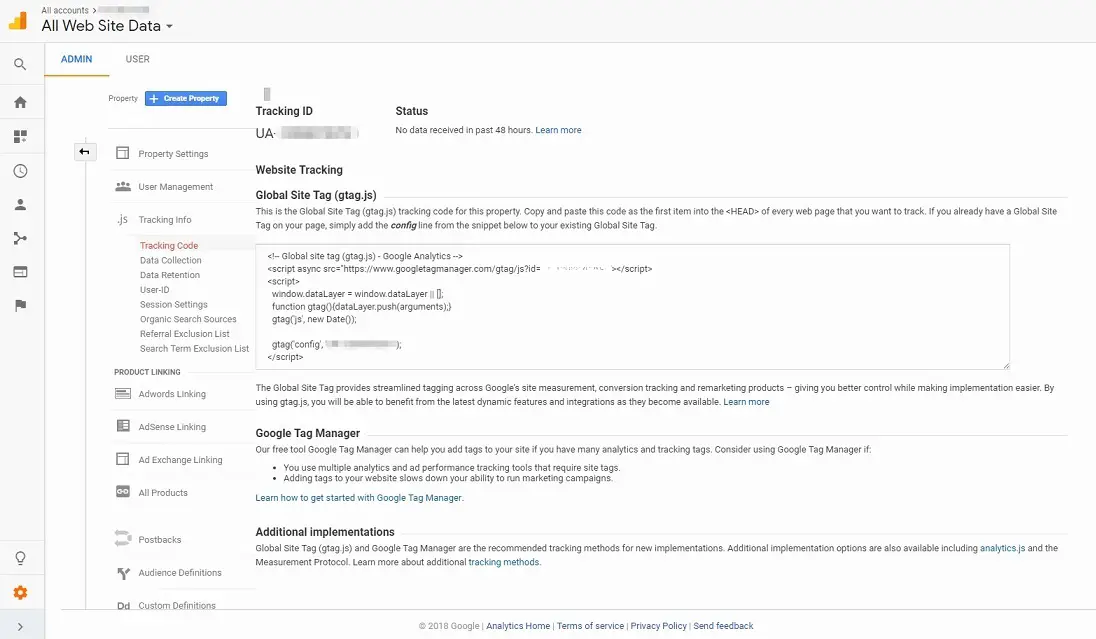
- So that you will be taken to the dashboard of your ‘Google Analytics’ account. You will find a unique ‘Tracking ID’ and an HTML tag code’ (‘Global Site Tag’) on the dashboard. This information is very important. So, do not share them with others
Good Job! You have just created your ‘Google Analytics’ account. Now you need to connect it to your websites. And there are numerous ways to do this. But, not all of them are effective. So, we will show 3 methods to install and connect ‘Google Analytics’ to your websites in the following section of this article. As always all of the methods will be described separately and in step by step style. So, what are you waiting for?
Method 1. Using Plugin:
It is the easiest way to install ‘Google Analytics’ on your website. So, if you are a beginner, you can try this method. There are a lot of plugins available which can be used to install ‘Google Analytics’. But in this article, we will talk about a couple of them.
Because both of these plugins are very easy to use and they have some extra features too. So, let’s start with the first one. The name of this plugin is ‘Google Analytics Dashboard for WP’. From now on, we will call it GADWP in the rest of the article.
Plugin 1:
How to install GADWP plugin to your WordPress account:
- Log in to the WordPress dashboard of your website
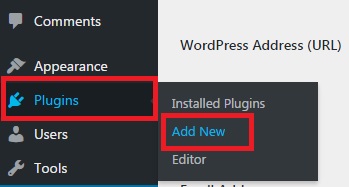
- Navigate to the left sidebar, hover your mouse over the option labeled as ‘Plugins’. You will see a new sub-menu will be visible. Click on the ‘Add New’ button from the sub-menu to proceed
- Now on the next page, look at the top right corner. You will notice a ‘Search’ box

- In that search box, type on the name ‘Google Analytics’ and press the ‘Enter’ key on your keyboard
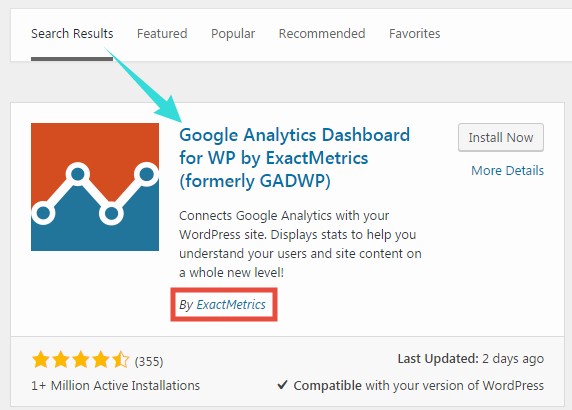
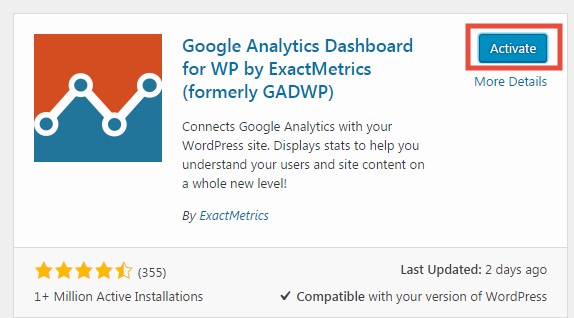
- In doing so, you will see a lot of plugins have been loaded on the search results section of the page. Look for the one plugin named as GADWP; usually, it will be the first one and the developer of this plugin is ‘Exactmetrics’.
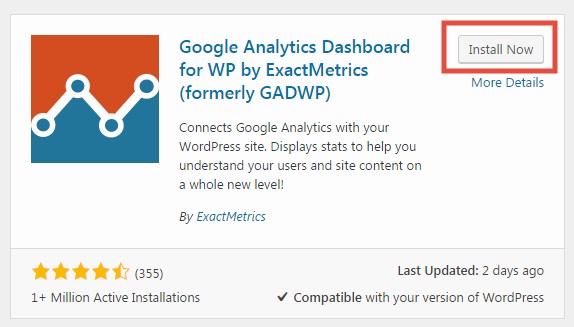
- When you find it, click on the ‘Install Now’ button. Within seconds the plugin will be installed on your WordPress website
- Now you can click on the ‘Activate’ button to activate it
This is the way to install any plugin to your WordPress website. Now, you need to configure the GADWP plugin to integrate ‘Google Analytics’ tool on your website. Let’s see how.
How to configure the GADWP plugin:
- After you have activated the plugin, look at the bottom left sidebar. You’ll notice that a new option named as ‘Google Analytics’ has appeared
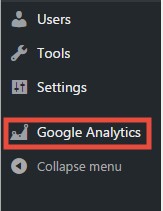
- So, Click on the ‘Google Analytics’ option to proceed
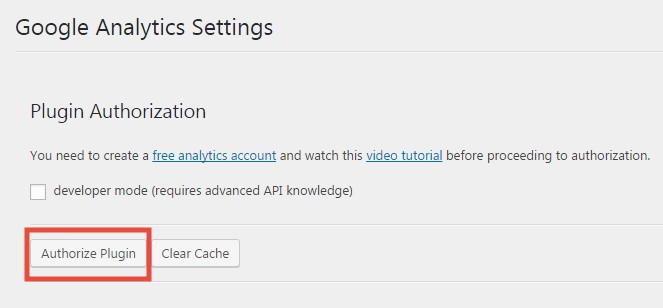
- Then click on the ‘Authorize Plugin’ button
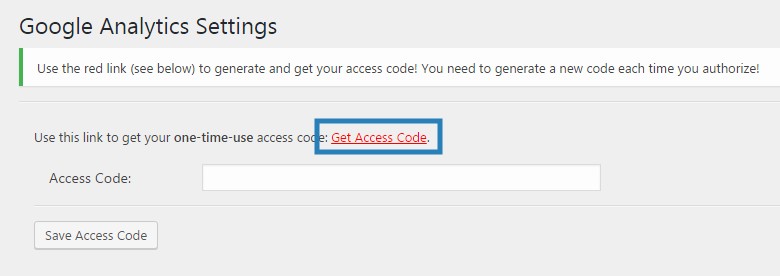
- Now you will be redirected to a page where you will need to provide an access code. So, click on the red colored ‘Get Access Code’ button to generate the required access code
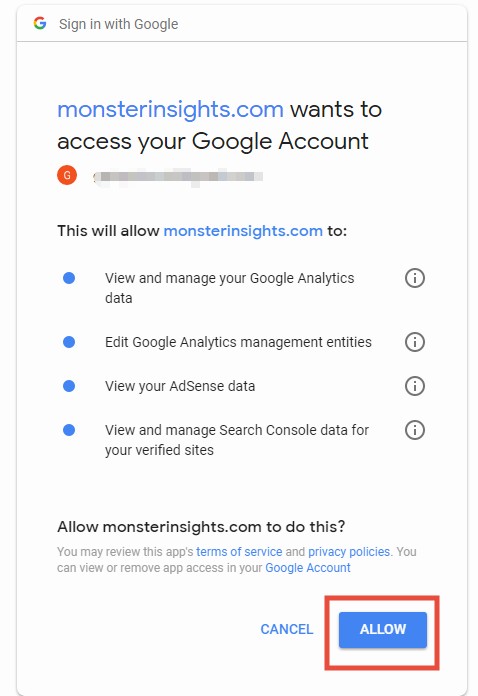
- At this moment, you will need to sign in to your Google account (the account which was used to open Google Analytics account)

- Then you should click on the ‘Allow’ button to continue
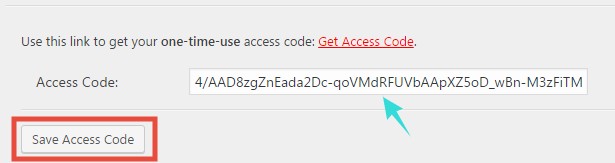
- Then, you will be taken to a page where you will find a code automatically generated. It is that required access code. So, copy this code

- Then paste this code to the blank box and click on the ‘Save Access Code’ button
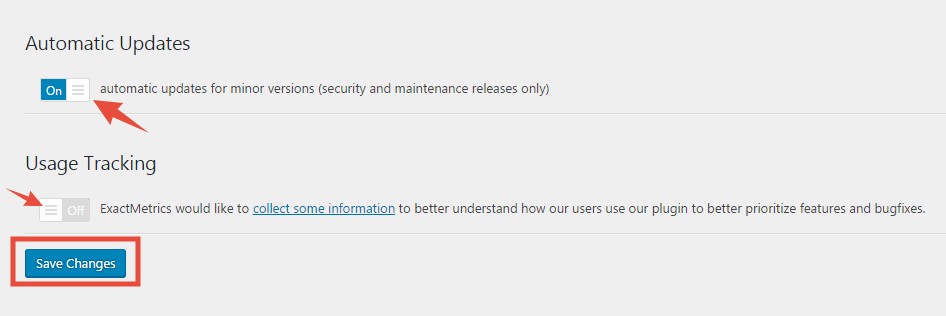
- Then you will see a notification on the next page saying that the plugin has been authorized successfully. This page will also bear a number of settings. It is up to you to choose the right settings for yourself. Although we recommend that you enable the ‘Auto Update’ setting. As always do not forget to save the changes
- If you want to check out if this plugin is working or not. You can go to your WordPress dashboard. You will find a new widget which is known as ‘Google Analytics Dashboard’. This is an awesome addition to this plugin. You can view a variety of data regarding your website’s visitors on that widget. This data will be directly fetched up from your Google Analytics account. So, you won’t even need to leave your WordPress dashboard to look for them
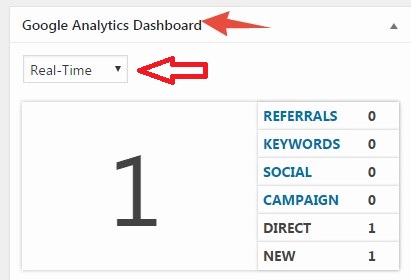
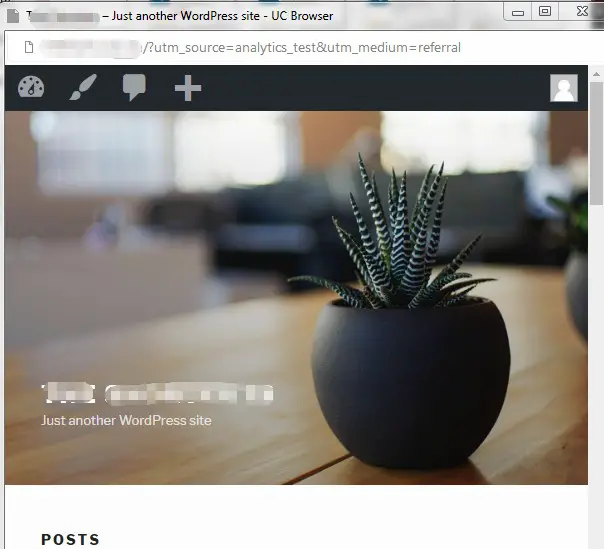
- Now go to your site from a new tab of your browser. And then from the drop-down menu of the ‘Google Analytics Dashboard’ widget, select ‘Real Time’ and you will come to know that one visitor is visiting your website (see the image above). And we think you already know that this is none other than you. That means that the plugin is working successfully.
Now, we will talk about another plugin which does the same thing but in a different way. To be noted, do not use multiple plugins of the same kind. It’s up to you which plugin you are going to use. So, let’s start.
Plugin 2:
- We assume that you are familiar with the process of installing a new plugin on WordPress. As we have mentioned the process earlier in this article
- So by following that process, you have to install a new plugin named ‘Google Analytics for WordPress by ‘Monsterinsights’
- So, as you are on the plugin installation page of WordPress, start typing ‘Monsterinsights’ on the search box and press ‘Enter’ on your keyboard

- The plugin we are looking for will be the first one in the search results. It is developed by ‘Monsterinsights’
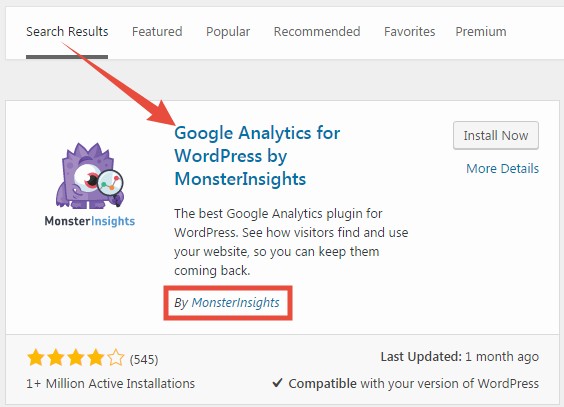
- So, click on the ‘Install Now’ button to install

- And then click on the ‘Activate’ button to complete the installation

How to configure the ‘Google Analytics by Monsterinsights’ plugin:
- Now, you will find a new option named as ‘Insights’ on the left sidebar of the WordPress dashboard. It is related to this plugin we just installed
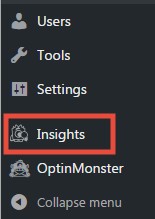
- So click on the ‘Insights’ button
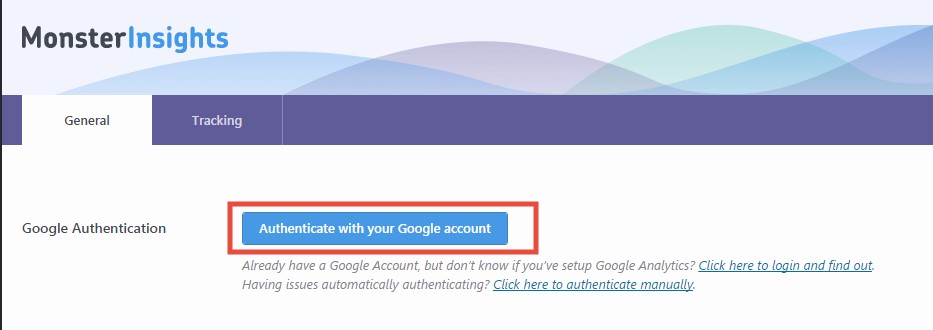
- Then on the main window, you will find a button name ‘Authenticate with your Google account’. And, click on it
- Then sign in with the Google account which you used to register your Google analytics account
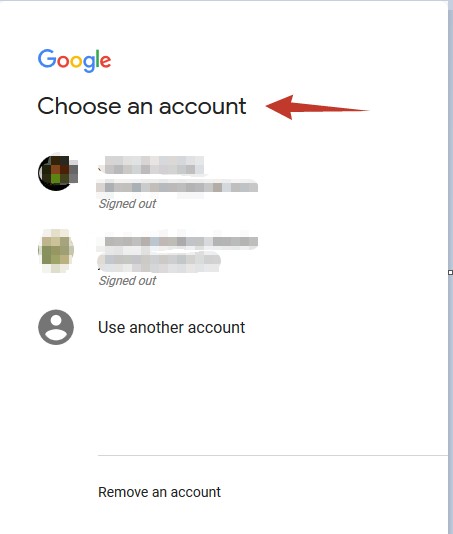
- Then click on the ‘Allow’ button to proceed

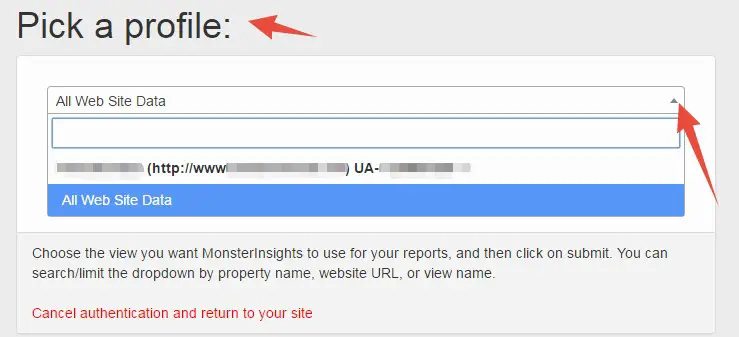
- Now, you can choose the websites you want to connect with your Google analytics account. It is better to leave at ‘All web site data’ option
- Then click on the ‘Complete Authentication’ button and you will see a new pop up screen showing that the authentication is finalizing
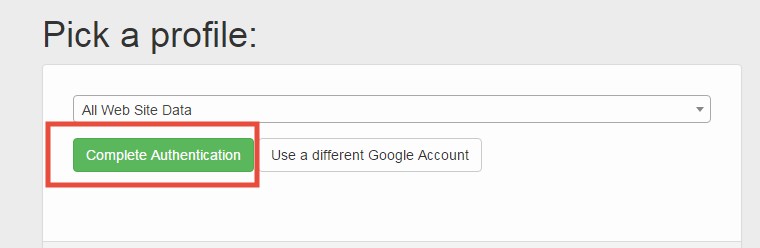
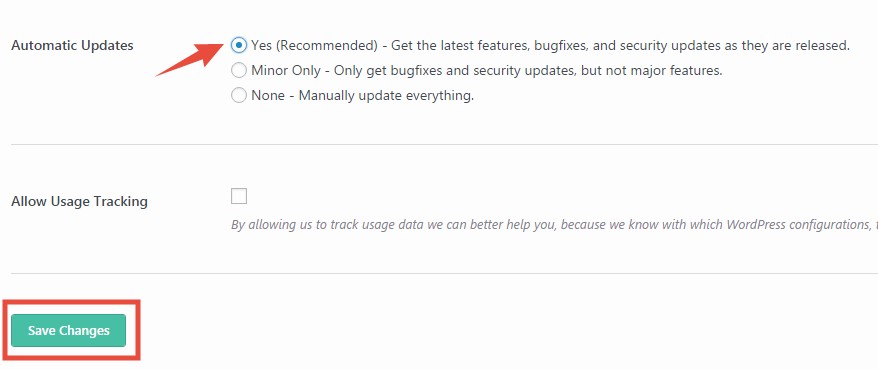
- Then you will be taken to a page, where you will come to know that your plugin is authorized. So, it means that you are done. Now, you can change some settings from the bottom of the page. We recommend enabling ‘Auto Update’ option. Then finally save the changes
Method 2. Editing the theme file:
In this method, you have to edit your theme file. So, we highly recommend creating a child theme of your current theme before trying out this method. On another note, this method is not applicable for the beginner users.
However, we will also add a shortcut for this method. So if you are a beginner you can try this. So let’s get to know the process.
First and foremost:
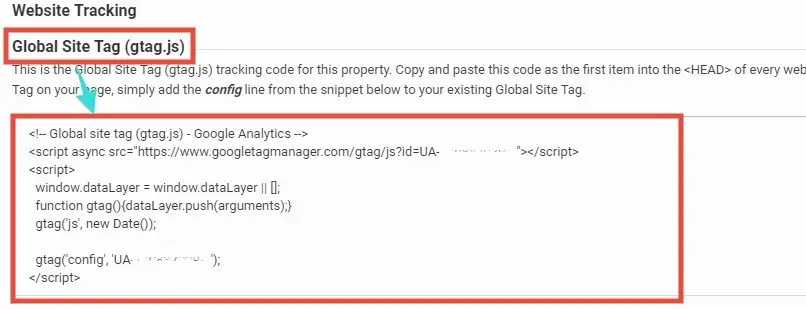
You need to get the ‘Global Site Tag’ (an HTML tag code from your Google analytics account). Let’s see how to do that.
- Sign in to your Google analytics account
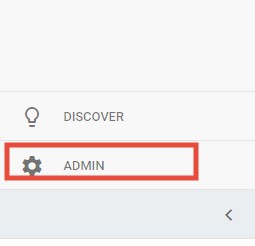
- Then look at the bottom left corner of the analytics dashboard. Click on the ‘Admin’ button down there
- Now, a new page will open with 3 options named as Account, Property, and View
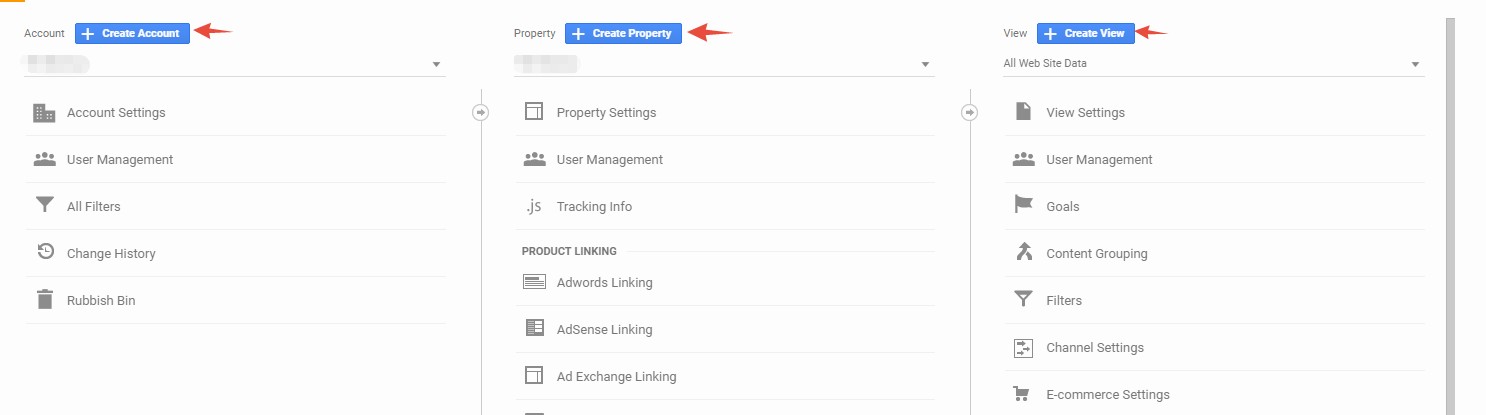
- You need to navigate to the ‘Property’ widget which will be in the middle of the page. And then click on the ‘Tracking Info’ option
- This way, a new sub-menu will appear. Click on the ‘Tracking Code’ option from the new sub-menu which will take you to the page where you will find your unique ‘Tracking ID’ and the ‘Global Site Tag’
- You need to copy the ‘Global Site Tag’ code and paste it into the ‘Header.php’ file of your current theme
We will share in detail the process of pasting the Google HTML code in the ‘Header.php’ file of your theme down below. There are two methods of doing it. One is automatic and another is manual. Let’s see one by one.
Manual Process:
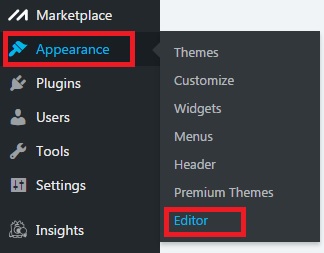
- On your WordPress dashboard, hover your mouse over the option labeled as ‘Appearance’ and a sub-menu will appear. From that sub-menu click on the ‘Editor’ option
- In doing so, your theme’s will be editable. In this article, we will use ‘WordPress 2017’ theme as an example. Whatever theme you use the process would be almost similar for all of them
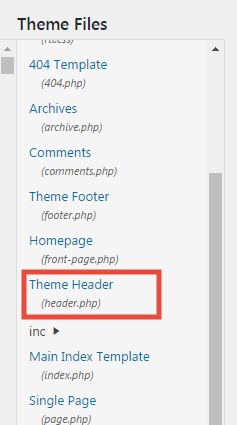
- So, when you open the theme editor, you will see a page like this image below
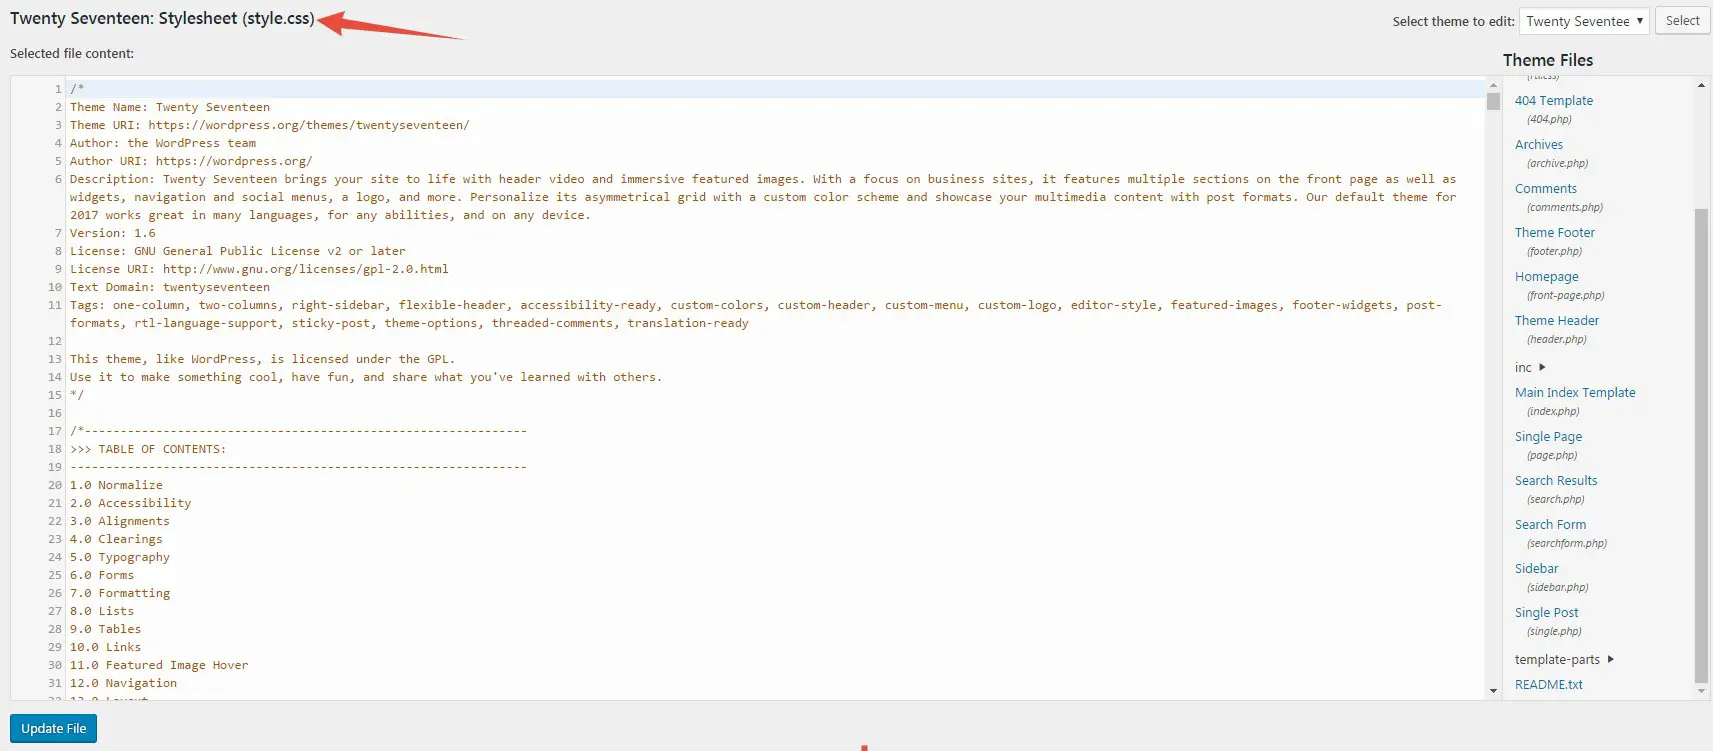
- On the right-hand sidebar of the page, you will find ‘Theme Files’ option. Scroll down and find the option named ‘Header.php’ or ‘Theme Header’ and click on it
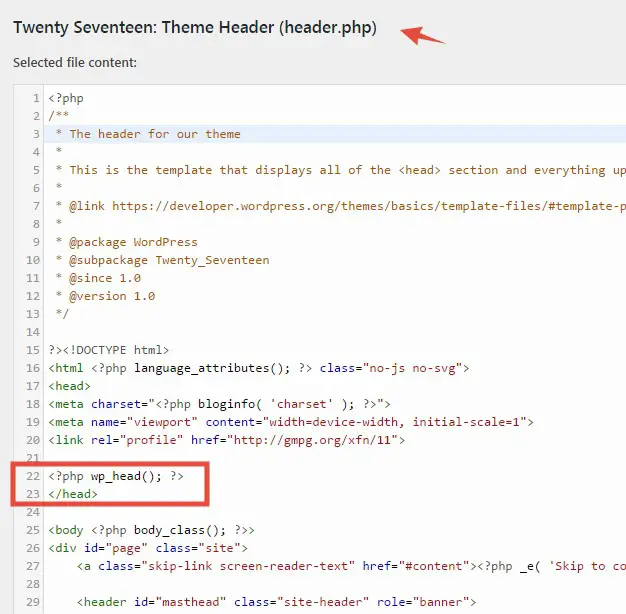
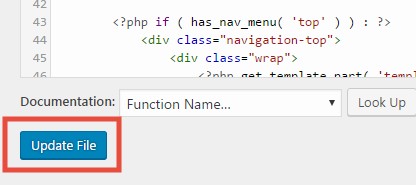
- Now, on the left-hand side, the ‘Header.php’ file will be editable. You have to paste the Google Analytics HTML tag code (‘Global Site Tag’) in between the ‘wp_head()’ and the ‘</head>’ lines
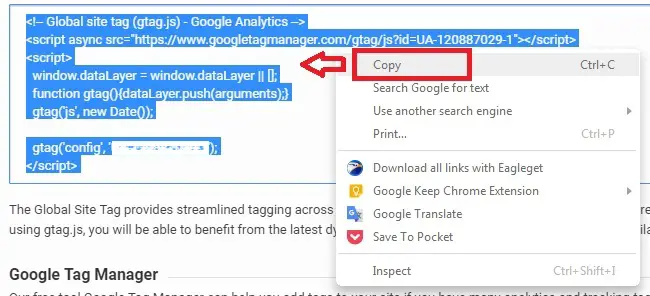
- Go back to your Google analytics account and Copy the HTML code from there
- So, paste the ‘Global Site Tag’ code in its particular place. It will be like the image below
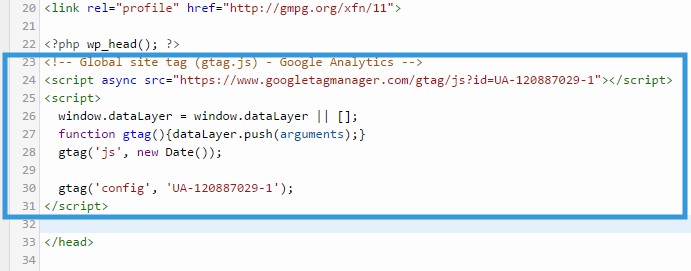
- Then click on the ‘Update File’ button from the bottom of the page to save the settings
Now, if this method of editing your theme is troublesome for you. Then you can follow the shortcut method below. To perform this next step, we will take help from another plugin named ‘Insert Headers and Footers’.
Automatic Process:
- On your WordPress dashboard, install and activate the plugin ‘Insert Headers and Footers’. It is developed by ‘WPBeginner’
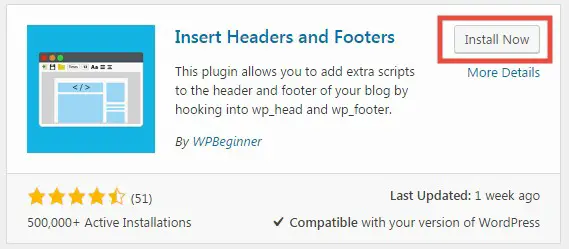
- You will find it by searching by ‘Insert Headers and Footers’ (not case sensitive)

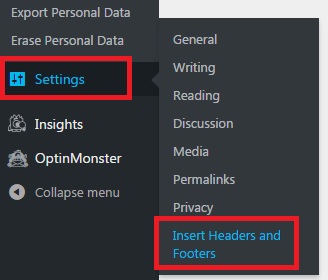
- After installing the plugin, navigate to the left sidebar of the WordPress dashboard. And hover the mouse pointer over the ‘Settings’ option & a new sub-menu will appear
- Click on the ‘Insert Headers and Footers’ option from that sub-menu
- It will open a new page where you can paste the Google HTML tag code (‘Global Site Tag’)
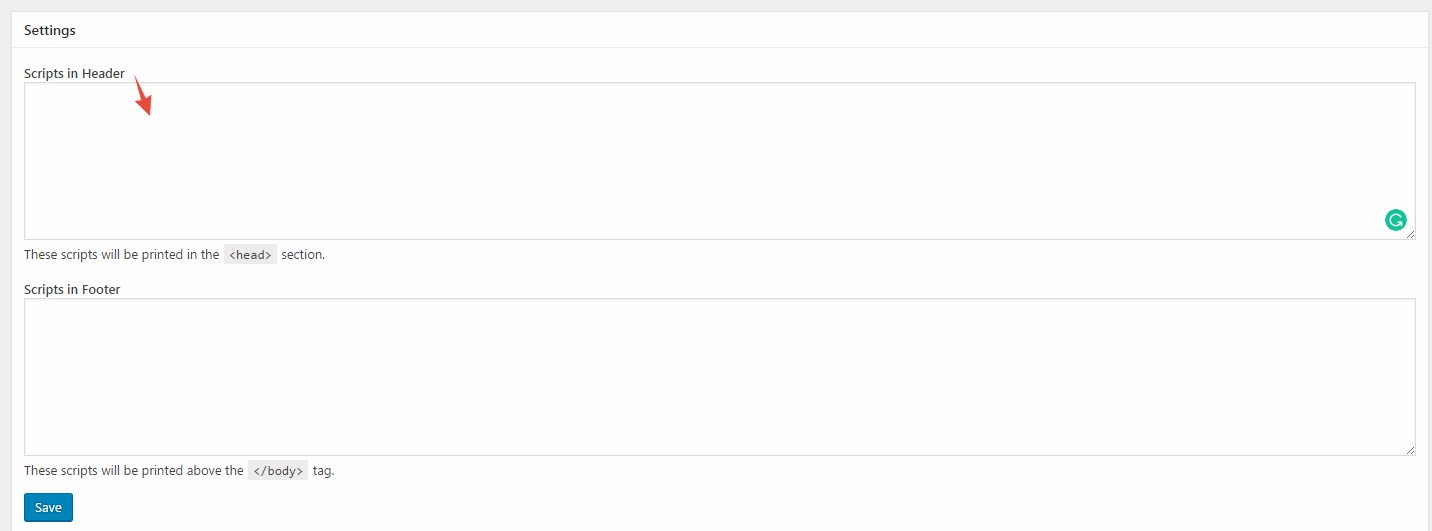
- You have to paste the code on the ‘Scripts in Header’ section
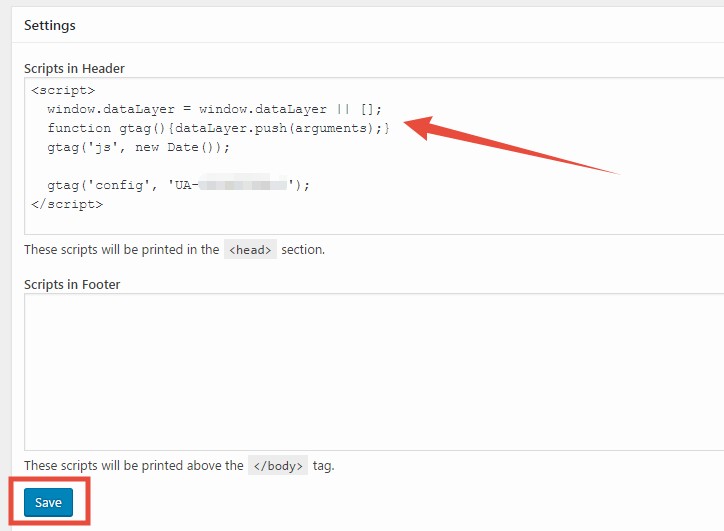
- And then click on ‘Save’ button to finish the process
Method 3. For specific themes:
Some particular premium themes come with an option to enter a code in the header section of the theme. So, it is not suitable for everybody. On top of that, not every theme have the same method to perform this action. So, we will explain a common way by following which you will be able to replicate the method on almost all of the themes. Yet, if it doesn’t match yours. Don’t do it.
- Go to the ‘Settings’ of your theme
- Head over to the ‘Header’ settings of your theme
- Typically, you will find a box named as ‘Header code’ or ‘Add code to header’ etc. where you could enter the code
- Enter the Google HTML code (‘Global Site Tag’) on that box and save the settings to finish it up
How to check if Google Analytics configured correctly:
- Go to your ‘Google Analytics’ dashboard
- Click on the ‘Send Test Traffic’ button

- In doing so, it will open a new browser window and it will automatically browse to your website. Don’t close that window
- After a while, you will see that the ‘Status‘ has changed. It will show a notification saying ‘1 active user right now (including 1 from test traffic); which means Google Analytics has been configured impeccably on your website

To sum up:
If you are struggling to install Google Analytics on your website, we hope this article will help you. We recommend that you use plugins to install Google Analytics on your website whenever possible. However, if that’s not possible you can always follow other methods mentioned above.