
DISCLOSURE: This post may contain affiliate links, meaning when you click the links and make a purchase, we receive a commission.
Joomla has become a popular CMS (Content Management System) to a lot of website owners. If you are also a Joomla user then it is usual that the first thing you can do is to install a new template on your website. It will give your website a fresh outlook.
But if you are not a Joomla user or if you don’t know how to install Joomla CMS on your web host yet. Then you can take a look at our detailed guide on how to install Joomla here.
Installing a theme or template in Joomla is very easy to do. There are several ways to do that. But some of the methods are very advanced, so we will not describe those methods. Instead, we will share some of the easiest ways to install a Joomla template on your website. Along with that, we will also add screenshots to each of the steps to make it easier to emulate.
To install a template, you need to have a Joomla template beforehand. You can find a variety of Joomla templates all over the internet. Not all of them are free though. However, SiteGround offers tons of Joomla template without any charge. So, let’s get to the business.
Read: Top Joomla Hosting
How to install Joomla Template on SiteGround
Steps to follow:
We will share two methods in this guide. We will explain the methods one at a time. So, it will be easy to follow for everybody.
First Method:
This first method will be consist of three parts.
#1- Downloading a Joomla template:
There are a lot of Joomla templates available for free. You can download any one of them from anywhere. In this article, we will download a Joomla template from the official templates inventory of SiteGround (as we mentioned earlier). So, let’s learn how to download the template in the first place. Here we go.
- Visit the SiteGround official Joomla templates inventory

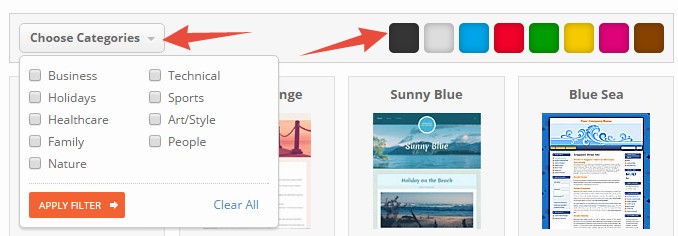
- As there will be a number of different templates for you to choose from. You can use the ‘Categories’ and ‘Colors’ filter to sort them out according to your need
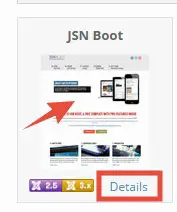
- We assume that you have already chosen a template for you. We have chosen the ‘JSN Boot’ template for this tutorial. So, click on the ‘Details’ button which will be on the template itself. Or you can also directly click on the template too
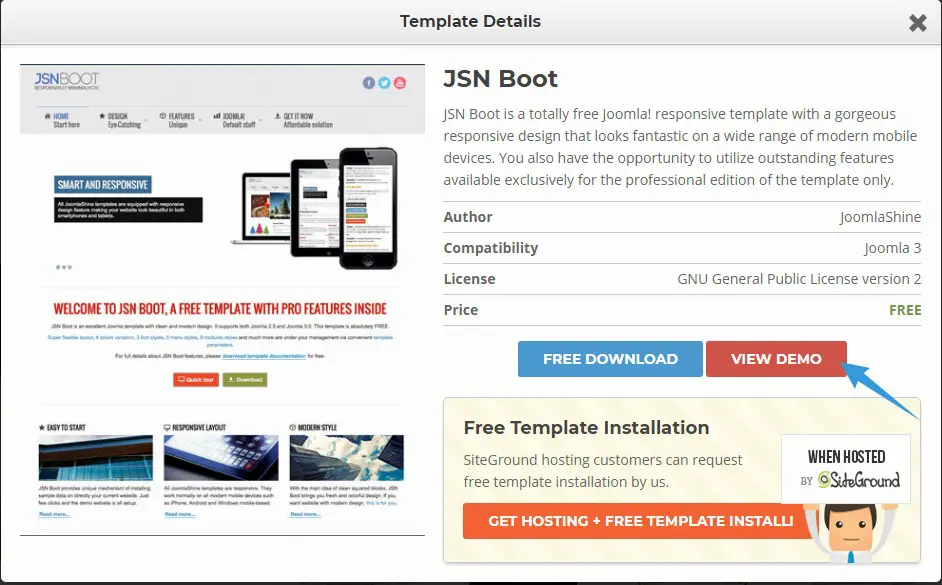
- After that, a new pop-up window will appear with some information about the template you have chosen. If you want to learn more about the particular template then you can click on the ‘View Demo’ button which will show a real-time demo of the template in a new tab. To view a demo, you don’t need to install the template beforehand
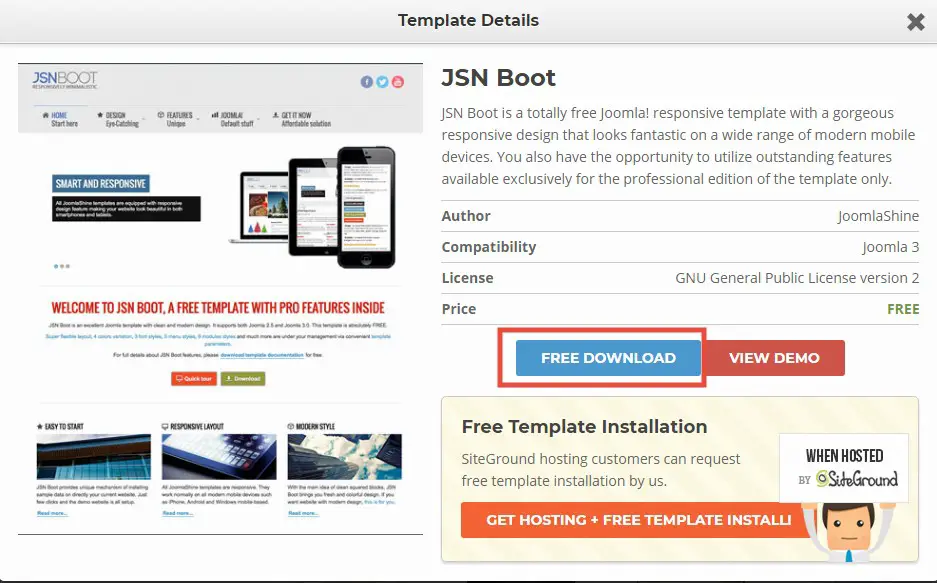
- If you like the template, then click on the ‘Free Download’ button to continue to the next step
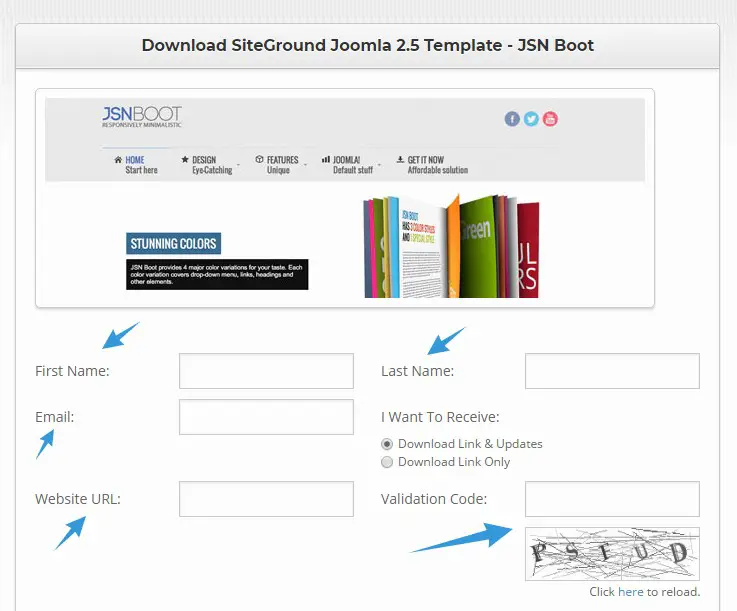
- In the next page, you have to register an account. So, you have to provide some information about the account to fill up some blank boxes here. You have to enter ‘First Name, Last Name, Email, Website URL, Validation Code’ etc. So, fill up the boxes with correct information. You need to double check the email address you are going to provide. You need to enter a valid email address to which you have access to. Because the download link will be sent to this email address
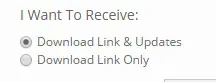
- If you just want the download link then you can click on the ‘Download Link Only’ option. However, we will choose the default option for this tutorial
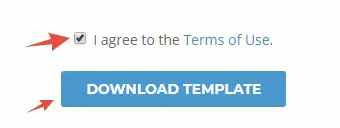
- At last, check-mark the ‘I agree to the Terms of Use’ button. Then click on the ‘Download Template’
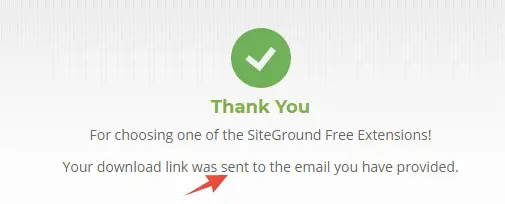
- On the next page, you will see a ‘Thank You’ note saying that the download link was sent to your email address
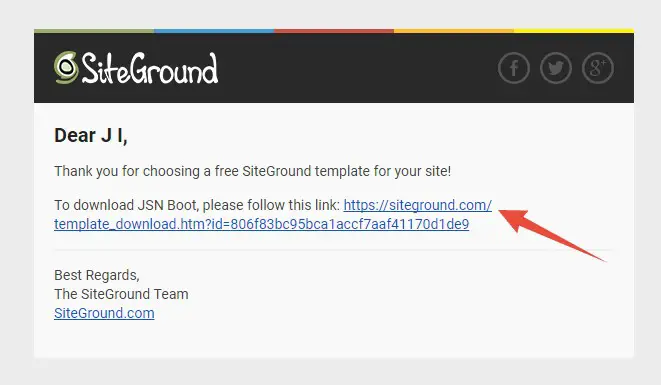
- So, sign in to the email account which you provided during the registration. You will find a new email in your inbox from the ‘SiteGround’ team

- Open the email and you will find the download link of the specific Joomla template in there. Click on the link and a new tab will open instantly
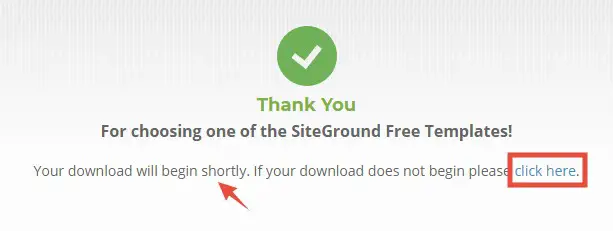
- In the new tab, the download will be automatically started. However, if the download does not start then you have to click on the ‘Click here’ link to start the download manually
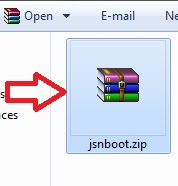
- The template file will be downloaded in ZIP format. Remember the location of the folder of the downloaded file as we have to upload this file next
So, you have just downloaded the template. Now, you need to upload it to your Joomla dashboard. Let’s see how to do that.
#2- Upload and install the Joomla template:
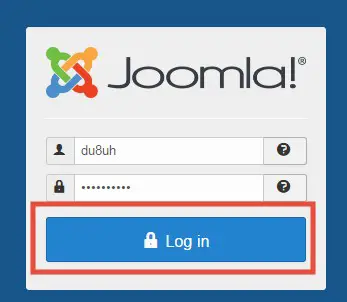
- Log in to the Joomla dashboard of your website
- Now, click on the ‘Extensions’ button from the top of the screen

- In doing so, you will find a new sub-menu to be visible. So, hover your mouse pointer over the ‘Manage’ option then another sub-menu will appear. Click on the ‘Install’ button from there to proceed

- On the next page, click on the ‘Upload Package File’ option if it is not selected by default
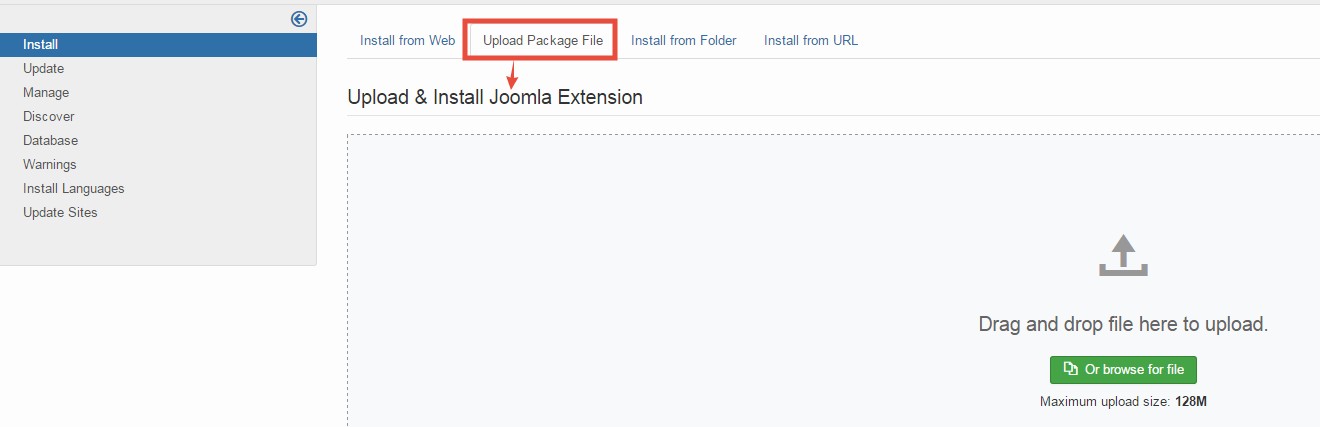
- Now, upload the Joomla template which you downloaded earlier. You can upload by directly dragging and dropping the file on this page. Or you can click on the ‘Browse for file’ button. Then browse to the folder where you downloaded the file and upload it from there
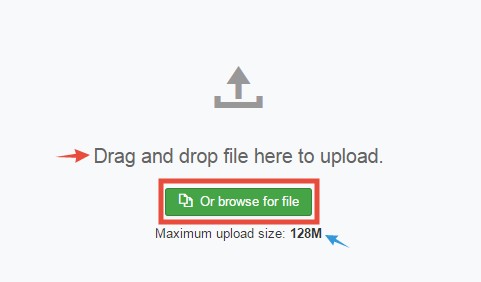
- Now, wait a bit until the template is being uploaded. The time to upload the template will depend on the size of the file and your internet speed

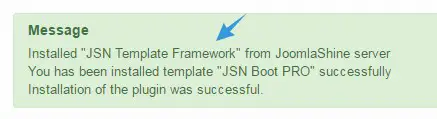
- After that, the template will be automatically installed. You will see a ‘success’ message at the top of the screen
As you have just uploaded and installed the Joomla template. You have to make it the default template in the next step. So, let’s go.
#3- How to set a template the ‘default’ one in the Joomla dashboard:
- Log in to your Joomla dashboard if you have not already
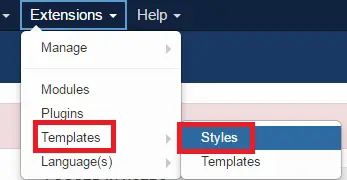
- Now, click on the ‘Extensions’ button from the top
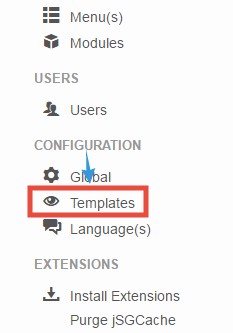
- On the new sub-menu, hover your mouse over the ‘Templates’ option. Then click on the ‘Styles’ option from the right side
- Or, you can also go to the templates section by clicking on the ‘Templates’ button from the left sidebar under the ‘Configuration’ section
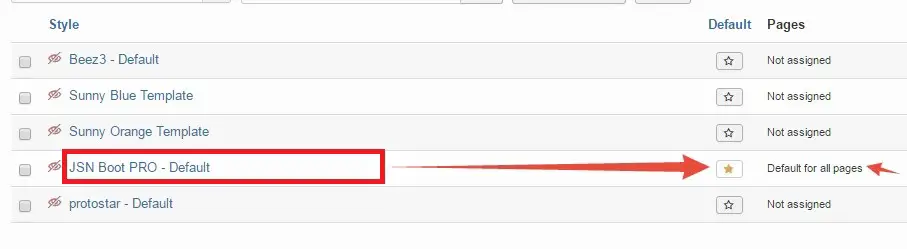
- On the next page, you will see all of the installed templates are listed. You have to click on the ‘Star’ icon next to the template which you want to make active in your website
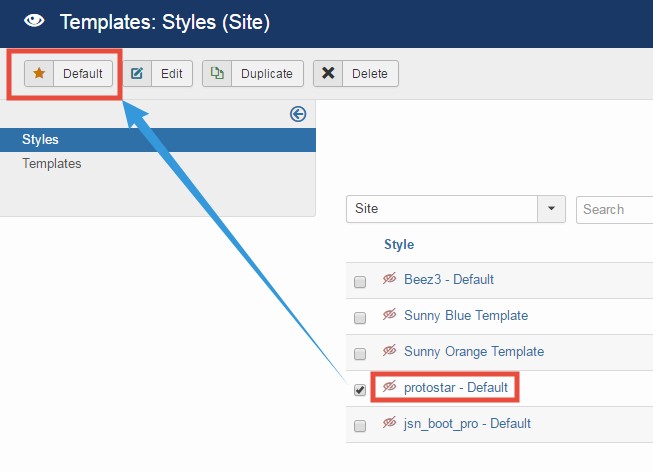
- Or else, you can add a check-mark before the template’s name and then click on the ‘Default’ button from the top left corner of the screen
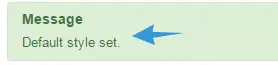
- Either we way, your selected template will be the new active template of your website. You will see a new message saying ‘Default style set’ which confirms the activation
Second Method:
In this method, we are going to show you how to upload the template file via cPanel of your SiteGround web host. Later, we will describe how to find and install the template from the Joomla dashboard.
Remark: You need to download a Joomla template prior to trying this method. We assume that you have already done that. If you haven’t, then follow the #1 part of the first method
How to upload Joomla template via cPanel of SiteGround:
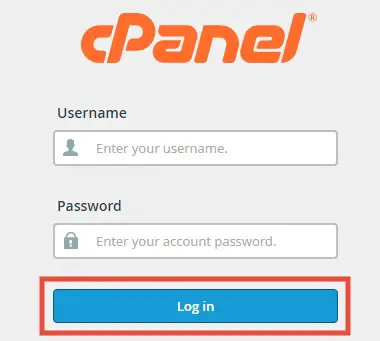
- Log in to the cPanel dashboard of SiteGround
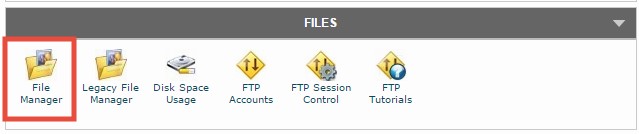
- Scroll down and click on the ‘File Manager’ button from under the ‘Files’ section
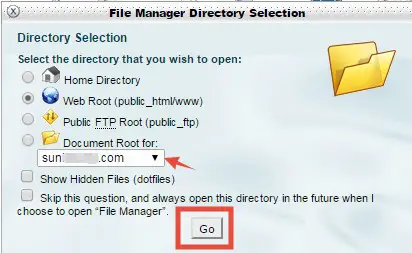
- First, select the domain name where you are going to upload the file from the drop-down menu. If you have only one domain then you don’t need to select as it will be selected by default. Then click on the ‘Go’ button
- In doing so, it will open the ‘public_html’ folder on the next page. If you haven’t installed the Joomla CMS in a sub-directory then it is OK
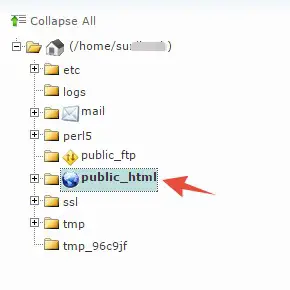
- But, if you have installed the Joomla CMS in a sub-directory then click on the ‘+’ button which will bring up that sub-directory. Then you can click on that sub-directory to proceed. However, as we have installed Joomla in the default directory, so we will click on the ‘public_html’ folder
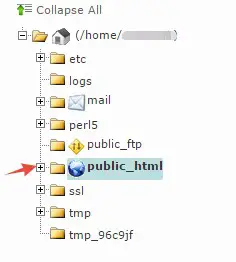
- That way, on the right-hand side of the screen, you will see a lot of files/folders related to Joomla CMS are visible
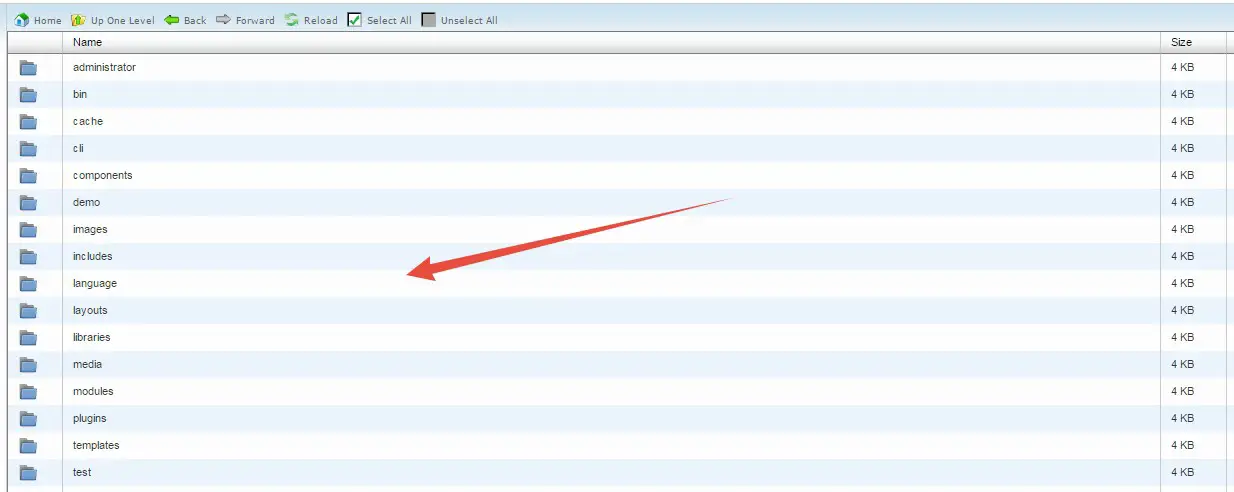
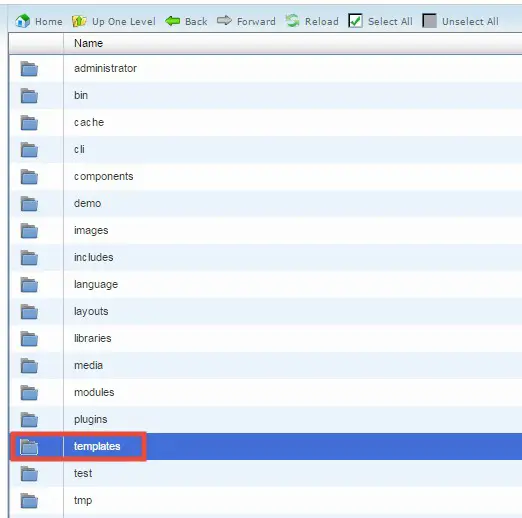
- Now, open the ‘templates’ folder by double-clicking on it from the right-hand side of the screen
- In the next page, you will see all of the installed templates are listed

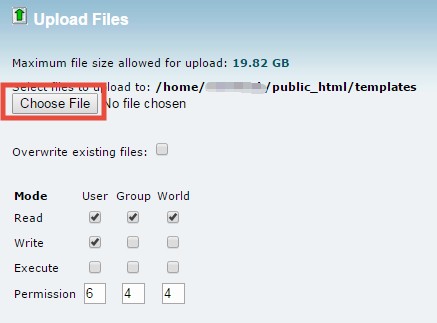
- Now, click on the ‘Upload’ button from the top menu which will open a new tab

- In the new tab, click on the ‘Choose File’ button and upload the Joomla template (in ZIP format) which you have downloaded during the first method
- You will see the progress of the upload in the bottom right corner of the screen

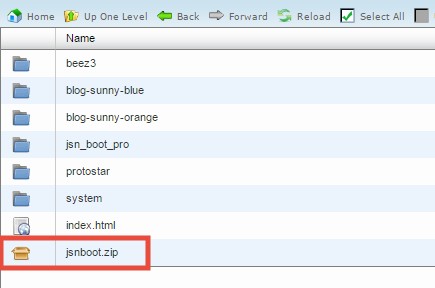
- Now, click on the ‘Go Back to ‘’/home…templates’ link to go to the previous page

- You will find a new file which you have just uploaded on that page. As this file is in ZIP format, we have to extract this file now
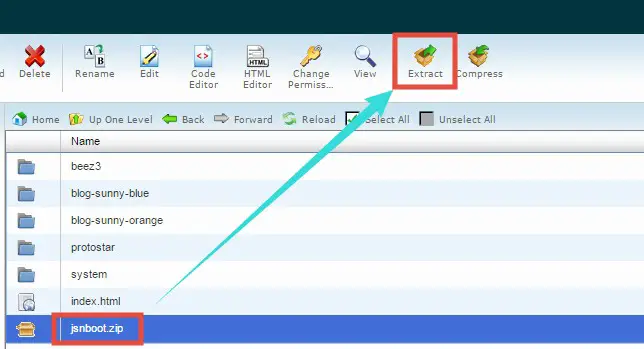
- Click on the file to select it and then click on the ‘Extract’ button from the top menu
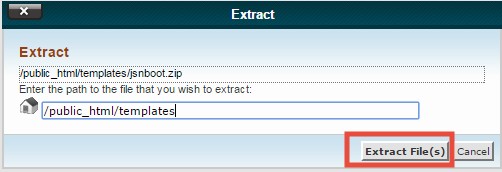
- A new popup will appear, click on the ‘Extract File(s)’ from that popup
- The extraction will be completed shortly. Another pop up will appear with the extraction results. Click on the ‘Close’ button to proceed

At this point, you have uploaded the template via cPanel file manager. Now, we have to find it and install it via the Joomla dashboard. So, let’s go.
Steps to discover the uploaded template:
- Log in to the Joomla dashboard using the username and password
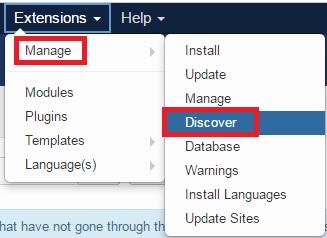
- Now, click on the ‘Extensions’ from the top menu
- Then hover your mouse over the option ‘Manage’ and then click on the option ‘Discover’ to go ahead
- On the next page, you will find the template you have just uploaded via the cPanel
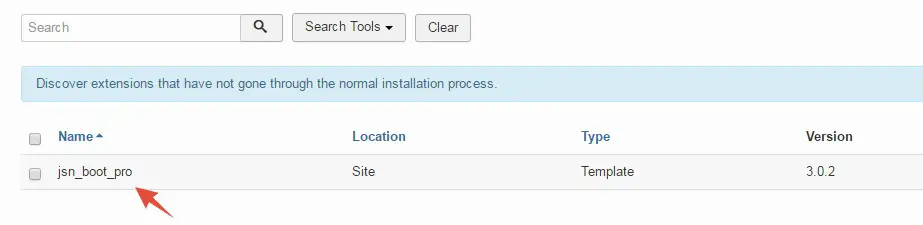
- So add check-mark next to the template to select it. Then click on the ‘Install’ button from the top-left corner of the screen

- You will see a message saying that ‘Discover install successful’ shortly after that. That means, the template was installed

After that, you will just need to activate/ make it the default template of your website. You can follow the method which we have just mentioned above (#3 part of the first method) to set the template as the default one for your website.
Last Words:
In this article, we have tried to show you how to install a Joomla template/theme on a SiteGround web host. We hope this will help you in the long run.